I’ve been using planners for more than 15 years, and I still remember my first “real” setup. I felt excited, but I was also scared to mess up those clean pages.
If you’ve ever thought, “What if I set this up wrong?” you’re in good company. Even after all these years, I’ve learned that the best planner is not the prettiest one, it’s the one you actually use.
In this post, I’ll show you the simple steps I always come back to when I start a new planner. You do not need perfection, and you do not need decoration unless that is the fun part for you.
After 15+ years of planning, I can tell you this with confidence: a planner is more than a calendar. It’s a tool that helps you make decisions and keep your life from feeling messy in your head.
When you use a planner, you can see what is coming up and what needs your attention. Over time, it helps you follow through, because your brain does not have to hold everything at once.
A planner is not a test, and you cannot “fail” it. It is also not a competition, and you do not need to prove anything with your pages.
If you feel pressure to make your planner look perfect, take a deep breath. In my experience, simple pages get used, and used pages are what make planning work.
Starting feels hard because there are so many options now. You might have seen dozens of layouts online, and suddenly it feels like there is a “right” way to do it.
Another common reason is perfectionism. I’ve watched many people get stuck because they want the perfect system before they begin.
Here is what I’ve learned: planners are meant to be used. A planner with crossed-out tasks and messy notes is a planner that is doing its job.
Before you set up pages, ask yourself what you actually need right now. Over the years, I’ve noticed that planning works best when it supports your real life, not a fantasy routine.
Start with three questions:
Your answers will guide everything else.
You can use a planner for daily life, work, habits, or projects. Pick just one main focus to start, because that is how you build a system you will keep.
Here are a few quick examples I’ve seen work well.
If you are managing money and you want that calm “I’m on top of things” feeling, a “budget and bills” purpose can be powerful. You do not need a complicated setup, you just need a place to check in regularly.
The easiest way to start is to set up only the parts you need right away. This keeps things calm and helps you begin using your planner quickly.
Open your monthly pages and write down dates that are already fixed. Think of birthdays, appointments, deadlines, and events.
This step is low pressure because you are not planning anything yet. You are simply collecting what is already true.
If you tend to forget dates, this step alone can already make life feel lighter. You will stop relying on your memory and start trusting your system.
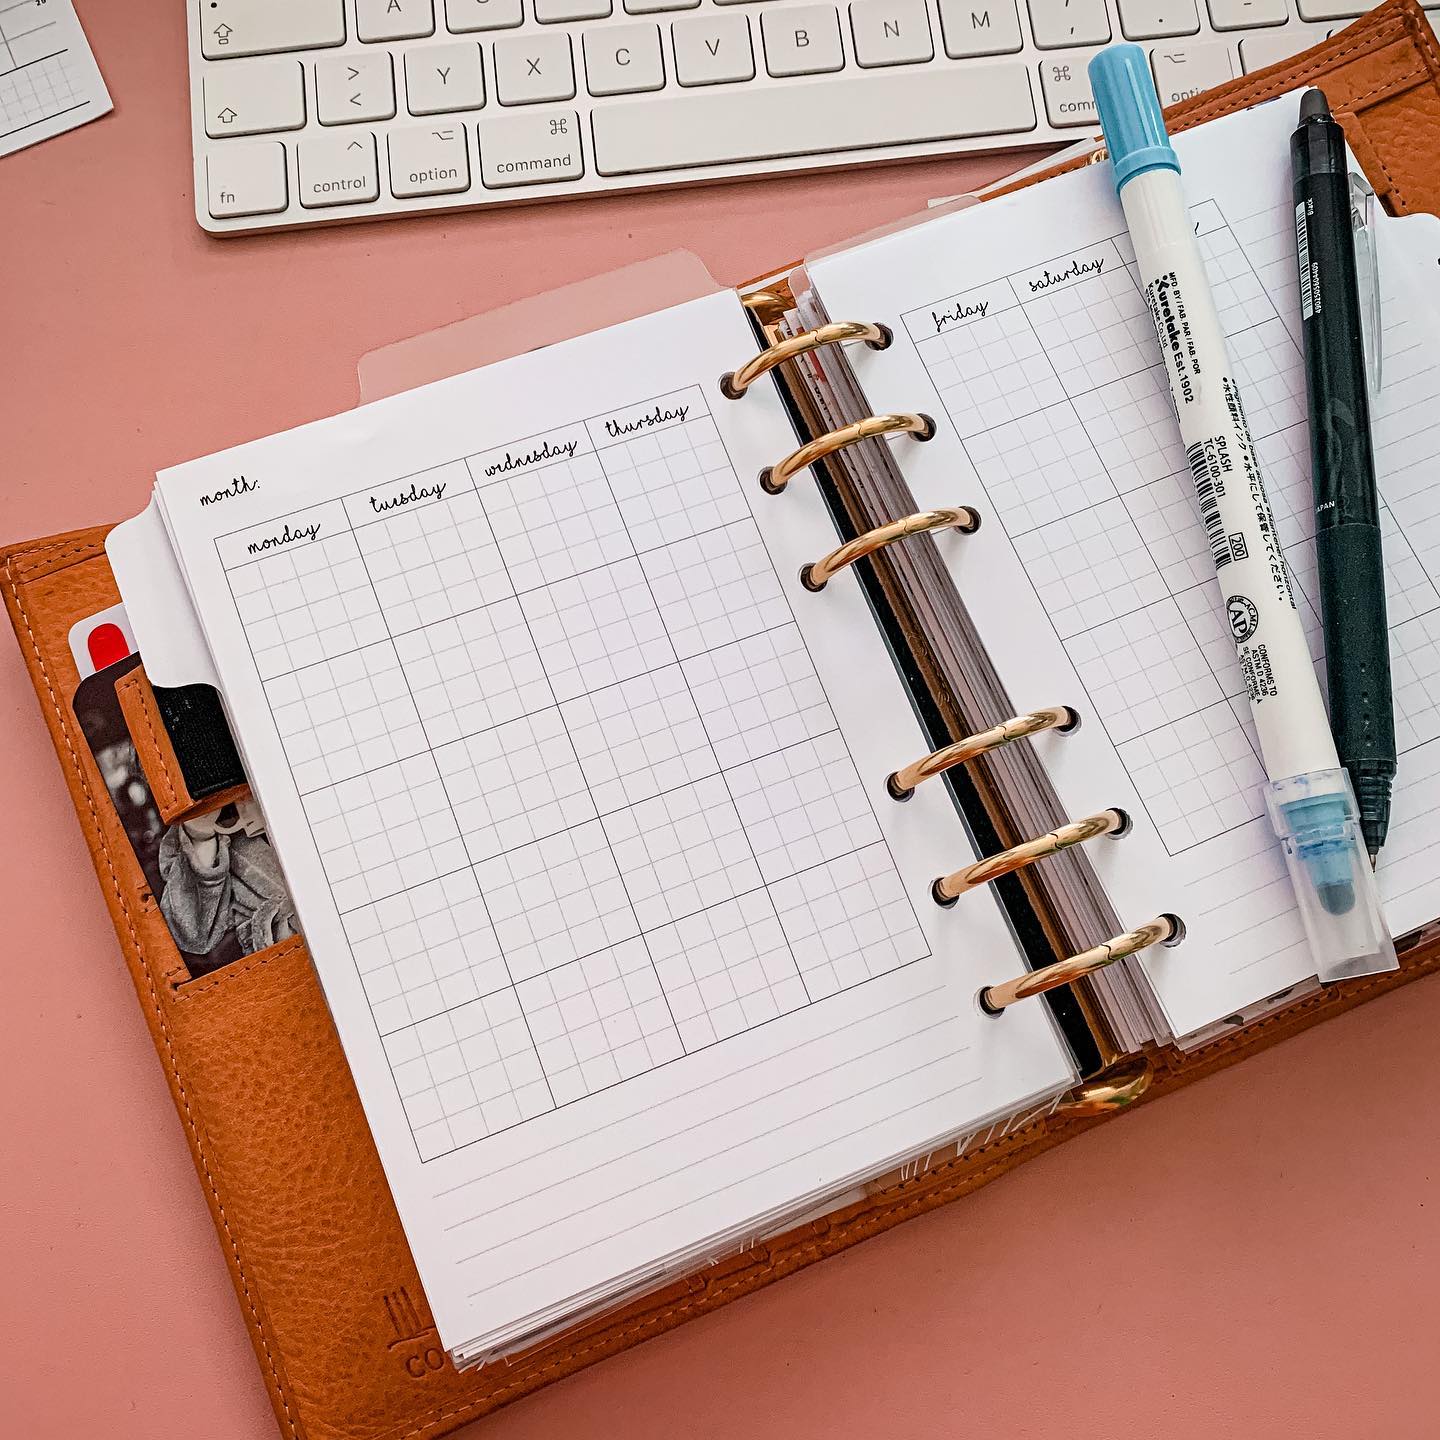
Next, look at the month as a whole. Add your important dates and choose one to three priorities for the month.
I always keep this part gentle and realistic. A “focus of the month” can also help, like “less rushing” or “saving money in a simple way.”
If your life feels chaotic, choose priorities that make daily life smoother. If your life feels heavy, choose priorities that make your week feel kinder.
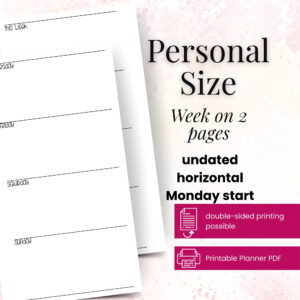
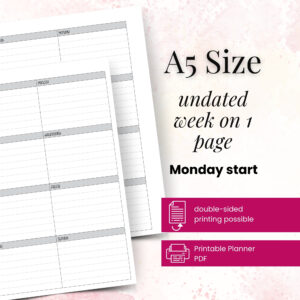
Weekly planning is where a planner starts to feel helpful. You can write your appointments, list your tasks, and choose your top priorities for the week.
Try not to fill every space. After years of planning, I can promise you that white space is not wasted space, it’s where real life fits.
If you get overwhelmed by long to-do lists, make your week simple on purpose. Choose your top three priorities first, and let everything else be “bonus.”
Daily pages can be great when you have a lot to manage. They can also feel like too much when you are just starting.
If you are unsure, keep it simple and use weekly pages only. You never have to use every page, and you can skip days without “ruining” anything.
If you love structure and you feel calm with a daily plan, daily pages can be your safe place. If you prefer flexibility and you do not want pressure, weekly planning is more than enough.
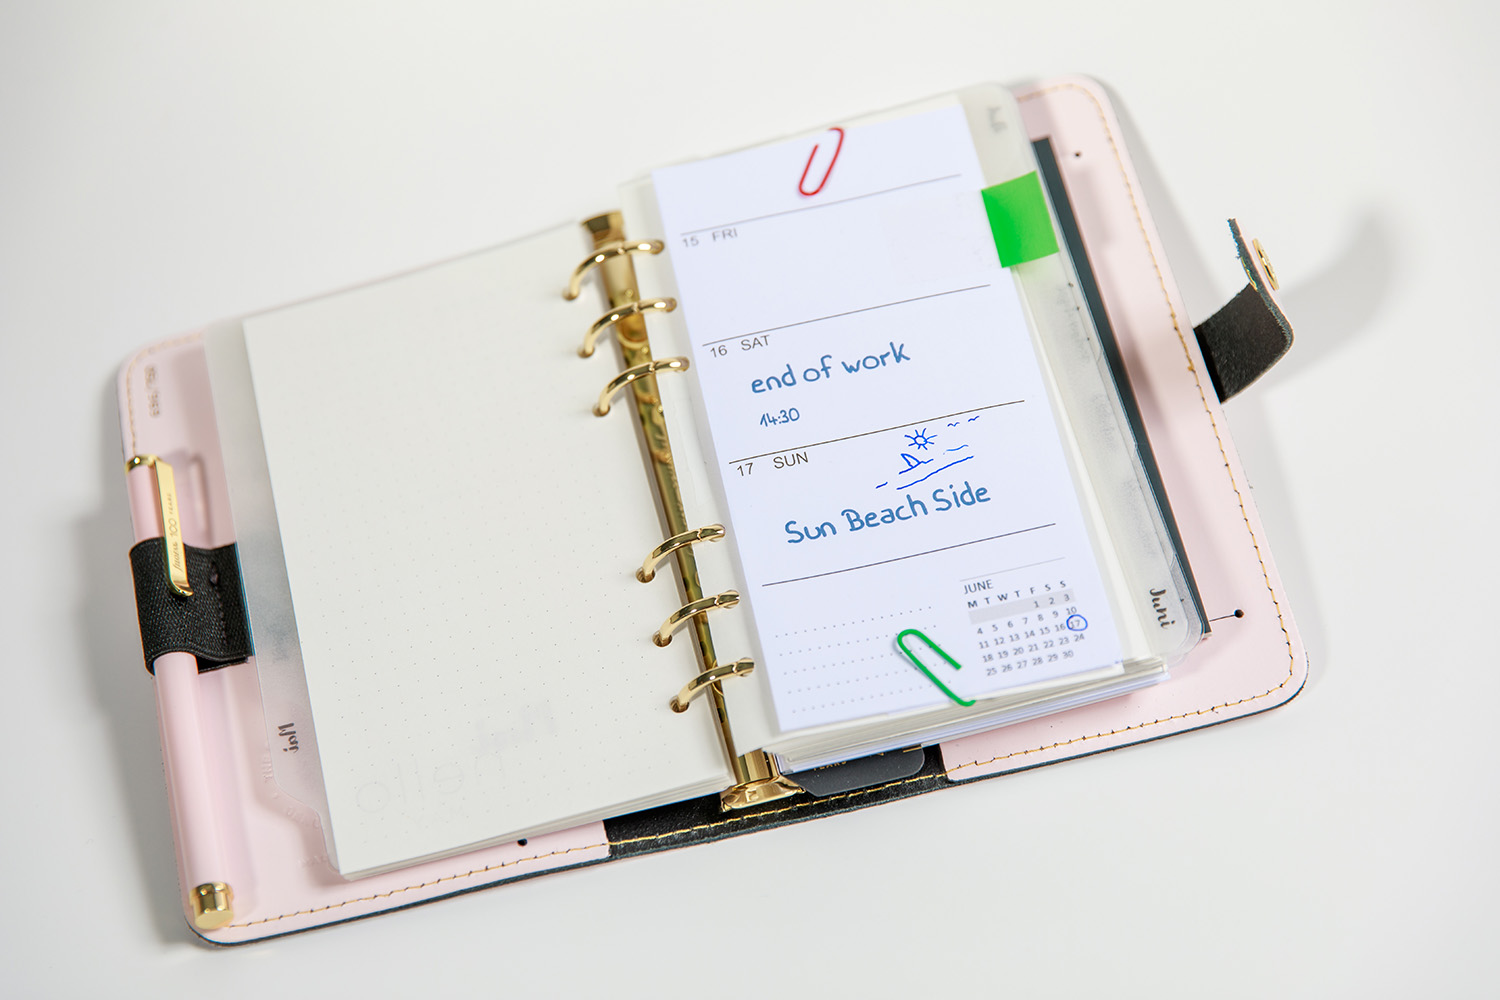
Let’s say you start on a Sunday evening with a cup of tea. You open your monthly view and add the dates you already know.
Then you open your weekly page and write your appointments in the time slots or day boxes. Next, you choose three priorities for the week that will make life feel easier.
On Monday morning, you glance at your planner and pick one “next step” task. You also write down anything important you must not forget, like a phone call or a bill.
On Tuesday, you do the same quick check-in. If Monday went off track, you simply move a task forward without guilt.
On Wednesday, you might add a short note like “Feeling tired today, keep it light.” This is one of the most helpful habits I’ve learned, because planning should match your energy.
On Thursday, you do a tiny brain dump in your notes section when your head feels full. You do not have to solve everything in that moment, you just need to get it out of your mind.
On Friday, you look at your week and circle what you finished. Then you write one sentence about what worked, because that’s how you learn your best rhythm.
On Saturday or Sunday, you do a soft reset. You review, move unfinished tasks, and pick the next three priorities.
If you do not know what to write, start with the basics. Write down appointments, deadlines, and reminders so you stop worrying you will forget.
Then choose your top three priorities for the day or week. This helps you focus, because you are not trying to do everything at once.
You can also track one or two habits if you like. In my experience, small tracking is easier to keep up with and feels more encouraging.
Finally, add a tiny space for wins or reflections. One sentence like “Today went well because…” can make your planner feel supportive instead of strict.
If you want a simple script, you can copy these lines into your planner and fill them in. I’ve used versions of these for years, especially in busy seasons.
“Today I need to remember…” is great when your brain feels full. “The one thing that would make today feel better is…” helps you choose a realistic priority.
“If I only finish one task, it will be…” keeps you focused when you are overwhelmed. “I will feel proud today if…” helps when you need motivation.
“Tomorrow will be easier if I…” is perfect for a quick evening check-in. “A small win from today was…” reminds you that progress counts.
“I noticed that I…” is a gentle way to reflect. “Next week I want to try…” helps you improve without pressure.
If you are afraid of making mistakes, use a pencil or an erasable pen. This can take away a lot of pressure.
Also remember that planners are not linear. You can skip pages and come back later, and it still counts.
Messy planning is not bad planning. Messy planning often means you are actually living your life.
If you want “training wheels,” keep correction tape or a small sticky note nearby. I still use sticky notes when I want to plan lightly without committing to a layout.
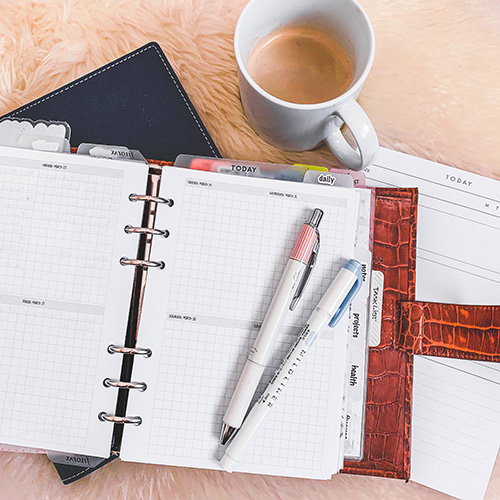
Some setup ideas make planning easier right away. For example, month tabs can help you find pages fast.
A simple notes section for brain dumps can also be helpful. When your mind feels full, writing it down can feel like clearing a table.
Try not to build too many sections at the start. I’ve learned that it is better to begin with a small system you use than a big system you avoid.
If you love pretty details, you can keep it simple and still make it lovely. A matching pen, a soft color palette, or one small decorative sticker can be enough.
Routines matter more than perfect layouts. A small routine helps you return to your planner even when life is busy.
Once a week, take 10 to 15 minutes to review what happened and look ahead. Move unfinished tasks forward and choose what matters most next.
Each day, take 2 to 5 minutes to check in. You can look at your day, adjust your plans, and choose your next best step.
If you miss your weekly check-in, you can do it on Wednesday instead. I’ve planned through busy years, and the secret is flexibility, not a strict schedule.
A common mistake is trying to copy Pinterest spreads. Those pages can be beautiful, but they are not always practical for your life.
Another mistake is writing a task list that is too long. When the list feels impossible, it becomes easy to quit.
Also, many people stop after one missed week. Missing a week is not failure, it is just a pause, and you can start again today.
One more mistake I see a lot is buying supplies instead of building the habit. Supplies can be fun, but consistency comes from simple routines.
The easiest way to keep using a planner is to connect it to a habit you already have. Planning with your morning coffee or before bed can work well.
It also helps to keep your planner visible. When it stays in a drawer, it is easy to forget it exists.
Let your system change over time. After years of planning, I can say this clearly: your planner should adapt to you, not the other way around.
If you ever feel bored or stuck, change one small thing. A new weekly layout, a new section, or a fresh set of inserts can bring back that “fresh start” feeling.
Nothing bad happens. You just turn the page and start again.
If you want, you can write one sentence about what happened, but you do not have to “catch up.”
No, you do not. Many people do great with weekly planning only.
Daily pages can help if you have many tasks or you feel calmer with more structure.
It happens, and it’s okay. If the planner makes you avoid planning, it is not the right match for you.
You can adjust with inserts, sticky notes, or a simpler weekly format before you buy something new.
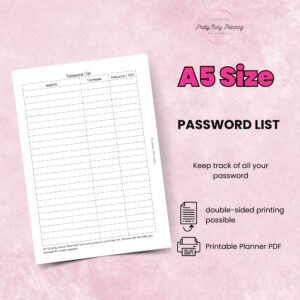
You can use simple codes for sensitive notes, or keep private pages in a back section. You can also skip details and write only what you need to remember.
A planner is for support, so you get to decide how much you share with the page.
For most people, 10 to 15 minutes is enough. The goal is to feel clear, not to create a masterpiece.
If it takes longer, that is a sign to simplify your setup.
Start with what feels most urgent, and then ask what would make life feel easier. With practice, choosing priorities gets faster.
You can also use the “Top 3” method and keep it gentle.
There is no single “right” way to use a planner. The best planner is the one you actually open.
Start with today and write one small thing. One page is enough to begin.
If you want a clear next step, do this today: write your next appointment and choose one small priority. Then do this this week: try one weekly check-in and one daily check-in.
If you want a gentle shortcut, a beginner setup checklist and a few simple, undated starter pages can make everything feel easier.