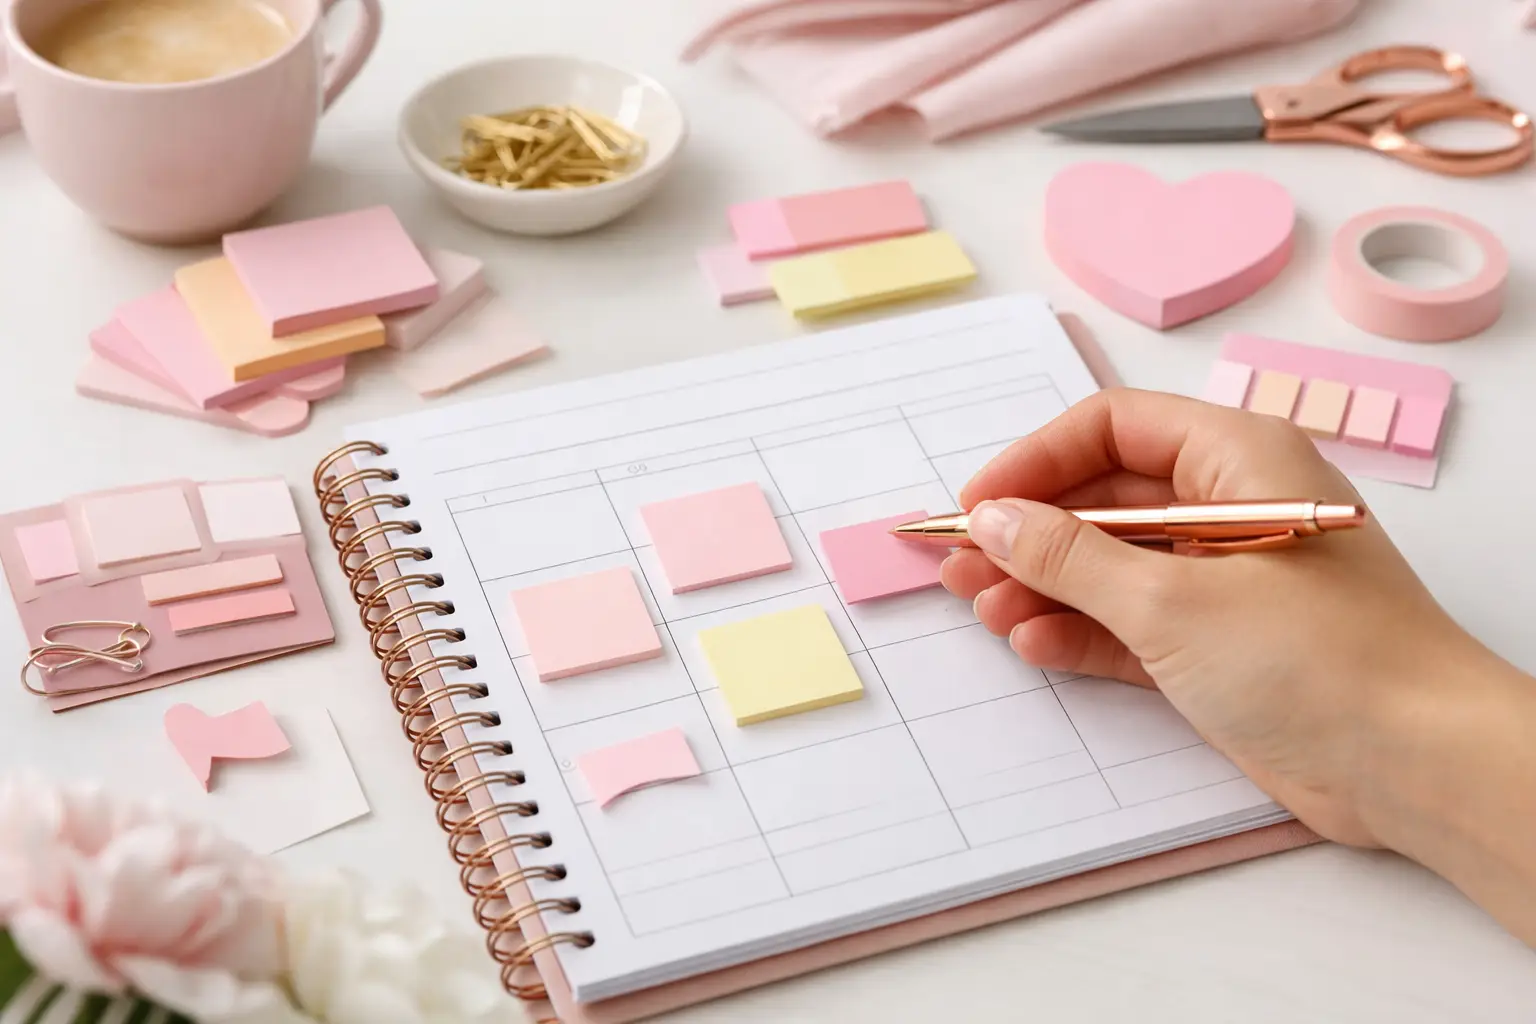
Planner Sticky Notes Printable Ideas
Planner sticky notes printable pages add flexible reminders, lists, and tabs to any setup. Print your size, place with purpose, and plan better.
You do not need a cart full of accessories to begin ring planning well. Most people get stuck before they even start because they try to choose everything at once – binder, size, inserts, sections, paper, pens, tabs, dashboards, and a color scheme. If you are wondering how to start ring planning, the easiest answer is also the best one: start with your real life, then build your planner around that.
Ring planning works so well because it bends to your routine instead of asking you to adjust to a fixed book. You can move pages, test layouts, print only what you need, and refine your setup as your season changes. That flexibility is the whole point.
The biggest shift in ring planning is simple: you are not buying a finished planner. You are building one. That means you do not need to get it perfect on day one.
A lot of new ring planner users feel pressure to create a complete system immediately. That usually leads to extra inserts you never use, sections that feel forced, and a planner that looks pretty but does not help much on a busy Tuesday. A better approach is to treat your first setup like a working draft.
Think about what you already plan on paper. Maybe you track appointments, meal plans, work tasks, school dates, or home routines. Maybe you need one place for lists, reminders, and weekly overviews. Start there. Your successful planning story begins with a single print, not a huge stack of pages.
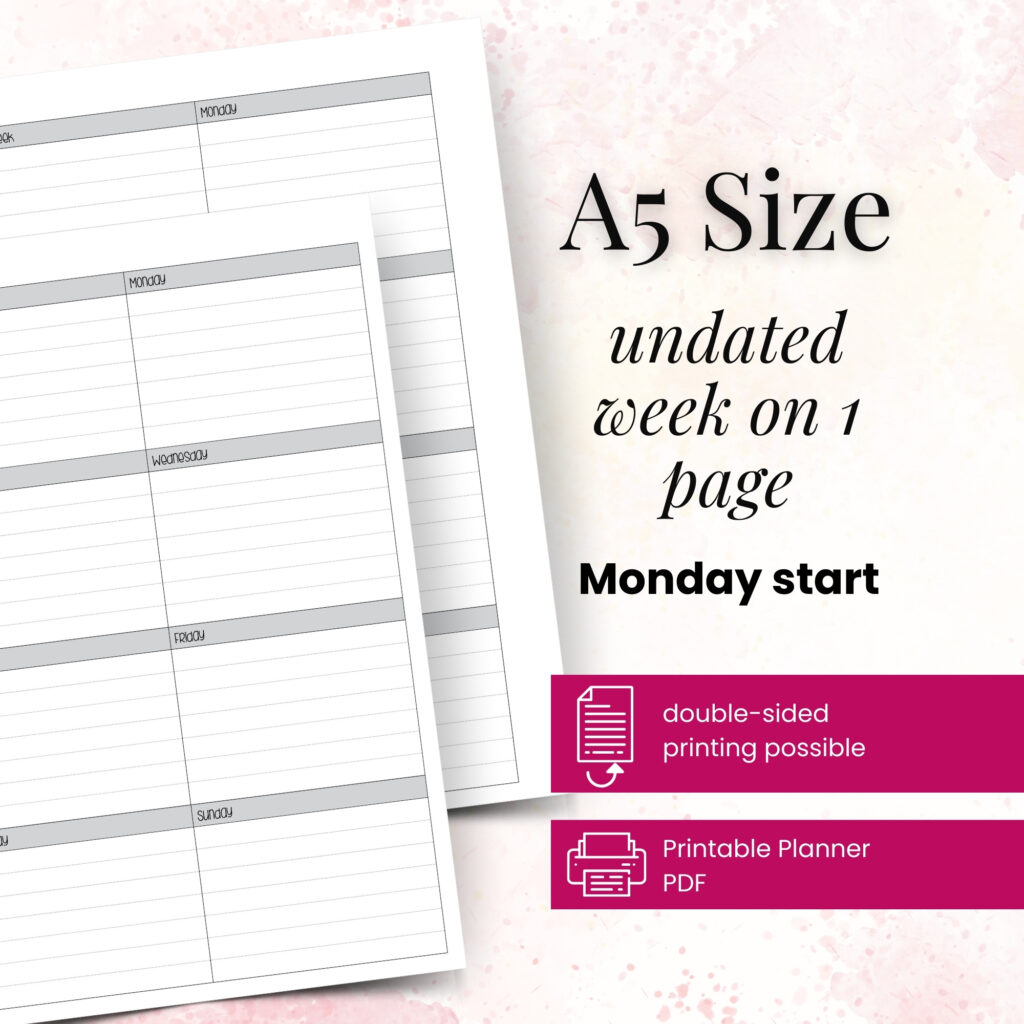
If you want to know how to start ring planning without frustration, choose your size before anything else. Size affects how much writing space you get, how portable your planner feels, and which inserts you will enjoy using long term.
A6 works well if you want something compact and portable. It fits small bags and feels easy to carry, but you will have less room for detailed daily planning.
Personal is a favorite for many ring planner users because it balances portability and function. It works nicely for everyday planning, appointments, and lists. If Personal feels a little narrow for your handwriting or your schedule, Personal Wide gives you more breathing room.
A5 feels roomy and flexible. If you write a lot, track several areas of life, or use your planner at a desk most of the time, A5 often feels easier. Happy Planner Classic can also be a strong fit if you like that familiar page size and want more writing space.
There is no universally best size. A planner that stays home can be larger. A planner you carry everywhere often needs a smaller footprint. Be honest about how you will actually use it.
A strong ring planner does not need ten categories. It needs the right ones.
Most people do best with three to five basic sections at first. A monthly calendar gives you the big picture. A weekly layout helps you plan your days in context. Notes pages catch information that does not belong on a dated page. Lists keep recurring tasks, shopping notes, or running reminders in one spot.
You may also want a section for meal planning, work projects, budgeting, routines, or goal tracking. Add those only if you already have a clear reason for them. If a section sounds nice but solves no actual problem, skip it for now.
For example, if you manage a household, your planner might include monthly pages, weekly pages, grocery lists, meal planning sheets, and notes. If you use your planner mostly for work and appointments, you may only need monthly, weekly, project notes, and task lists.
The best inserts match the way your brain likes to plan. This matters more than trends.
Some people think in weeks. They want to see appointments, tasks, and priorities on one spread. Others need daily structure with room for time blocks, to-dos, and notes. Some planner users rely on monthly views and only need extra list pages in between.
Pay attention to what you reach for naturally. If you always make daily to-do lists on scrap paper, daily inserts may help. If you often forget the bigger picture, monthly and weekly layouts will likely serve you better. If you write down everything, choose layouts with generous space. If you prefer quick check-ins, simpler pages often feel less overwhelming.
This is where printable inserts shine. You can try a layout, use it in real life, and reprint what works. That gives you room to refine your system instead of settling for pages that almost fit.
One of the smartest ways to start ring planning is to test in small batches. Print one month of monthly pages, two weeks of weeklies, and a handful of notes sheets. Use them before you commit to a bigger setup.
That trial period tells you a lot. You might realize you need more writing space on weekdays and less on weekends. You may love a clean weekly spread but decide you also want list inserts behind it. You could even find that your chosen size feels right for notes but too small for daily planning.
Small-batch printing saves paper, time, and money. It also keeps your planner from feeling stuffed with pages you are not actually using.
A good ring planner should make daily life feel clearer. It should not become another project you need to manage.
Set up your sections in the order you use them. If you check your monthly calendar first, place it near the front. If your weekly pages are your main workspace, give them easy access. Put notes and lists where they feel natural, not where someone else says they belong.
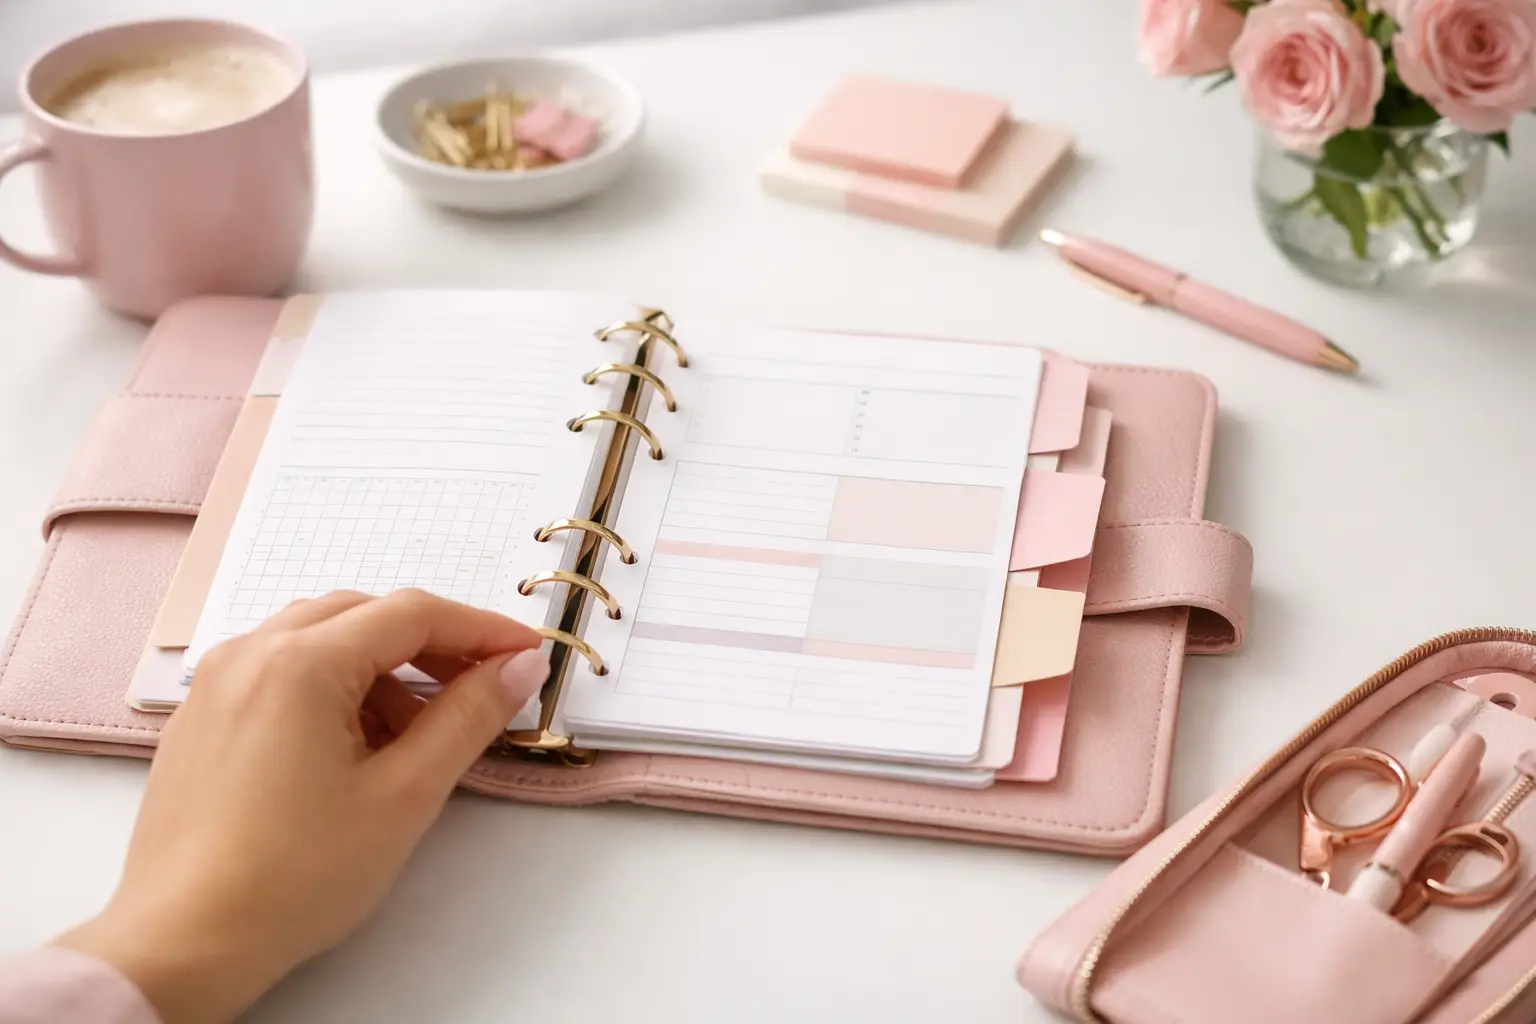
Tabs can help, especially if you keep several sections, but do not assume you need every decorative extra right away. Start with function. Then add beauty in ways that support your use of the planner.
That might mean vellum-style pieces, dashboards, or accessories that make your setup feel personal and polished. It might also mean leaving more white space and keeping the layout simple. Ring planning has a creative corner of planning possibilities, but usefulness should stay at the center.
This part matters more than most beginners realize. Your first ring planning setup will not be your final one, and that is a good thing.
Life changes. Work gets busy. School schedules shift. Seasons bring different routines. A planner system should move with you. One month you may need detailed daily pages. Another month you may prefer lighter weekly planning with extra notes. Ring planning makes that adjustment easy.
Let yourself edit. Remove sections that feel heavy. Add pages that solve a current problem. Reprint your favorites when they run low. That kind of flexibility is exactly why so many planner users switch to ring systems and never look back.
The most common mistake is buying for fantasy instead of function. It is easy to imagine yourself tracking habits, meal plans, workouts, reading logs, gratitude, home projects, and social plans all in one beautiful binder. In real life, too many sections can create friction.
Another mistake is choosing inserts because they look impressive instead of because they fit your routine. A gorgeous layout still fails if it leaves no room for the information you need every day.
Some people also choose a planner size based only on appearance. A compact planner may look perfect, but if your handwriting feels cramped, you will stop enjoying it. On the other hand, a larger size can feel amazing at home but too bulky to carry.
If you want a smoother start, keep your first setup lean, test it honestly, and make changes quickly.
If you feel stuck, start with this kind of combination: one monthly section, one weekly section, a notes section, and a lists section. That covers most planning needs without making your binder feel crowded.
From there, live with it for two or three weeks. Notice what you repeat, what you skip, and what you wish you had. Maybe you keep writing meals in your notes section, which tells you meal planning deserves its own pages. Maybe your weekly spread does almost everything you need, which means you can keep the rest minimal.
At Pretty Easy Planning, that practical, tested approach is the heart of a planner system that feels personal instead of preset.
Ring planning gets easier the moment you stop trying to build the perfect planner and start building your planner. Pick a size that fits your life, choose inserts that support the way you think, and let the system grow with you one printed page at a time.

€4,24
€4,24
€4,24
€4,24
Planner sticky notes printable pages add flexible reminders, lists, and tabs to any setup. Print your size, place with purpose, and plan better.
Learn how to organize planner sections in a way that fits your routine, cuts clutter, and makes your planner easier to use every day.
Are printable planners worth it? See when they save money, add flexibility, and fit your routine better than pre-printed planners.