A6 vs Happy Planner: Which Fits Your Life?
A6 vs happy planner: compare size, space, portability, and page options to choose printable inserts that make your everyday planning feel easier with purpose.
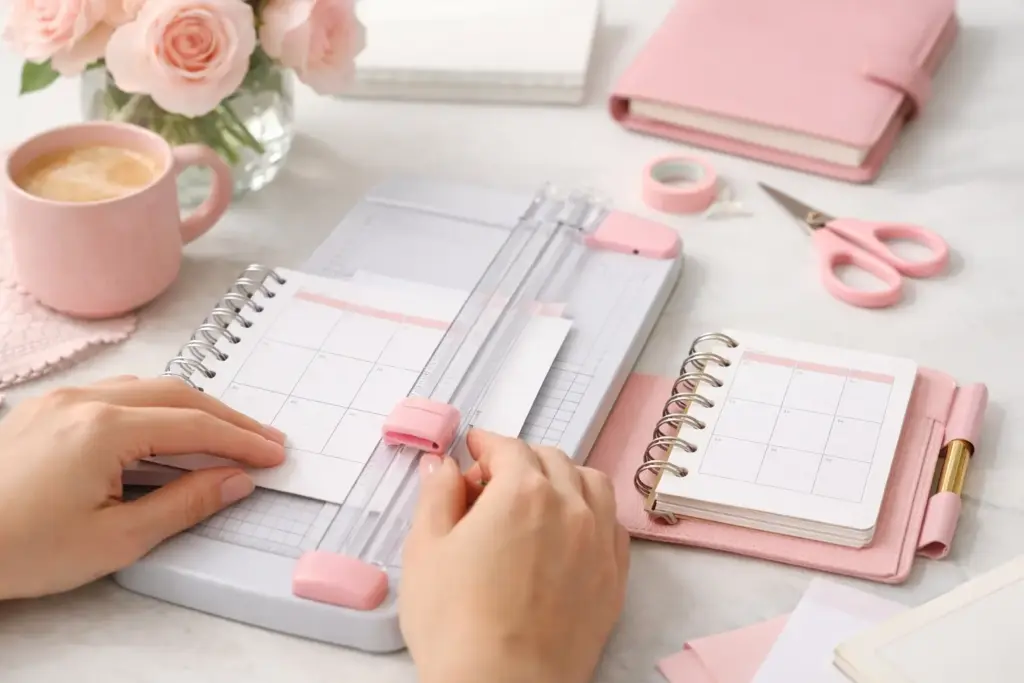
You found a weekly layout you love, but it was designed for A5 and your everyday planner is Personal Wide. That does not mean you need to settle for a layout that almost works. Learning how to resize planner pages gives you more freedom to use the pages you enjoy in the planner size you actually carry.
A few careful choices make all the difference. Resize too aggressively, and small text becomes hard to read or your punch holes eat into the design. Resize with the right print settings, though, and you can create a tidy insert that looks intentional, feels useful, and supports your real routine.
Before you open the print dialog, confirm the finished size your planner requires:
Those measurements explain why resizing does not always work as a simple one-to-one swap. A5 and A6 share the same aspect ratio, so an A5 page usually scales down beautifully to A6. Personal, Personal Wide, and Happy Planner Classic use different proportions. When you resize between those formats, you may see a little extra white space or need to trim an edge.
That is not a flaw. A clean margin can give your page breathing room and protect the layout when you punch it. The goal is not to make every border touch every edge. The goal is to create a page that fits your planner and remains comfortable to use.
Most printable planner PDFs work best when you resize them directly in a PDF reader’s print window. You do not need to edit the file itself for a basic size adjustment. This approach keeps the original layout crisp and saves you from accidentally moving text or design elements.
Open your PDF in a reliable reader, choose Print, and look for the page sizing section. The names vary by program and printer, but you will usually see options such as Actual Size, Fit, Shrink Oversized Pages, Custom Scale, Multiple, or Booklet.
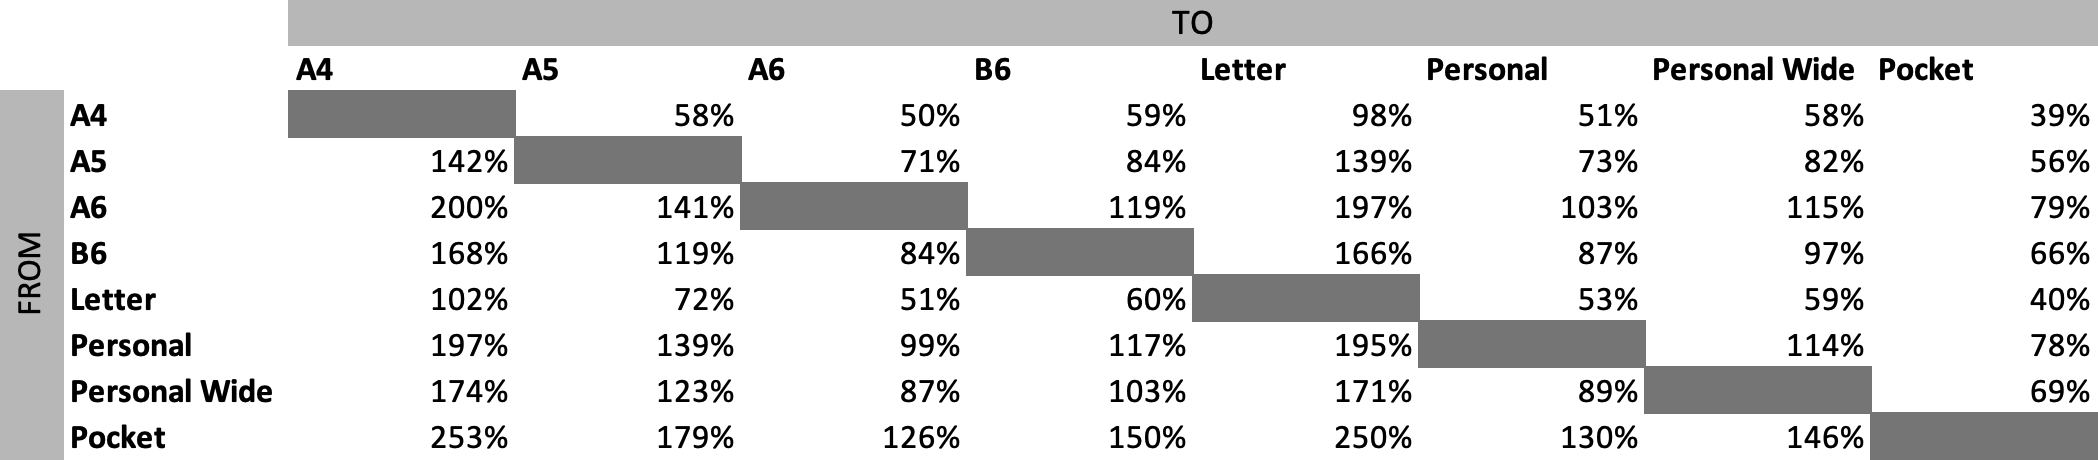
Choose Custom Scale when you know the percentage you want to use. For example, scaling an A5 page down to A6 generally calls for about 71%. Since both sizes share the same page ratio, your boxes and headings will stay in proportion.
If your goal is simply to print a PDF onto a smaller sheet of paper, try Fit first. The printer will reduce the full page until it fits inside the printable area of the paper you selected. This option works well for a quick test, but it can leave more white space than you want. It also depends on your printer’s non-printable margins, so always inspect the preview.
For a more controlled result, select the target paper size in both places: your printer properties and the PDF print window. If you choose A6 paper in one setting but leave A5 in the other, your printer may override the scale or center the page in an unexpected way.
Use the following table for a rough starting point which scale to use:
Your best resizing method depends on whether you print on pre-cut paper or on a larger sheet that you plan to trim.
When you already have paper cut to A6, A5, Personal, or another planner size, select that exact paper size in your printer settings. Then use Actual Size for inserts created for that format, or Custom Scale when you need to reduce a larger page.
Centering matters here. Look for an option called Auto-Rotate and Center, Center on Page, or something similar. Centering gives you balanced trim space and helps prevent one side from getting too close to the edge.
Letter-size paper gives you more flexibility, especially for smaller planner formats. You can often place two Personal, A6, or Personal Wide pages on one sheet by using the Multiple Pages per Sheet setting. Print one page first to confirm that the scale still looks right, because some programs reduce pages automatically when you place more than one on a sheet.
For double-sided inserts, print the front side and check its orientation before printing the back. Many printers flip the second side along the long edge by default, which can leave a portrait planner page upside down. For most portrait inserts, choose Flip on Short Edge. Still, test your specific printer with a blank sheet marked “top” before using your preferred paper.
The punch margin is the quiet hero of a functional planner insert. You may have a lovely page at the perfect size, but it will frustrate you if the binder rings cut through Monday’s schedule or your habit tracker.
Look at the print preview and identify which edge will sit closest to the rings, discs, or coils. If the layout has a built-in wide margin on one side, make sure you print the page in the correct orientation. This becomes especially important with dated weekly pages, dashboards, and notes pages with a left-side design element.
If your resized page looks too close to the punch side, reduce the custom scale by two or three percentage points. That small adjustment can create enough safety space without making the page feel noticeably smaller. You can also shift the page position in your printer properties if your printer offers horizontal or vertical offset controls.
For pages that you will print double-sided, check both sides after punching. A front page may look perfectly placed while the back page needs to flip horizontally to keep its punch margin on the opposite edge. This is why one finished test insert saves so much time and paper.
Resizing works wonderfully for many pages, but it has limits. A dense daily page designed for Happy Planner Classic can become cramped when you shrink it to Personal. The text may remain technically readable, yet the writing spaces can feel too small for appointments, tasks, and notes.
Going larger has its own trade-off. Enlarging a small Personal page to A5 may leave wide empty borders, and thin lines or decorative elements can look softer depending on the original file and your printer. A page with lots of open space can handle this treatment nicely. A carefully balanced layout with small labels may not.
When the planner formats have different proportions, avoid forcing the design to fill every edge. Stretching a page horizontally or vertically distorts circles, boxes, and type. Keep the aspect ratio locked, accept a little trim space, and use that extra room as a margin instead.
If you repeatedly use one size, choose inserts created for that format whenever you can. Format-specific pages give you the best writing area, built-in punch margin, and most polished result. Resizing remains a smart tool for experimenting, using a favorite layout occasionally, or making a temporary planning solution work.
Creator-tested layouts can make printing easier, but every home printer has its own quirks. Some pull paper slightly to one side. Others add a larger unprintable margin near the bottom. A test page shows you what your particular setup will do before you print a month of weekly spreads.
Print one page using plain paper. Trim it to size, punch it, and place it in your planner beside your current inserts. Check the scale with a pen in hand. Can you write comfortably in the boxes? Do tabs, rings, or discs cover anything useful? Does the page turn without catching?
Then make one adjustment at a time. Change the scale, move the page position, or switch the duplex flip setting. Keep a quick note of the settings that work for each planner size. Soon, printing a new batch will feel less like trial and error and more like a small, satisfying part of your planning ritual.
Your planner should adapt to your life, not the other way around. With a test print, a protected punch margin, and a little patience with scale, one beautiful page can find a happy home in the planner you already love.

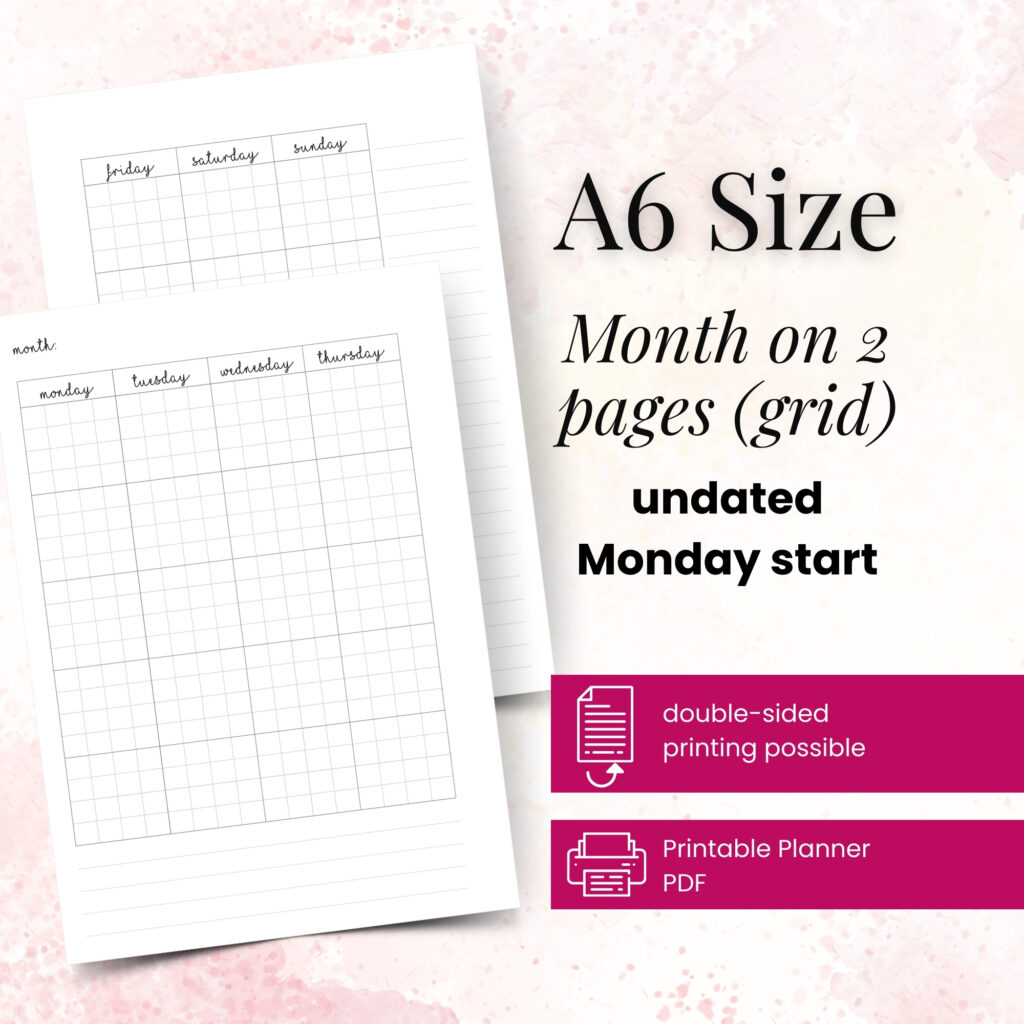
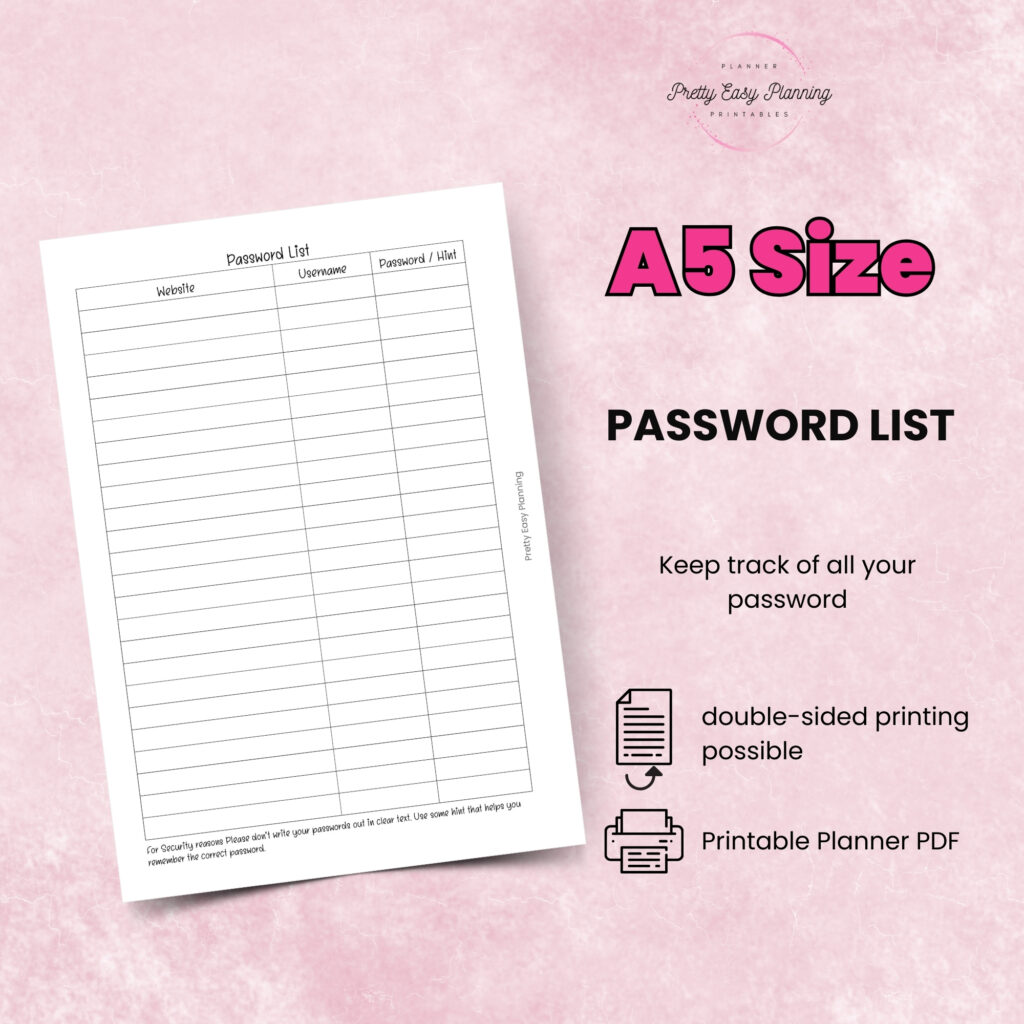
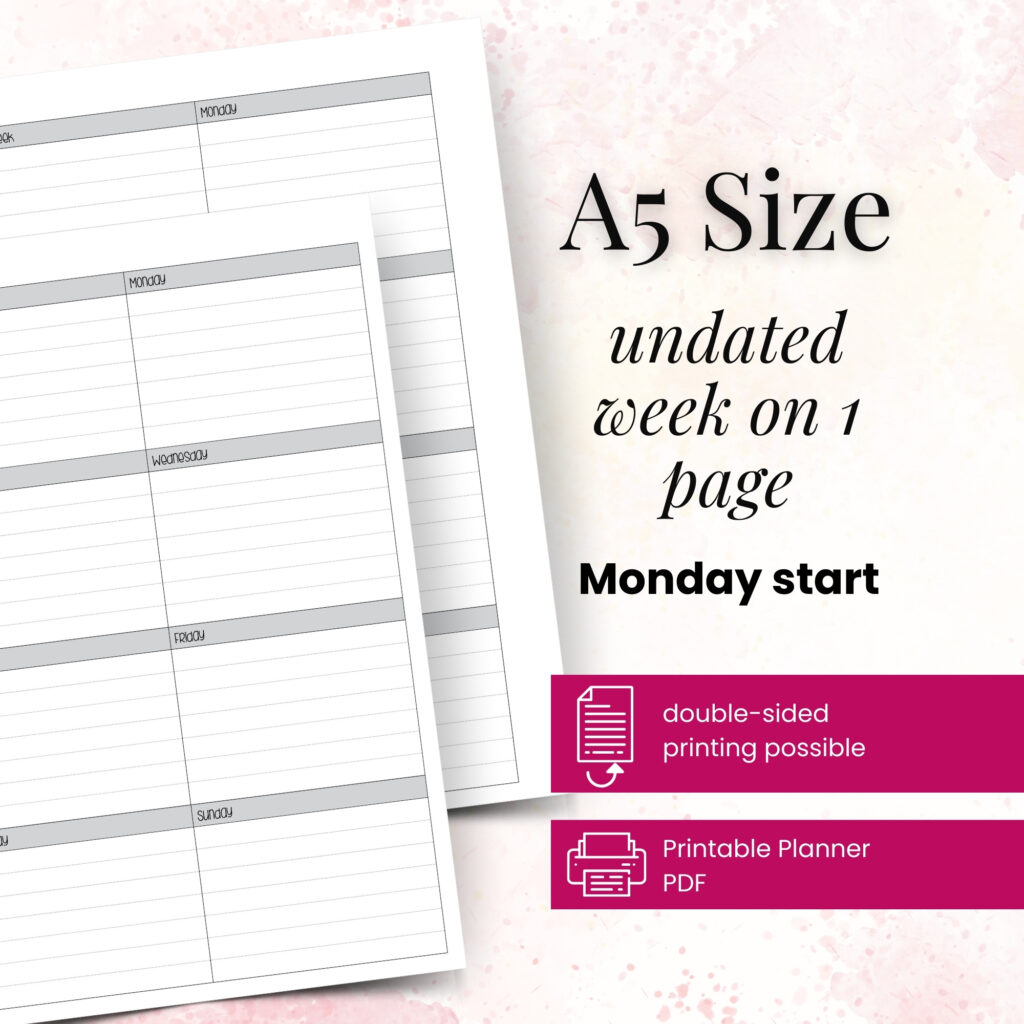
A6 vs happy planner: compare size, space, portability, and page options to choose printable inserts that make your everyday planning feel easier with purpose.
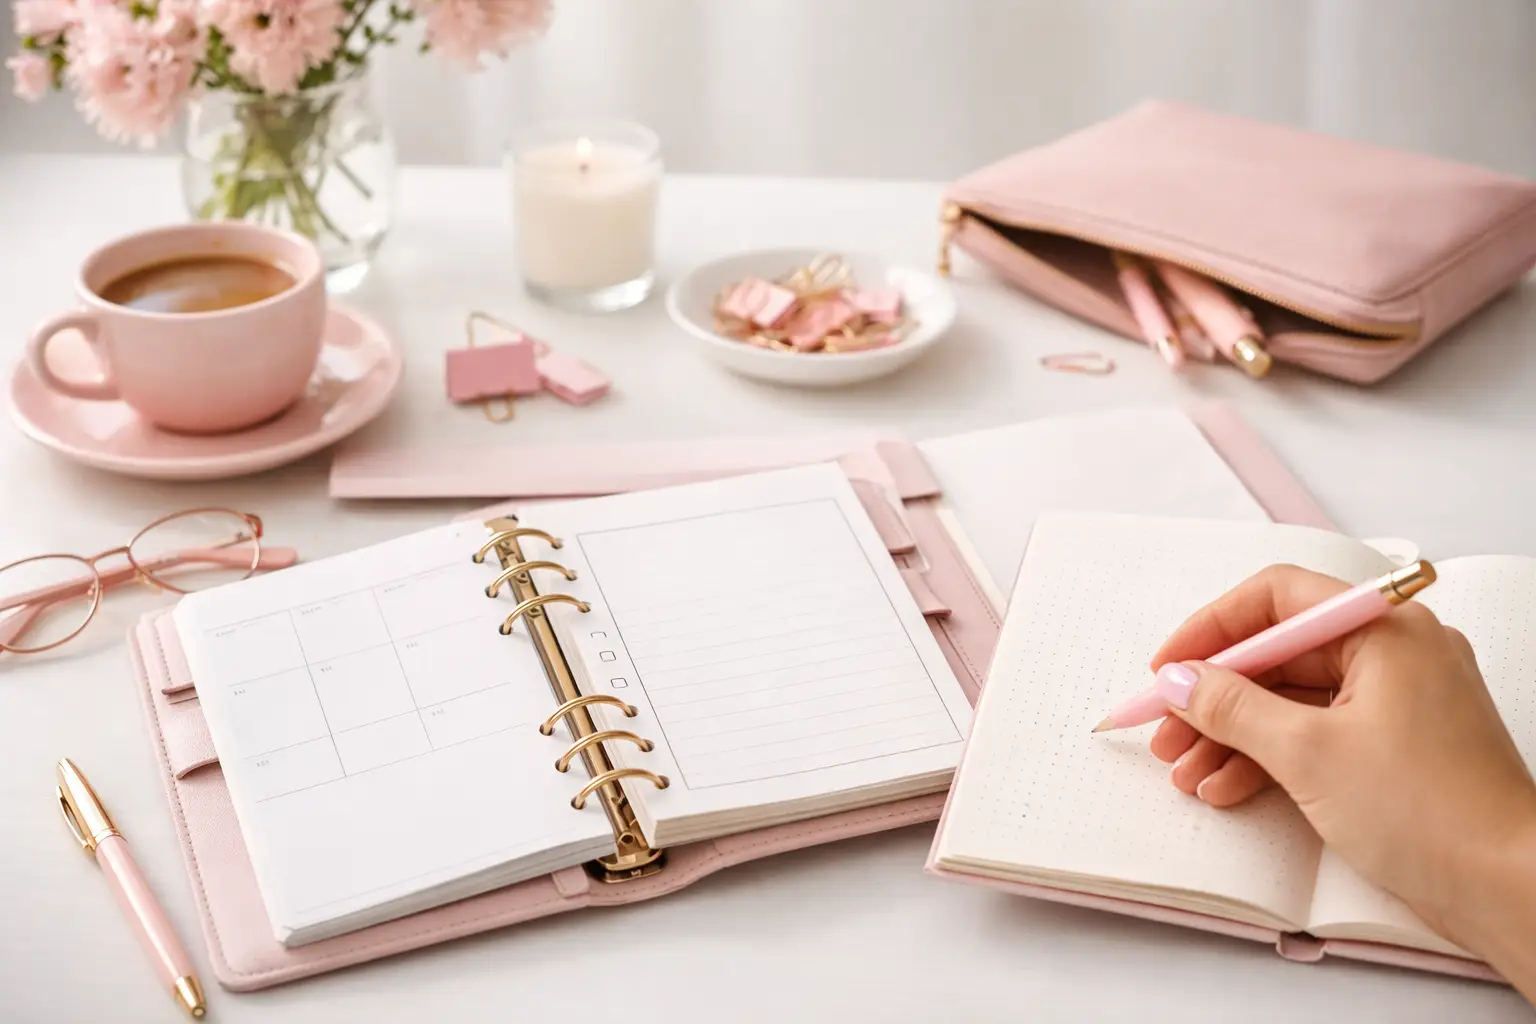
Wondering which planner pages do i need? Build a practical paper planner with only the inserts that support your real routines, goals, and plans daily.
The future of printable planners favors flexible, beautiful systems: print what fits your week, refresh routines, and keep every page useful for life.