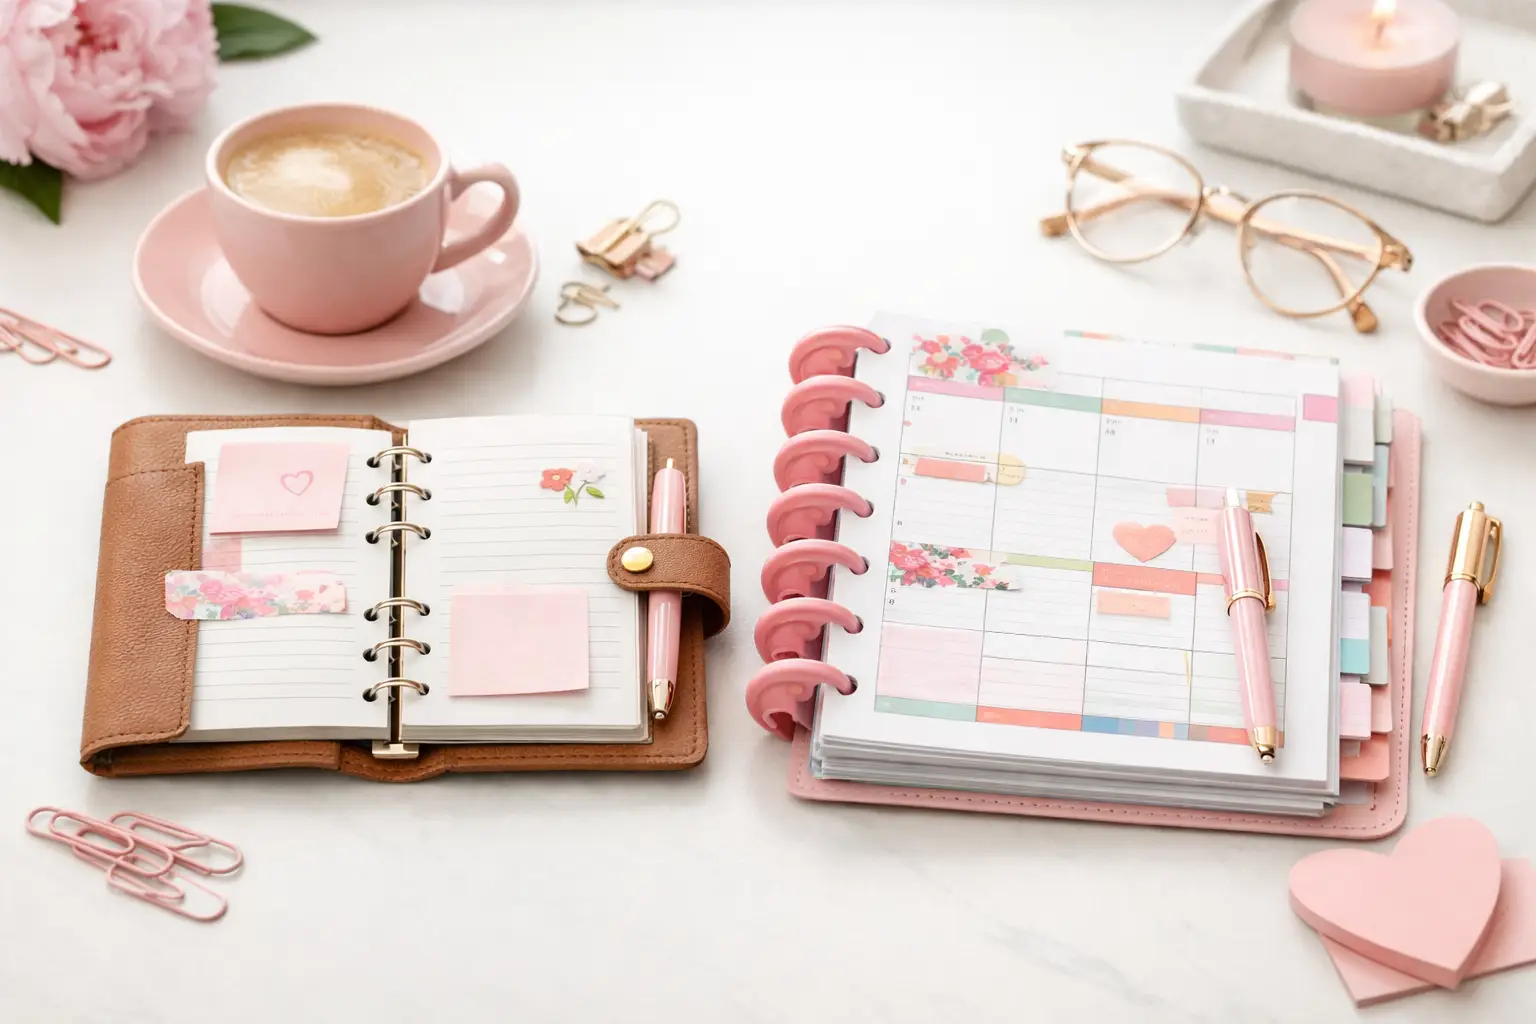
A6 vs Happy Planner: Which Fits Your Life?
A6 vs happy planner: compare size, space, portability, and page options to choose printable inserts that make your everyday planning feel easier with purpose.
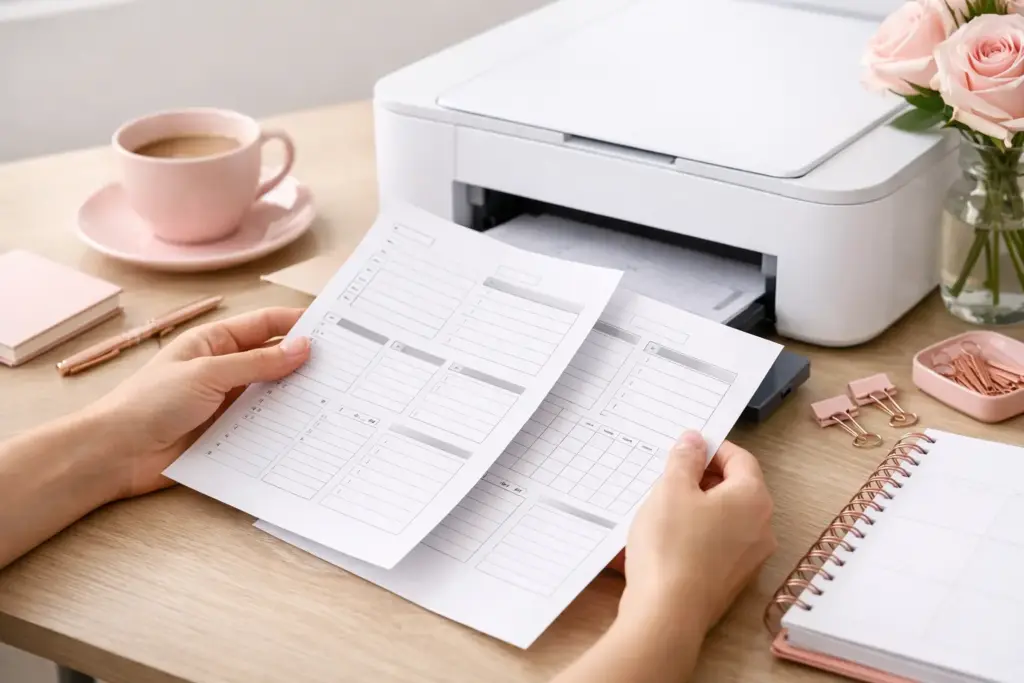
Nothing ruins a fresh set of planner inserts faster than realizing the back side printed upside down, shifted off center, or on the wrong page. If you have ever wondered how to print planner pages double sided without wasting paper, this is the setup that makes it much easier.
Double-sided printing can make your planner feel cleaner, slimmer, and more polished, but it does take a little strategy. The good news is that once you understand page order, flip direction, and paper handling, the process becomes very repeatable across your favorite insert sizes.
Planner inserts are not quite the same as printing a standard document for school or work. You are often working with smaller formats like A5, A6, Personal, Personal Wide, or Happy Planner Classic, and those pages need to line up well after trimming or punching.
That is where the trouble starts. If your printer flips the second side in the wrong direction, your weekly spread may land upside down. If scaling changes even a little, your inserts may no longer fit your planner. And if your paper feeds differently on the second pass, margins can shift enough to make the pages look uneven.
The fix is not complicated, but it does require a more careful approach than just clicking Print.
Before you focus on duplex printing, make sure your base settings are correct. This part matters more than most people expect.
Open your PDF in a reliable PDF reader and look for scale settings first. Choose Actual Size or 100%. Avoid Fit, Shrink Oversized Pages, or anything that changes proportions automatically. Even a small adjustment can throw off planner sizing.
Next, confirm the page orientation. Most planner inserts print in portrait orientation, even when the final layout feels narrow. Then check your paper size. If you print directly onto pre-cut paper, choose the exact paper size your printer supports. If you print on larger sheets and trim later, use the larger sheet size consistently.
If your inserts include crop marks or cut lines, make sure your printer margins do not cut them off. A quick single-page test helps you catch that before you print an entire set.
If your printer has built-in duplex printing, you have the easier path. You still need to pick the correct flip setting, but the machine handles the second pass for you.
In your print dialog, select Print on Both Sides or Two-Sided Printing. Then look for the binding or flip option. For most portrait planner pages, you will want Flip on Short Edge. This keeps the front and back upright when you turn the page like a planner insert.
If you choose Flip on Long Edge by mistake, the back side often prints upside down. That setting works better for some landscape documents, but not for most planner inserts.
Print just two pages first. Hold them as if they are in your planner. Check whether page 2 lands on the back of page 1 in the correct direction. If it looks right, go ahead with the full batch.
Think about how you turn planner pages. You usually flip them from side to side, but the printed content still needs to remain upright on both sides of a narrow portrait page. That is why short-edge flipping is the setting that works most often.
There are exceptions. If your file uses a special layout, or if you are printing wide pages that fold in a specific way, you may need a different setting. But for standard daily, weekly, monthly, notes, and list inserts, short edge is usually correct.
If your printer does not support automatic duplexing, you can still get beautiful results. Manual duplex printing just asks you to be a little more methodical.
First, print the odd-numbered pages only. Then take that printed stack and reload it into the paper tray to print the even-numbered pages on the back. The tricky part is knowing which way to reinsert the paper.
Printers vary a lot here. Some print on the underside of the sheet, while others print on the top. Some pull from the front of the tray, while others pull from the back. That means there is no universal reload direction that works for everyone.
The easiest solution is to make your own printer cheat sheet. Take one blank page and mark one side with arrows and labels like top, front, and back. Print a one-page test. Then reload that same sheet in a different orientation and print again. Once you see how your printer handles the sheet, write down the correct reload direction and keep that sample near your printer.
That one test can save a lot of paper later.
Print pages 1, 3, 5, and 7 first. Keep the pages in the same order as they come out. Reinsert them according to your printer test. Then print pages 2, 4, 6, and 8 on the reverse side. Some printers do have a setting where you can choose to print only odd or even pages. This is very helpful if the insert you are printing has a lot of pages.
If your PDF reader offers a manual duplex option, it may guide you through this process automatically. Even then, test with a short file first. Manual duplex instructions on screen are helpful, but your printer still has the final say.
Weekly and monthly spreads deserve extra attention. If a left page and right page are designed as a pair, you want the backs to match up in a way that still feels natural when you turn the page.
That means page sequencing matters. A planner file may already be arranged correctly for double-sided printing, but it is smart to check before printing a big stack. Scroll through the PDF and make sure the fronts and backs follow the reading order you expect.
If something seems off, do not assume duplex printing will fix it. It usually will not. Print four pages first, punch them if needed, and place them inside your planner to check the flow.
Paper weight changes how planner inserts behave in a double-sided setup. Thin paper keeps your planner lighter and turns easily, but heavier ink coverage may show through. Thicker paper feels more substantial and often handles pens better, but some home printers feed it less consistently on the second side.
It depends on your priorities. If you love a crisp, sturdy insert, test your preferred paper with a small batch before committing to a full month or full quarter. If your planner gets bulky quickly, a lighter stock may be the better trade-off.
Smooth paper also tends to feed more predictably than heavily textured paper. That can help with alignment, especially in smaller insert sizes.
If the back side prints upside down, switch between flip on short edge and flip on long edge. That is the most common issue, and it usually has a quick fix.
If the front and back do not align well, check your scaling first. Make sure you are printing at 100%. Then test whether your paper feeds straight on the second pass. Manual duplex jobs sometimes shift a little more than automatic ones.
If your inserts come out in the wrong order, review the page range you entered. It is easy to accidentally print odd pages descending instead of ascending. Keep the order simple and consistent.
If punched holes cut into your layout, adjust your print position before printing the full set. Some planner users prefer to shift the content slightly away from the punch side, especially on smaller formats like Personal or A6.
The core duplex method stays the same across sizes, but smaller inserts leave less room for error. A5 tends to be forgiving because the page area is still fairly generous. A6 and Personal inserts need more precise alignment, especially if you print close to the edge.
Happy Planner Classic pages add another consideration because of the disc-bound punch shape. If you trim and punch after printing, check that your margins leave enough space for the mushroom punch without crowding the layout.
This is one reason many planner users prefer creator-tested printable inserts. When the layout is designed with real printing and real binding in mind, double-sided results tend to be much less frustrating.
The best double-sided printing routine is the one you can repeat without re-learning it every time. Once you find the right settings for your printer, paper, and favourite insert sizes, write them down.
Keep a short note near your printer with details like paper type, scale setting, duplex setting, and reload direction for manual jobs. If you use multiple sizes, save separate notes for each one. That turns printing into a quick part of your planner routine instead of a guessing game.
In this creative corner of planning possibilities, small systems make a big difference. Your successful planning story begins with a single print, and once your double-sided setup clicks, the whole process feels lighter, neater, and a lot more satisfying.

€4,24
€4,24
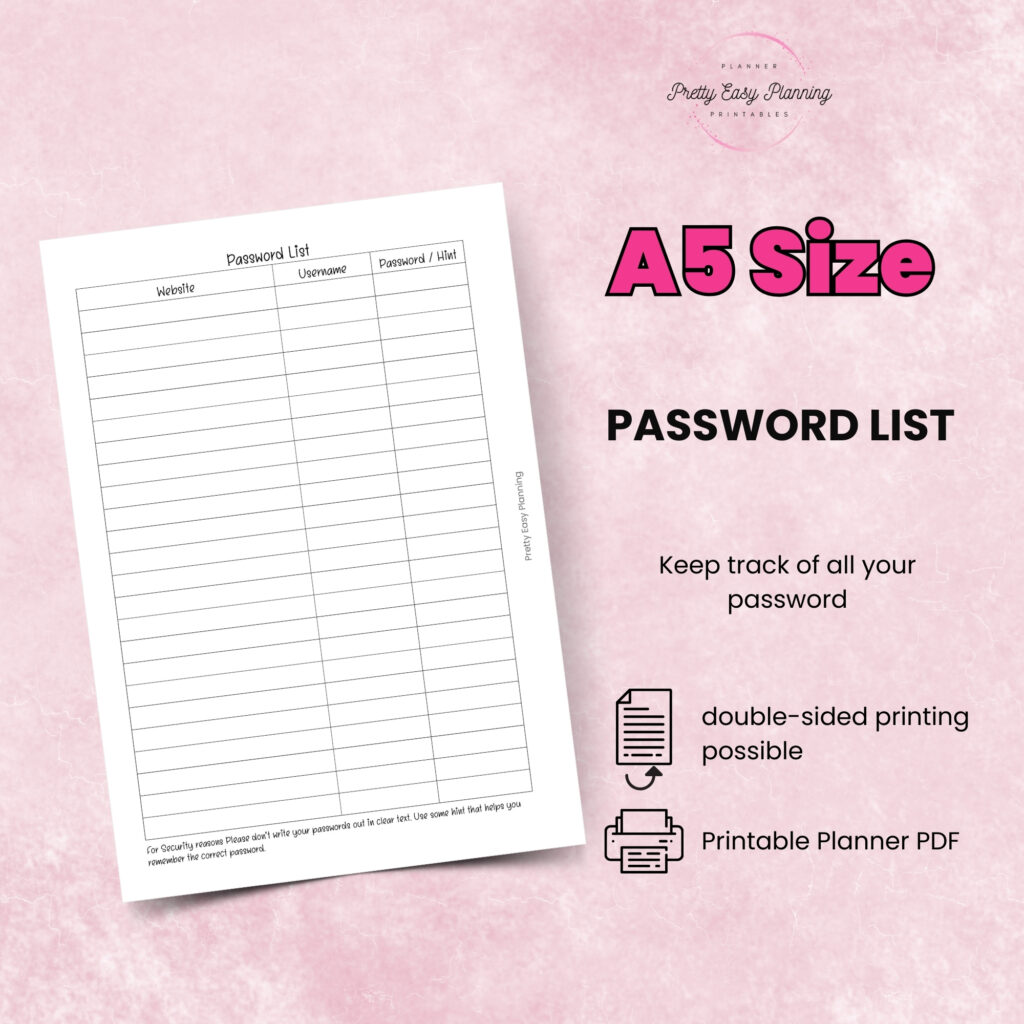
€4,24
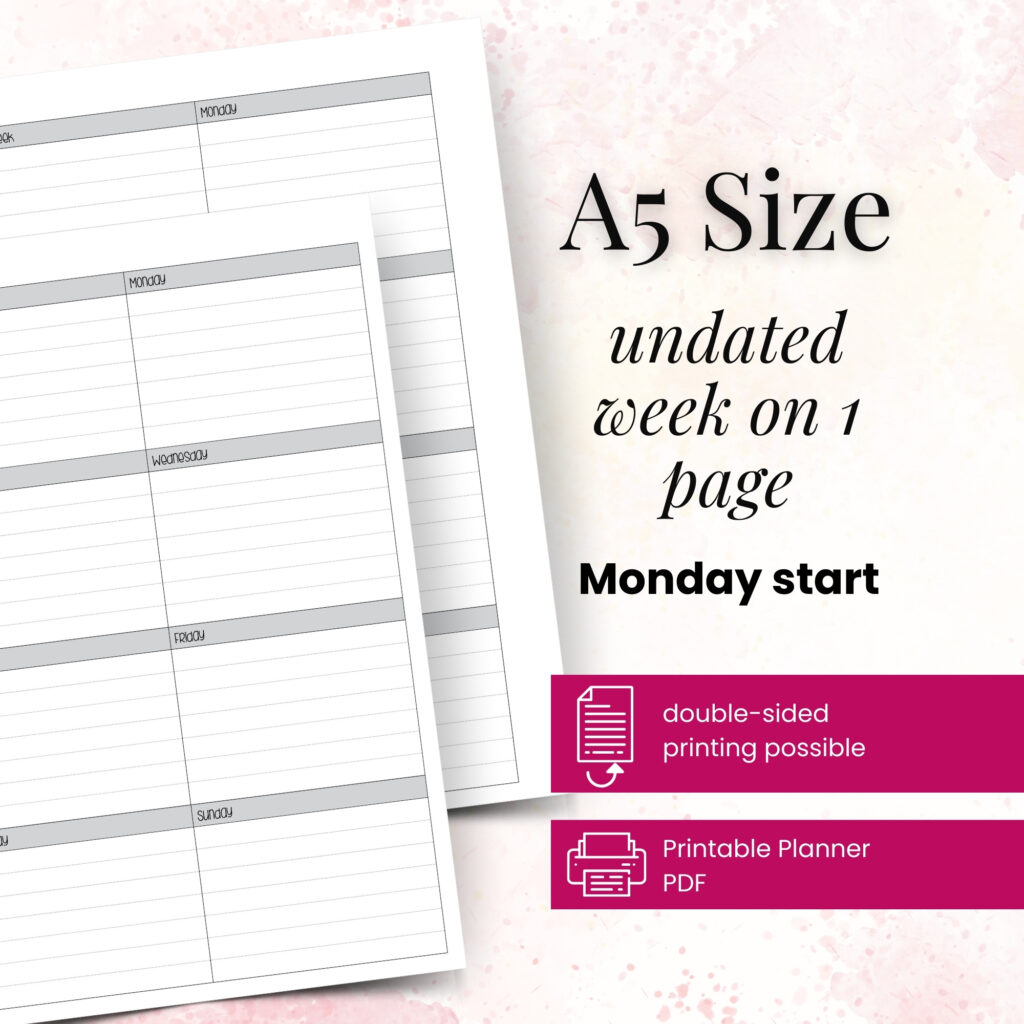
€4,24
A6 vs happy planner: compare size, space, portability, and page options to choose printable inserts that make your everyday planning feel easier with purpose.
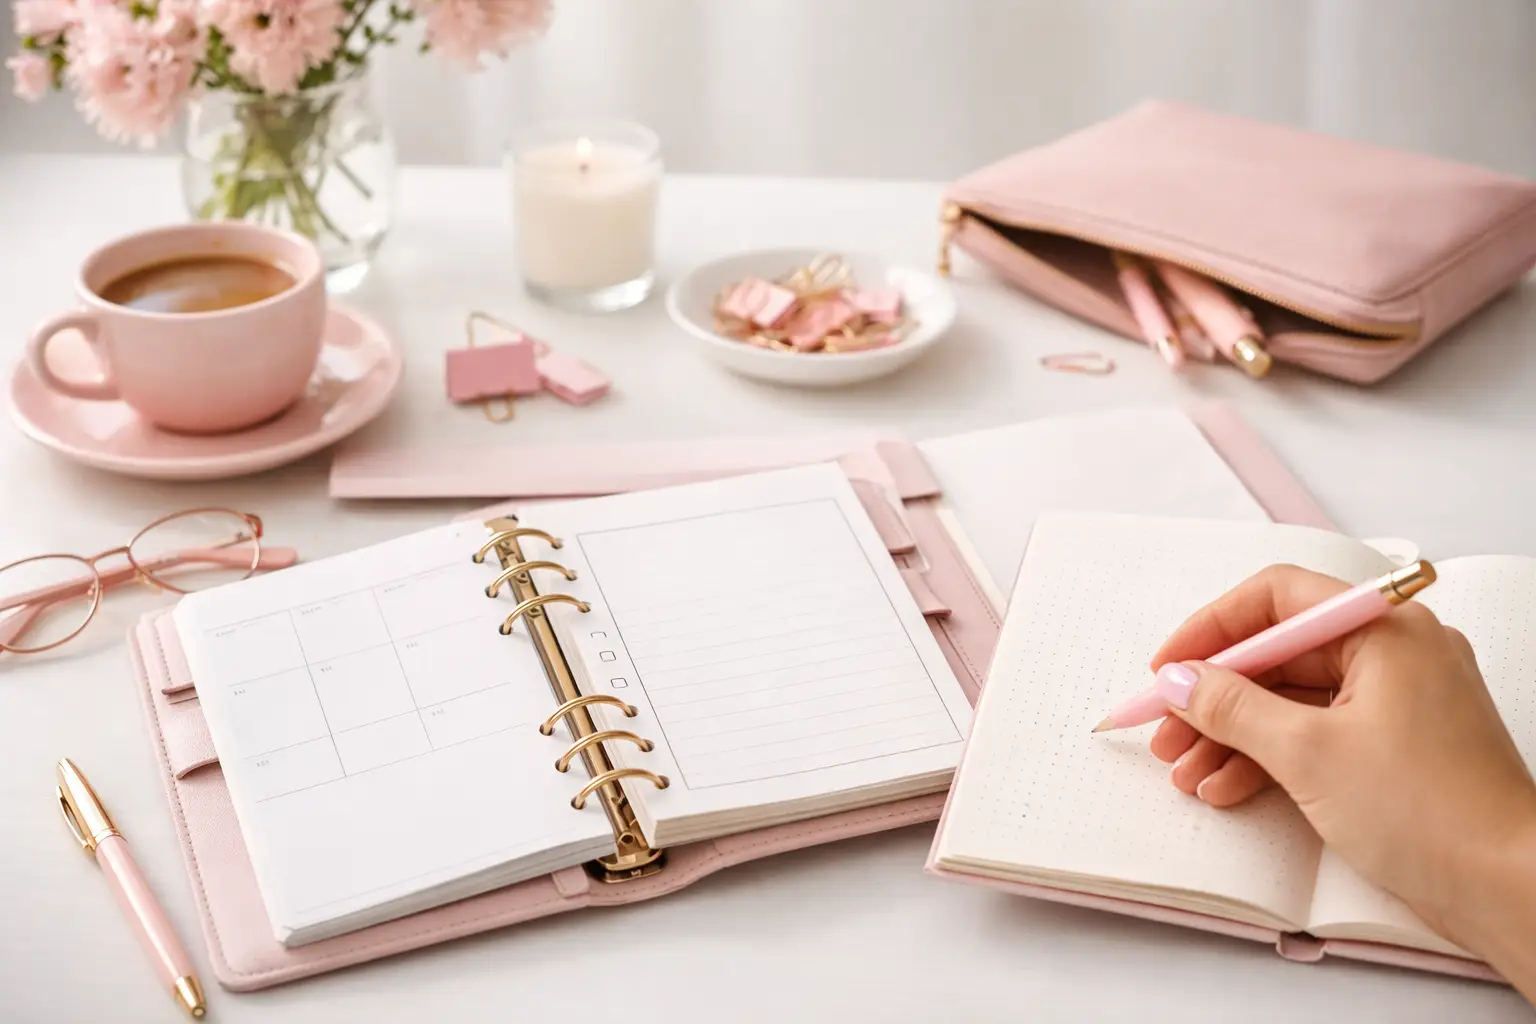
Wondering which planner pages do i need? Build a practical paper planner with only the inserts that support your real routines, goals, and plans daily.
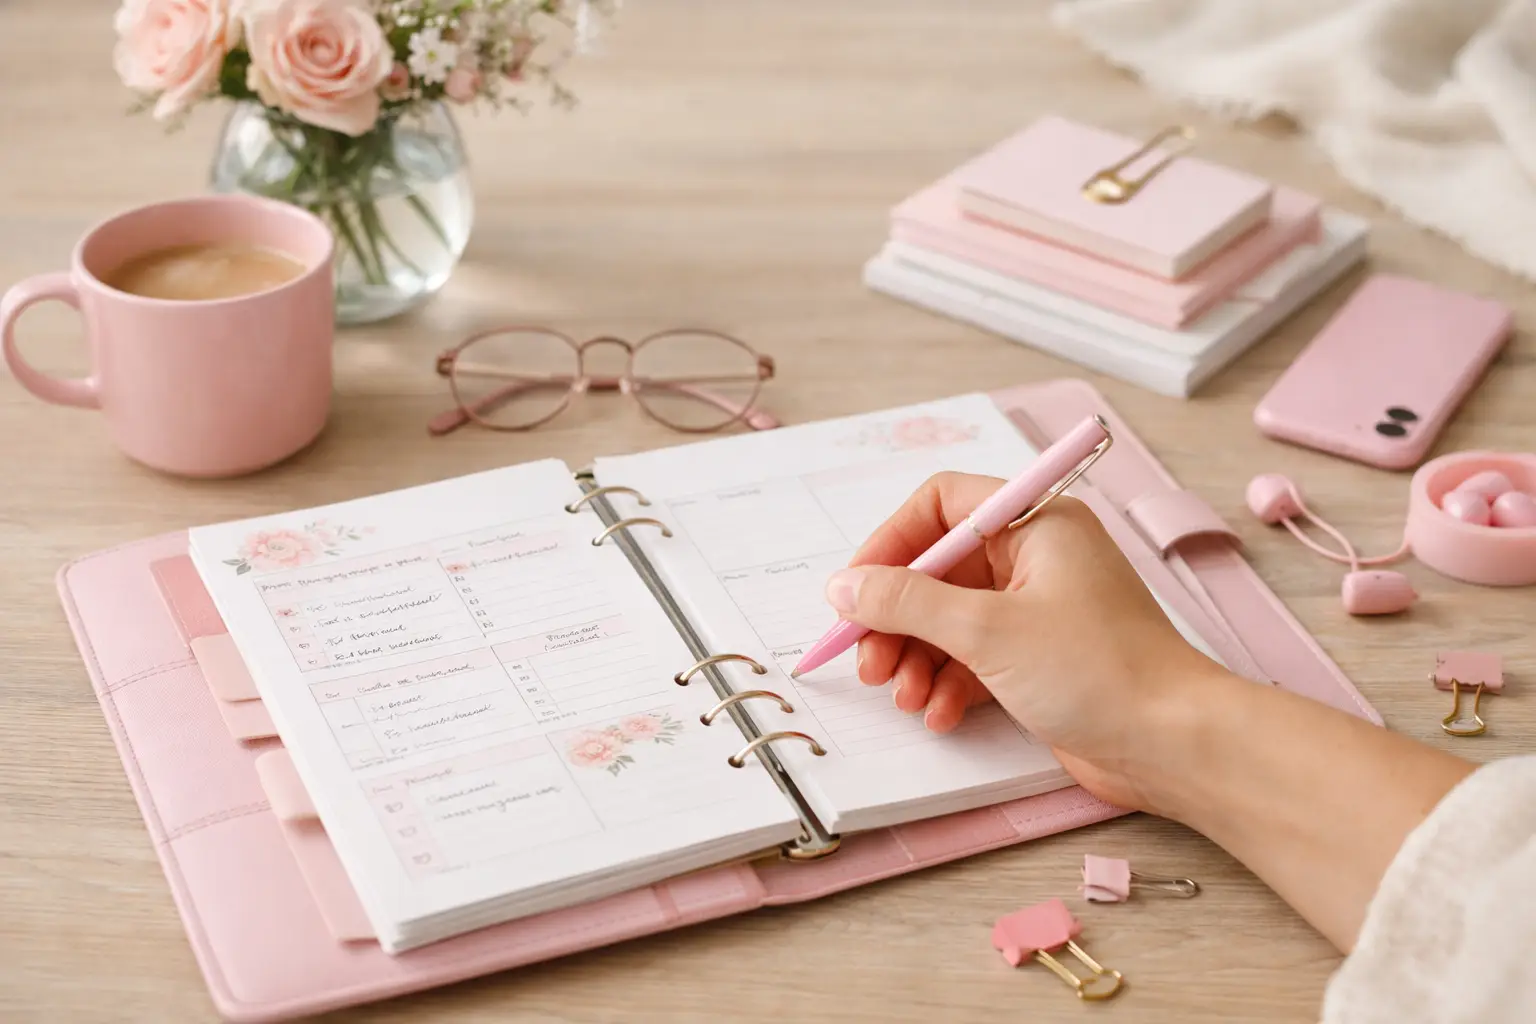
The future of printable planners favors flexible, beautiful systems: print what fits your week, refresh routines, and keep every page useful for life.