If your planner feels stuffed with pages you never use or missing the ones you reach for every day, a strong planner bundle setup example can fix that fast. The goal is not to build the fullest planner. It is to build one that supports your real life, looks good on your desk, and stays easy to use after the first week of motivation wears off.
A good bundle setup gives you structure without boxing you in. You get the pages you need for your schedule, lists, projects, and routines, then print and arrange them in a way that makes sense for your season of life. That is where printable bundles shine. You can adjust, test, and refine without wasting a stack of unused inserts.
Key Takeaways
-
A planner bundle setup works best when you match inserts to your real routine, not your ideal one.
-
Start with core pages: monthly, weekly, daily or notes, plus a few support sections.
-
Build in layers so your planner stays useful without feeling bulky.
-
Print smaller test batches first, then tweak based on how you actually plan.
-
The best setup balances function and beauty so you want to keep using it.
A practical planner bundle setup example
Let’s use a realistic example. Imagine you want one planner that handles work tasks, home life, appointments, and personal goals. You like a clean layout, but you also want enough flexibility for busy weeks. In that case, your bundle setup might center on monthly, weekly, notes, and list inserts, with a few dashboard pages to keep priorities visible.
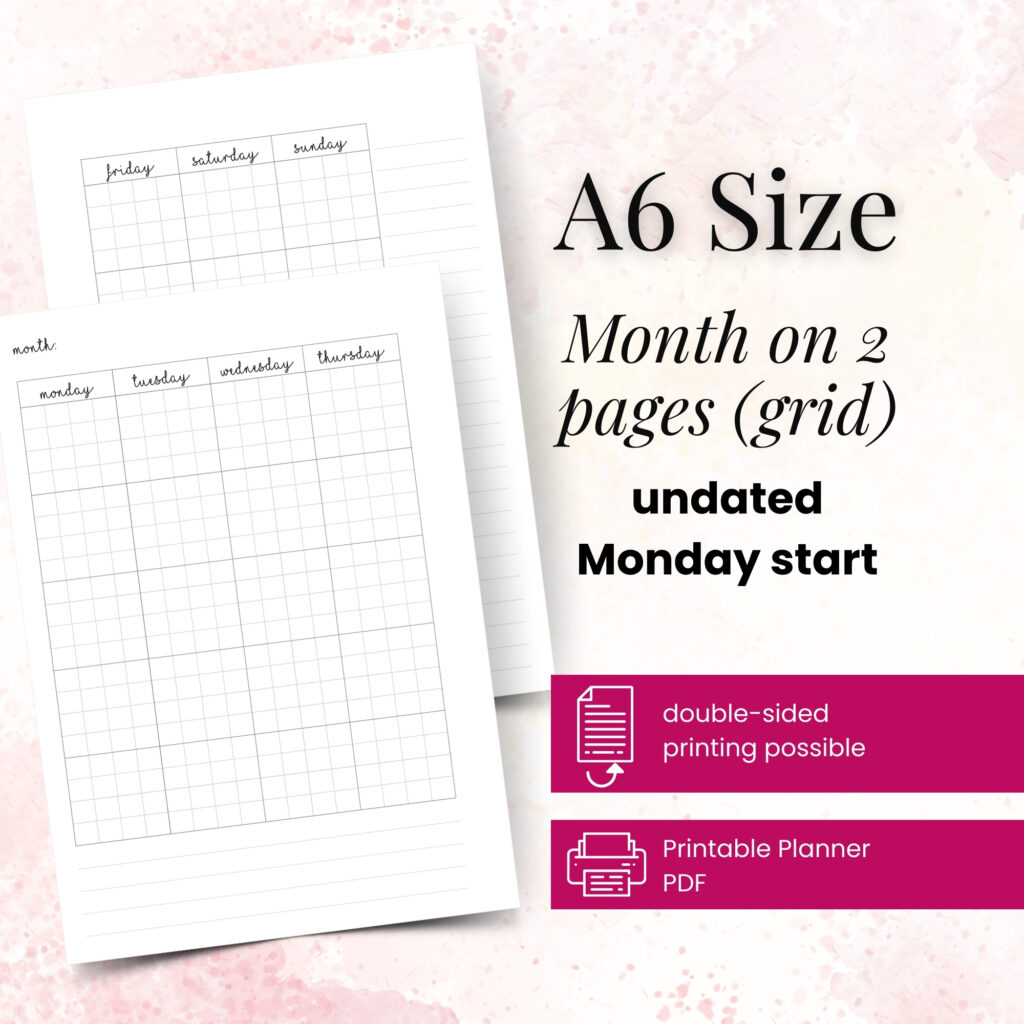
Start with a monthly section at the front. This gives you the big picture. Use it for appointments, events, bill due dates, travel, birthdays, and deadlines. Monthly pages help you spot busy stretches before they sneak up on you.
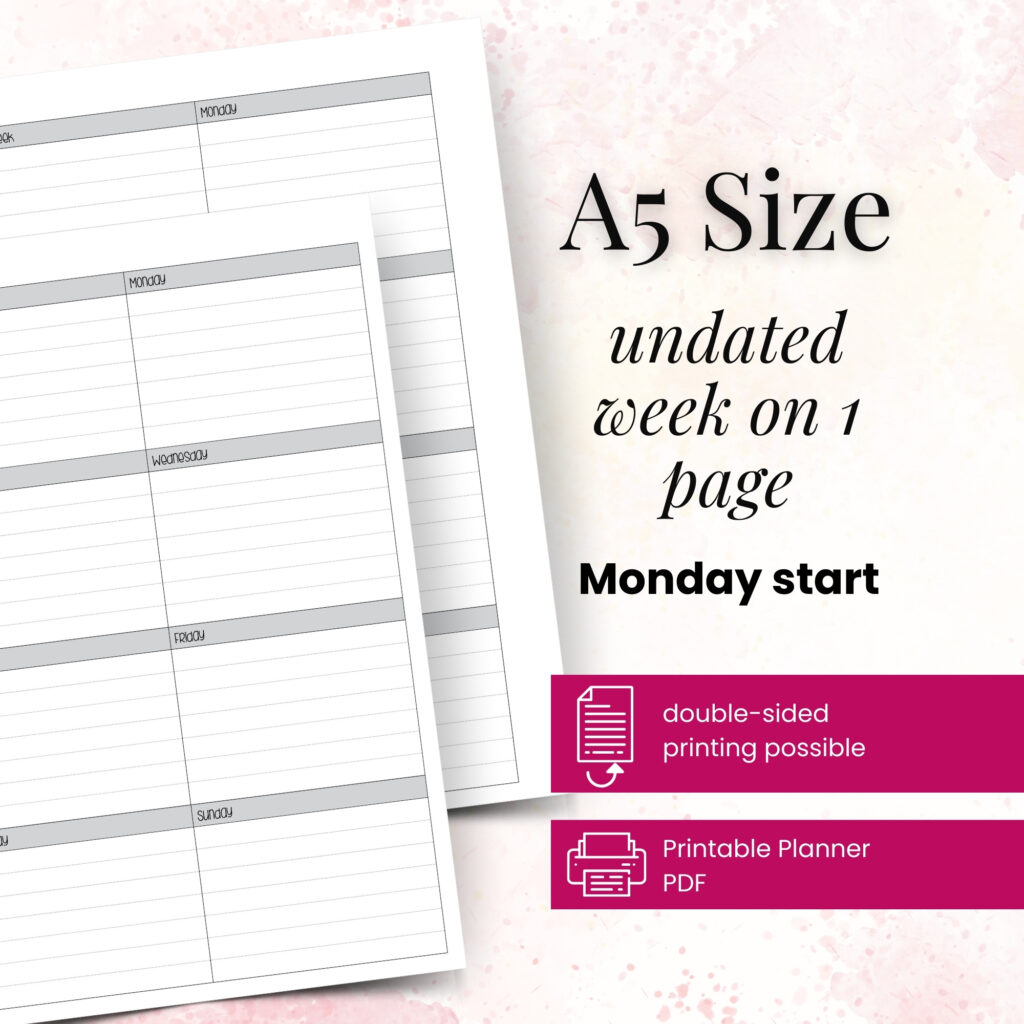
Next, add weekly inserts as the core of your everyday planning. For many people, this is the section that gets the most use. A weekly spread gives you room to map out appointments, task groups, meal plans, or family logistics without forcing you to commit to a full daily layout every single day.
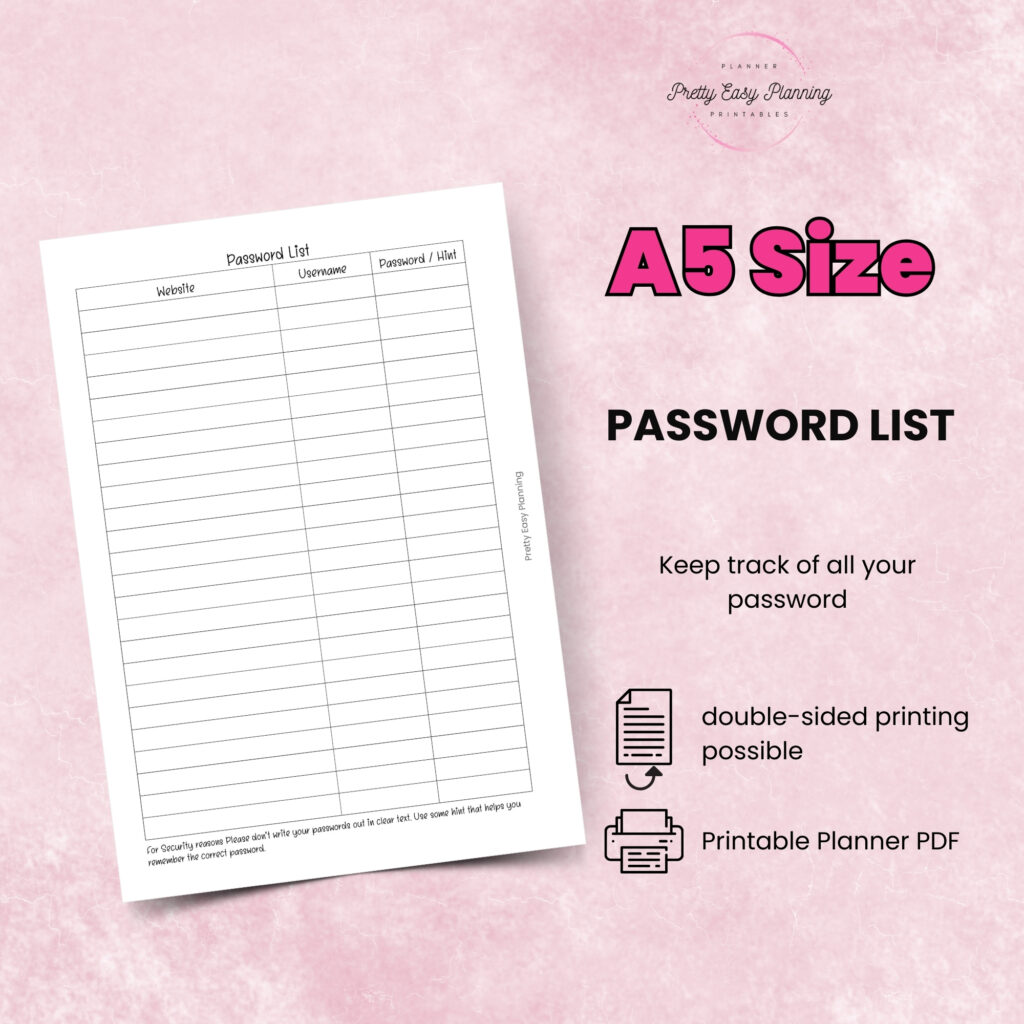
Then add a notes or lists section right behind your weekly pages. This is where your planner becomes truly personal. Use those pages for shopping lists, project brain dumps, packing checklists, ideas, and anything that does not belong on a dated page.
Finally, place one or two dashboard inserts near the front of the planner. A dashboard works well for current goals, top priorities, habit cues, or reminders you need to see often. If you flip past the same sticky note every day, that information probably belongs on a dashboard.
How to set up the bundle so it feels easy to use
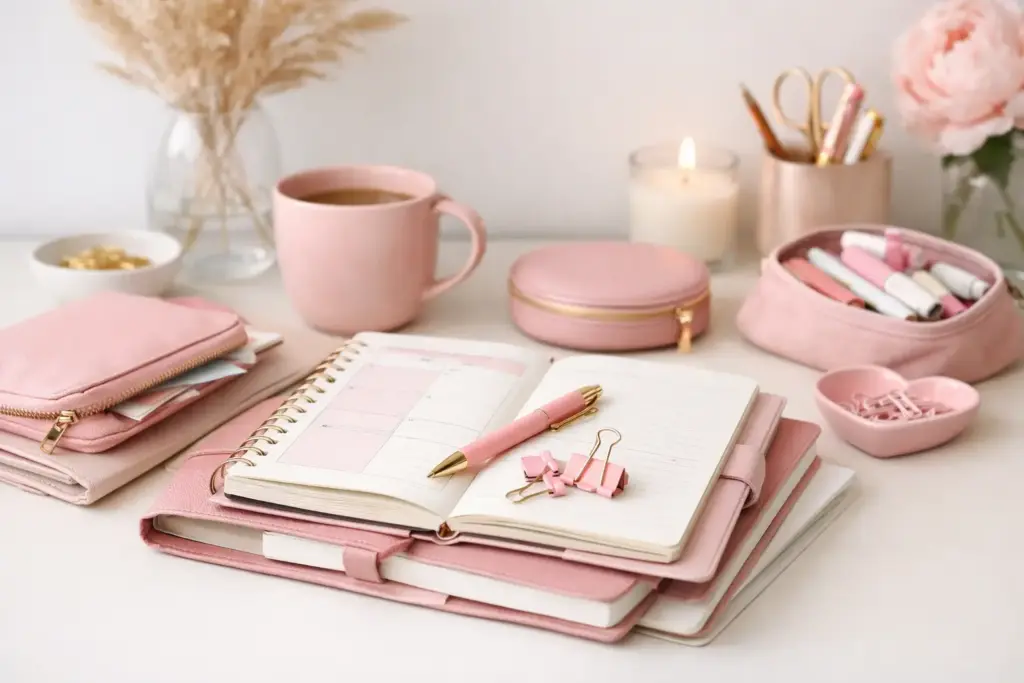
The biggest mistake people make is loading every section with too many pages at once. A planner should feel usable in your hands, not like a file cabinet. Start with one month of weekly pages, one set of monthly pages for the current quarter, and a modest stack of notes and lists.
A simple order usually works best: dashboard first, then monthly, then weekly, then notes and lists. That flow mirrors how most people think. You check the month for context, the week for action, and the back sections for support material.
If you use dividers, keep the labels simple. Month, Week, Notes, Lists, Goals. You do not need ten tabs to feel organized. In fact, too many categories can slow you down when you need to write something quickly.
Paper choice also matters more than many people expect. If you enjoy smooth writing and clean printing, choose paper that suits your favorite pens and keeps your inserts feeling substantial. Since you print your own pages, you can test a few options before committing to a bigger stack.
What this setup looks like in real life
Here is how this planner bundle setup example plays out during a normal week. At the start of the month, you fill in appointments, recurring deadlines, school events, and anything fixed. That takes pressure off your weekly planning later because the framework already exists.
At the start of each week, you open the weekly spread and pull in what matters most from the monthly pages. Add tasks, meetings, errands, meal ideas, and personal reminders. If your week gets crowded, the notes section gives you overflow space for project details or running lists.
During the day, the planner stays practical because you are not flipping through sections you never use. Everything important sits close to the front or in a clearly defined support area. That structure helps you stay consistent, which is more valuable than a perfectly decorated planner you stop using after two weeks.
A planner bundle setup example for different planning styles
Not every planner user needs the same mix. That is why bundles work so well. You can keep the framework and swap the emphasis.
If you are schedule-driven, lean more heavily on monthly and weekly inserts. Add timed pages if appointments and meetings shape your day. Keep notes pages light so the planner stays slim and focused.
If you are project-driven, build out your notes and lists section more intentionally. Keep monthly and weekly pages for deadlines and task planning, then add extra project pages behind them. This works well for business planning, content mapping, event prep, or household projects.
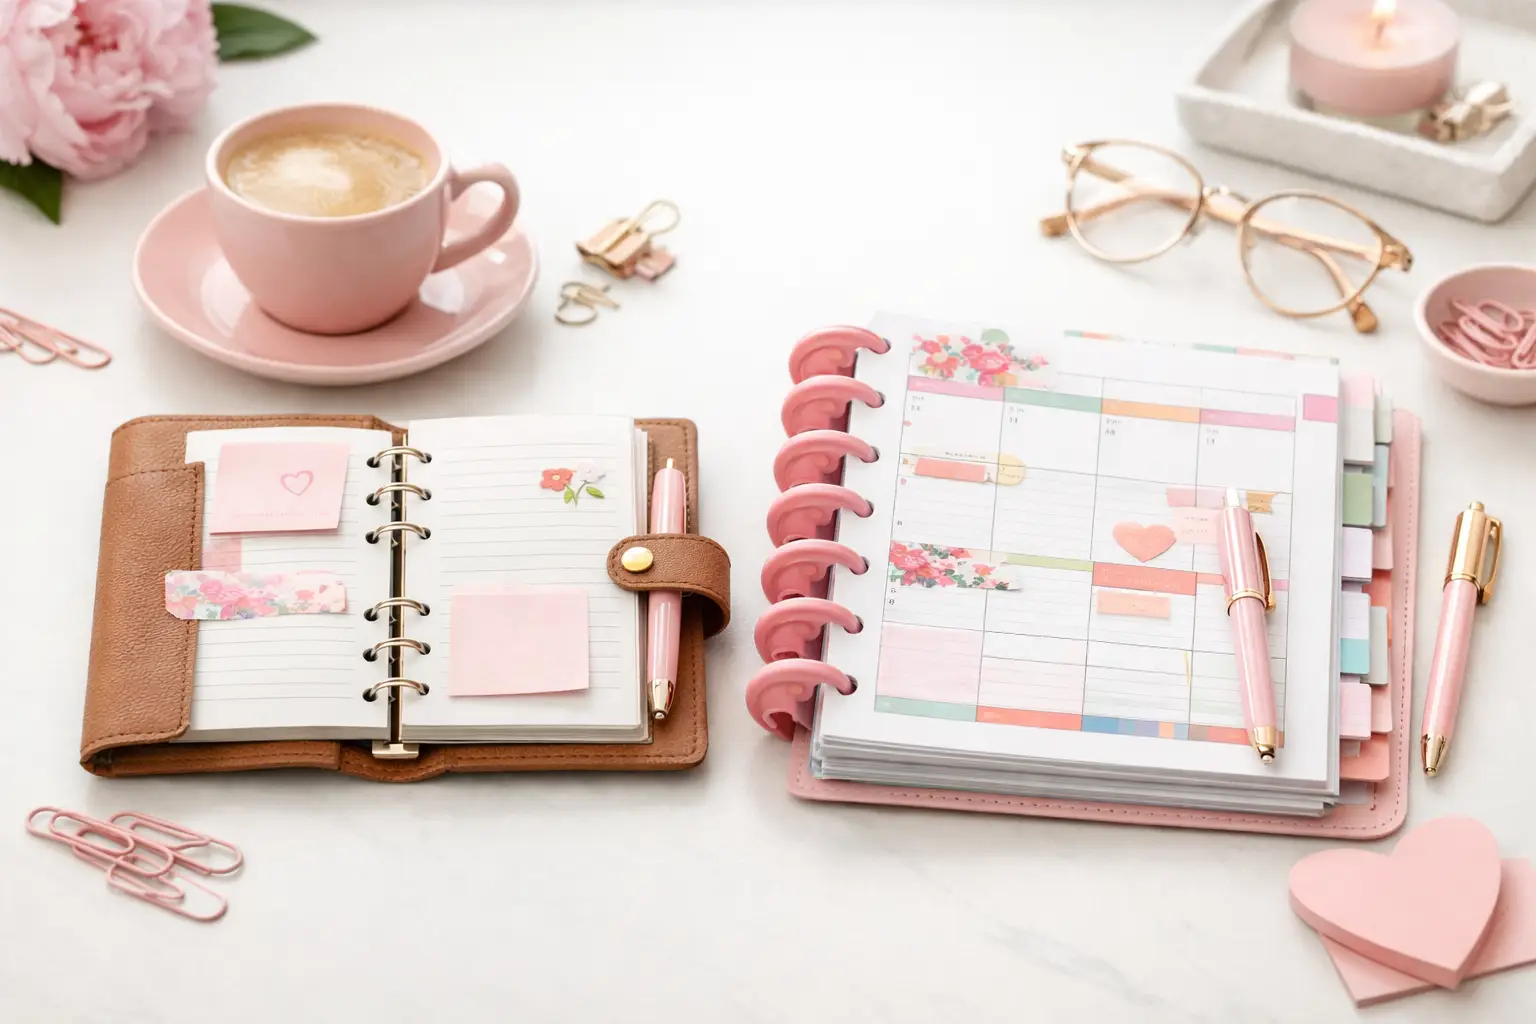
If you want a planner that supports both structure and creativity, use dashboard inserts for mood, focus words, seasonal goals, or visual prompts. Decorative vellum-style pieces can also add personality without taking over the functional side of your setup. A pretty planner is not frivolous if beauty helps you return to it consistently.
How to avoid overbuilding your planner
It is easy to print every insert that catches your eye. Most planner lovers have done it at least once. The smarter move is to build from your habits upward.
Ask yourself what you actually track every week. Do you need daily pages, or do weekly inserts already give you enough room? Do you use a dedicated goals section, or would one dashboard page handle that better? Are long note sections useful, or do you prefer a few pages at a time?
Be honest about your planning rhythm. A setup that looks impressive online can feel frustrating if it asks too much of you. Your planner should reduce friction, not create another task to maintain.
That is one reason creator-tested inserts tend to work better than random page combinations. Thoughtful layouts account for how people write, flip, reference, and repeat tasks. Pretty Easy Planning builds around that real-life use, which makes customization feel less overwhelming.
Small setup choices that make a big difference
Section placement can change how often you use a page. Put high-use inserts in the easiest-to-reach spots. If you check habits daily, place that page near your weekly spread. If you only review yearly goals once a month, move them farther back.
Printing in smaller batches also helps. Print enough inserts for a short trial run, use them for two weeks, then adjust. This keeps you from committing to a format that looked good at first glance but does not match how you plan.
You can also rotate inserts seasonally. Busy work periods, school schedules, travel months, and quieter routines all call for different planning support. A printable bundle makes that shift much easier because you can rebuild your pages as your life changes.
When a bundle makes more sense than single inserts
Single inserts work well when you know exactly what you need. A bundle makes more sense when you are building a complete system or refreshing an older setup. It saves time because the layouts already coordinate, and it helps your planner feel cohesive from section to section.
That visual consistency matters more than it seems. When your pages share the same style, scale, and spacing, planning feels calmer. Your eye knows where to go. Your pages feel like parts of one system rather than a stack of mismatched forms.
Bundles also make it easier to experiment with balance. You might discover that you love the monthly and list pages but only need half as many weekly inserts as expected. Since you control what you print, you can fine-tune the setup without being stuck with extras.
The best setup is the one you will keep using
A strong planner bundle setup example does not chase perfection. It solves everyday problems with pages that feel intuitive, useful, and enjoyable to open. If your planner helps you see the month clearly, manage the week with confidence, and keep important lists within reach, it is doing its job beautifully.
Your successful planning story begins with a single print, but it gets stronger with each small adjustment. Give yourself permission to set up a planner that fits your real routine, then let it evolve with you.