You printed a beautiful insert, grabbed your favorite paper, and then realized the holes sit just a little off – or worse, the page floats inside the cover like it belongs to a different planner entirely. That one small mismatch can turn planner excitement into instant frustration. A good planner size compatibility guide helps you avoid wasted paper, awkward trimming, and inserts that never feel quite right in your setup.
If you use printable inserts, compatibility matters more than most people expect. Size is only one part of the equation. Page dimensions, punch style, ring spacing, disc systems, margins, and even how much writing space you want all affect whether a layout works well in your planner.
Key Takeaways
-
Planner compatibility depends on page size, hole style, binding system, and margin placement.
-
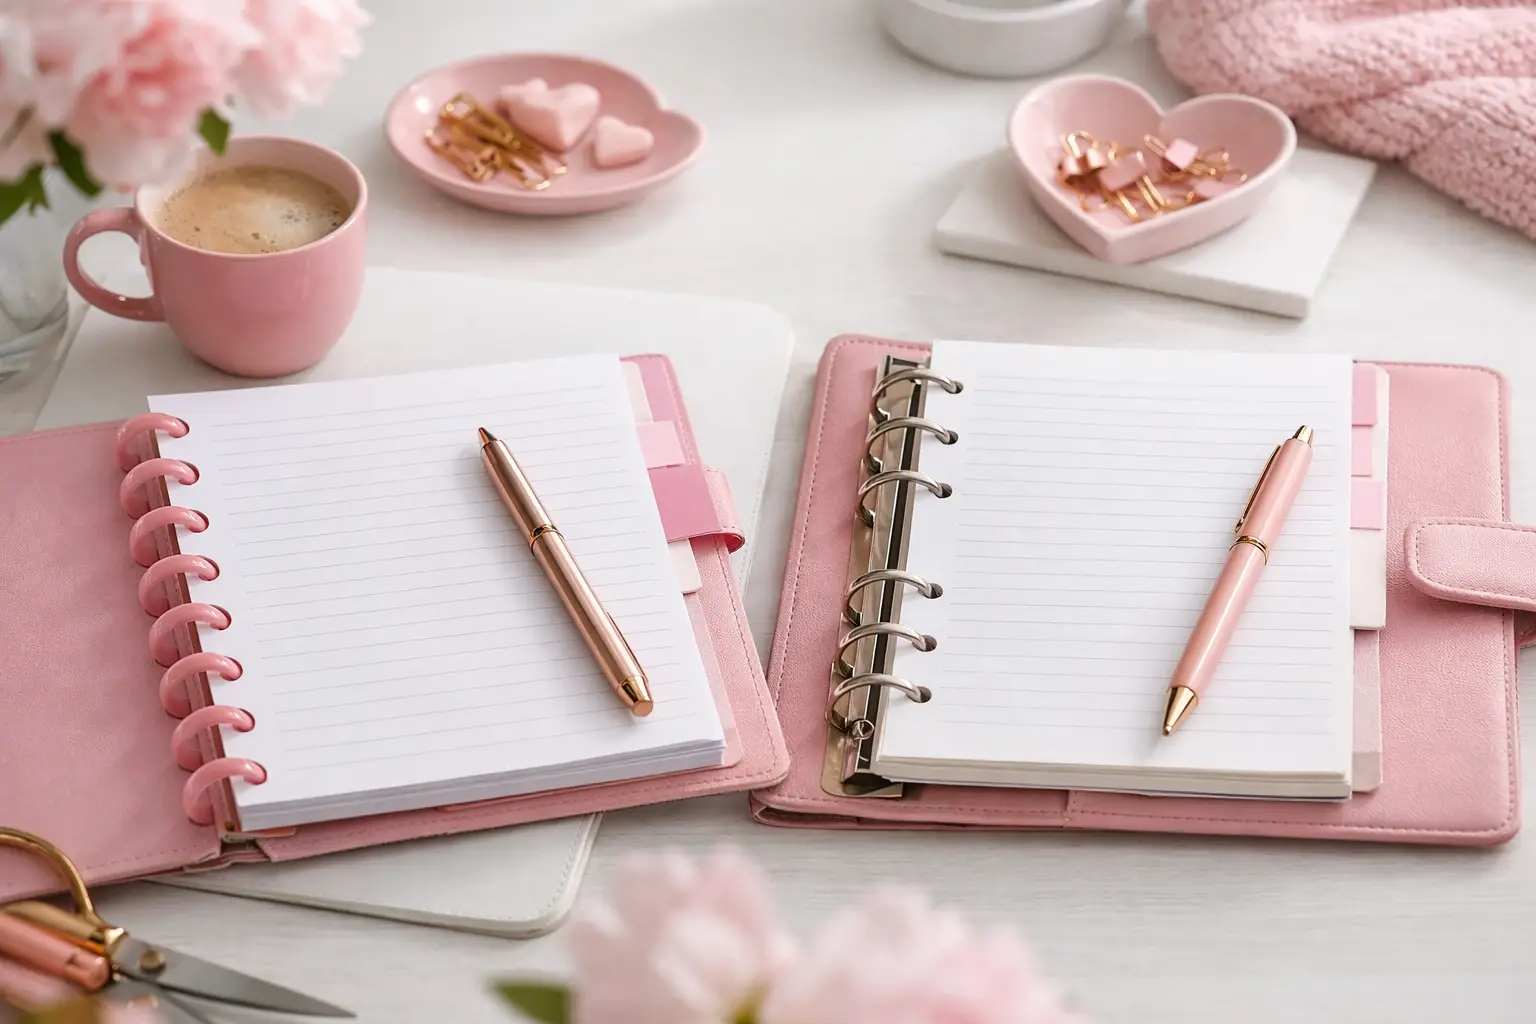
A5, A6, Personal, Personal Wide, and Happy Planner Classic are not interchangeable, even when pages look similar.
-
Always check both finished page size and punch requirements before printing.
-
If you want the easiest fit, choose inserts designed for your exact planner format.
-
Cropping or scaling can work sometimes, but it usually changes writing space and layout balance.
What this planner size compatibility guide actually covers
Most planner users talk about size as if it answers everything. It does not. Two inserts can look close in dimensions and still fail inside the same planner because the punch pattern differs. That happens often with ring-bound and disc-bound systems.
This planner size compatibility guide focuses on practical fit. That means asking three simple questions before you print. First, what is the finished page size? Second, what binding system does your planner use? Third, was the insert built with that format in mind?
When those three things line up, planning feels easy. When they do not, you end up trimming pages, adjusting print settings, and trying to make a layout behave in a space it was never designed for.
The planner sizes people mix up most often
A5 and Personal are not close substitutes
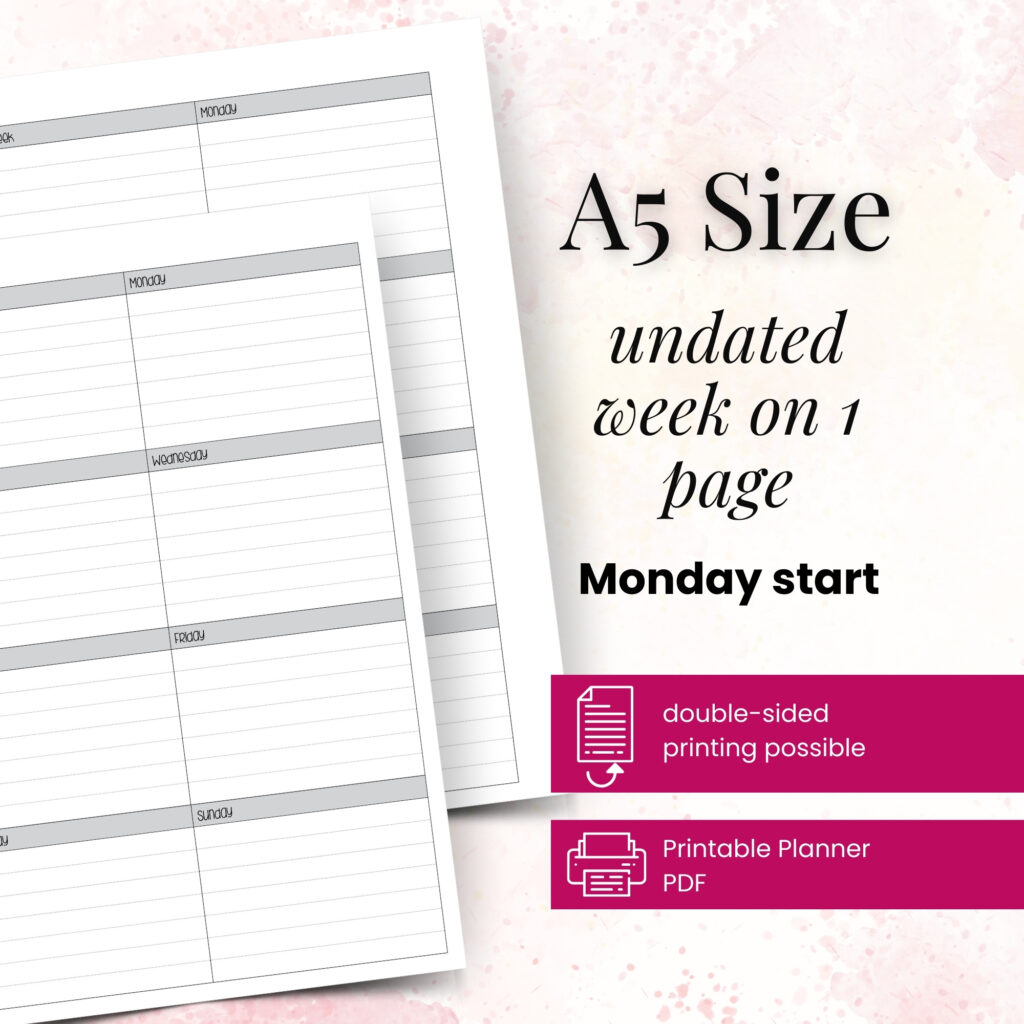
This mix-up happens all the time because both are popular ring planner sizes. But A5 pages measure 148 x 210 mm, while Personal pages are narrower and taller in proportion. Even if you trim an A5 insert down, the layout may lose side margins, habit trackers may crowd the edge, and your writing columns can feel squeezed.
If you love roomy weekly spreads, A5 gives you more breathing room. Personal works better when you want portability without dropping all structure. Both can be beautiful and functional, but they solve different planning problems.
Personal and Personal Wide look similar until you use them
Personal Wide gives you extra width, and that extra width changes a lot. It often means more comfortable writing space, better list layouts, and weekly pages that do not feel cramped. A standard Personal insert usually will not fill that space well, and a Personal Wide insert will not fit neatly into a standard Personal planner.
If your current planner feels just a little too tight, Personal Wide may be the better answer than trying to force another layout into your rings.
A6 is compact, but not interchangeable with Personal
A6 is a true paper size. Personal is a planner-specific format. They may seem close when you hold them side by side, but the proportions differ, and so do the hole placements. If you print an A6 insert for a Personal planner, you may end up with odd margins or missing content once you punch it.
A6 works especially well for simple daily planning, appointments, short lists, and on-the-go use. Personal usually supports a bit more structured planning without stepping up to A5.
Happy Planner Classic stands in its own lane
Happy Planner Classic uses a disc-bound system, not rings. That alone makes it a separate category. Even when a page looks visually close to another format, the punch shape and edge design need to match the discs.
This matters because ring planner inserts cannot simply move into a Classic planner without repunching, and even then, the margins may not cooperate. If a layout has important details near the edge, disc punching can eat into the design.
Why compatibility is more than page measurements
A planner page has to do more than fit inside the cover. It has to turn cleanly, sit nicely on the rings or discs, and leave enough usable writing space after punching. That is why exact dimensions matter, but layout engineering matters too.
For example, a weekly insert might technically fit after trimming. But if the to-do column ends up too close to the punch side, writing becomes annoying fast. The same goes for habit trackers, checkboxes, and notes sections. A page can be printable and still not be practical.
This is where tested inserts really make a difference. Layouts built for a specific format take margin loss and punch spacing into account from the start, so your pages feel balanced once they land in your planner.
How to check compatibility before you print
Step 1: Identify your planner format exactly
Do not stop at saying, “I have a small ring planner.” Look for the actual format: A5, A6, Personal, Personal Wide, or Happy Planner Classic. If you are unsure, measure one current insert and compare both width and height.
Take a close look at the binding too. Rings and discs are not interchangeable systems, and that changes everything.
Step 2: Check the insert’s finished size
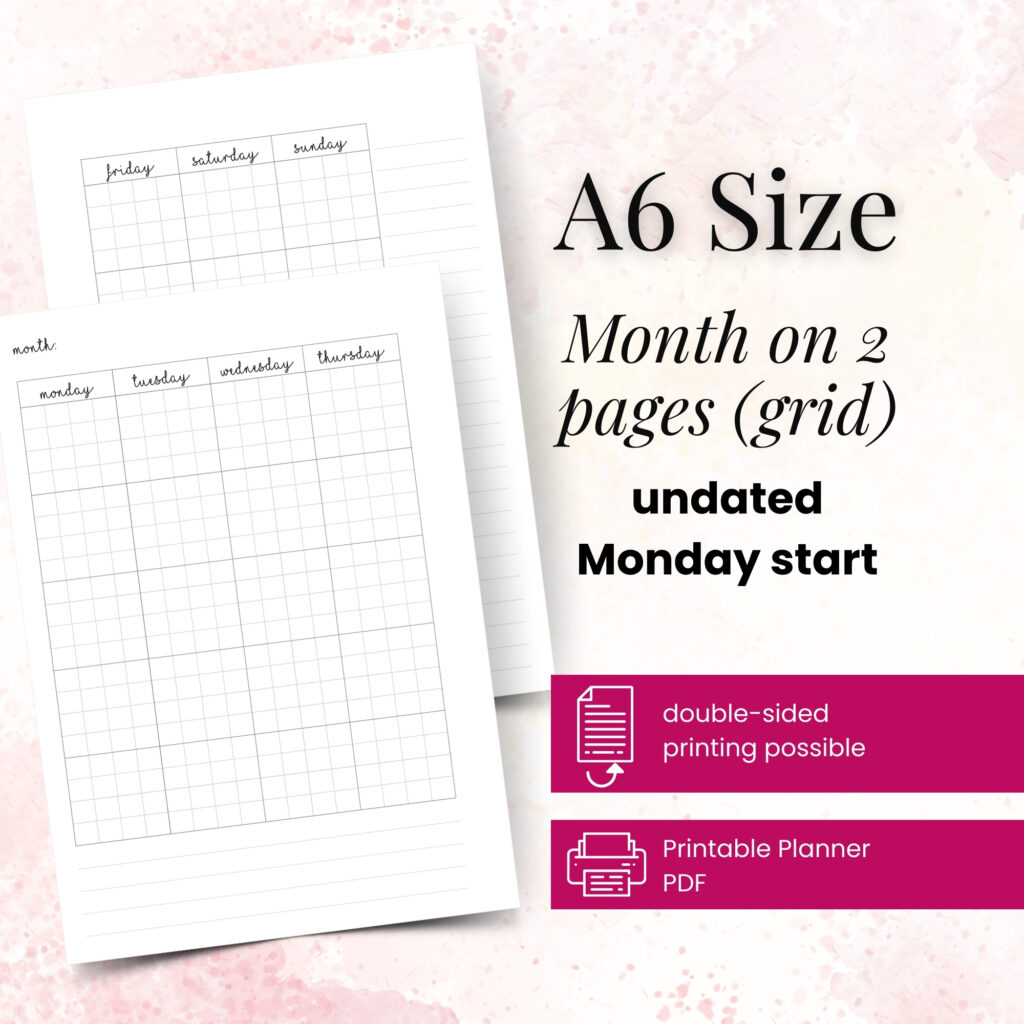
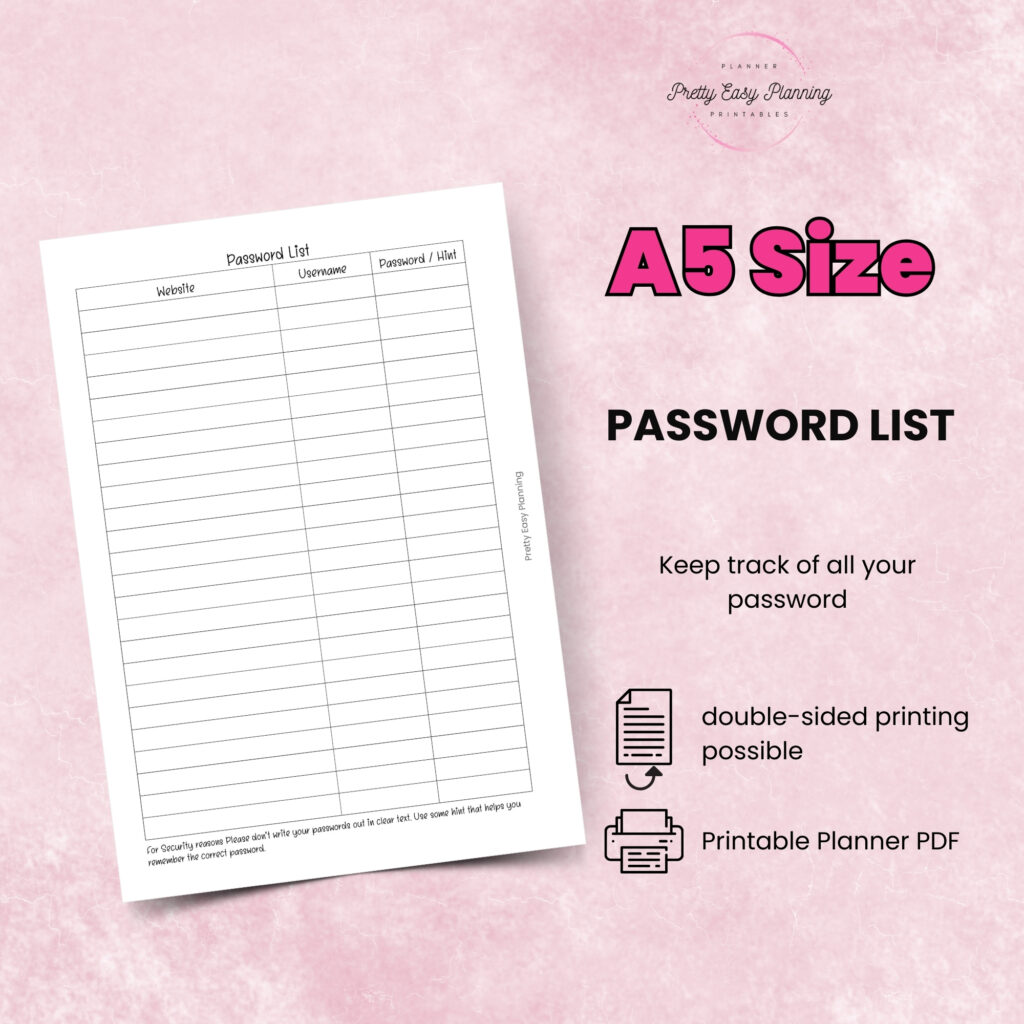
The finished size matters more than the paper you print on. Many inserts print on larger sheets and then get cut down. That is normal. What matters is the final trimmed page size.
If the insert description says A5 finished size, treat it as an A5 insert. Do not assume you can shrink it into Personal without changing how the layout works.
Step 3: Confirm punch style or cut line needs
Some inserts are made for ring punching. Others suit disc systems. Some require trimming before punching. Read that information carefully before you start.
A simple example: if you print a Happy Planner Classic page and punch it with a standard six-hole ring punch, the result will not behave like a proper planner page. The page may fit nowhere useful.
Step 4: Think about your planning style, not just fit
Compatibility also includes comfort. If you write large, track multiple projects, or like roomy weekly planning, a small format may technically fit your planner life but still feel frustrating every day.
That is why the best choice is not always the smallest one that fits in your bag. Sometimes the right format is the one that gives your routine enough space to breathe.
When scaling works and when it does not
Scaling sounds like an easy fix, and sometimes it helps. A simple notes page or minimal checklist can survive a little resizing. Decorative pages or basic lined inserts also tend to adapt better than structured planning pages.
But dated calendars, timed daily layouts, dashboards with tight boxes, and weekly spreads usually lose balance when you scale them. Text may shrink too much, writing areas may narrow, and punched margins can cut into important sections.
If you want a planner that feels polished, scaling should be the exception, not the plan.
A simple way to choose the right insert format
Start with your actual planner. Then match the insert to that exact size instead of choosing a layout first and hoping it adapts later. It saves time, saves paper, and gives you a cleaner result.
If you are building a system from scratch, think about your daily habits. A6 suits lighter planning and portability. Personal gives a balanced middle ground. Personal Wide adds comfort for fuller pages. A5 suits users who want generous writing space, while Happy Planner Classic works well for disc lovers who like flexibility in page movement.
At Pretty Easy Planning, this is the thinking behind format-specific inserts. The goal is not just to make pages look pretty on screen. It is to help them work beautifully once printed, punched, and added to real planners.
The best planner size compatibility guide is the one you actually use
You do not need a complicated chart taped to your desk. You just need a repeatable habit: check format, check finished size, check binding system, then print. That small pause prevents most compatibility mistakes before they happen.
Your planner should feel easy to use, easy to personalize, and satisfying every time you turn the page. When the fit is right, everything else falls into place a little faster – and your successful planning story begins with a single print.