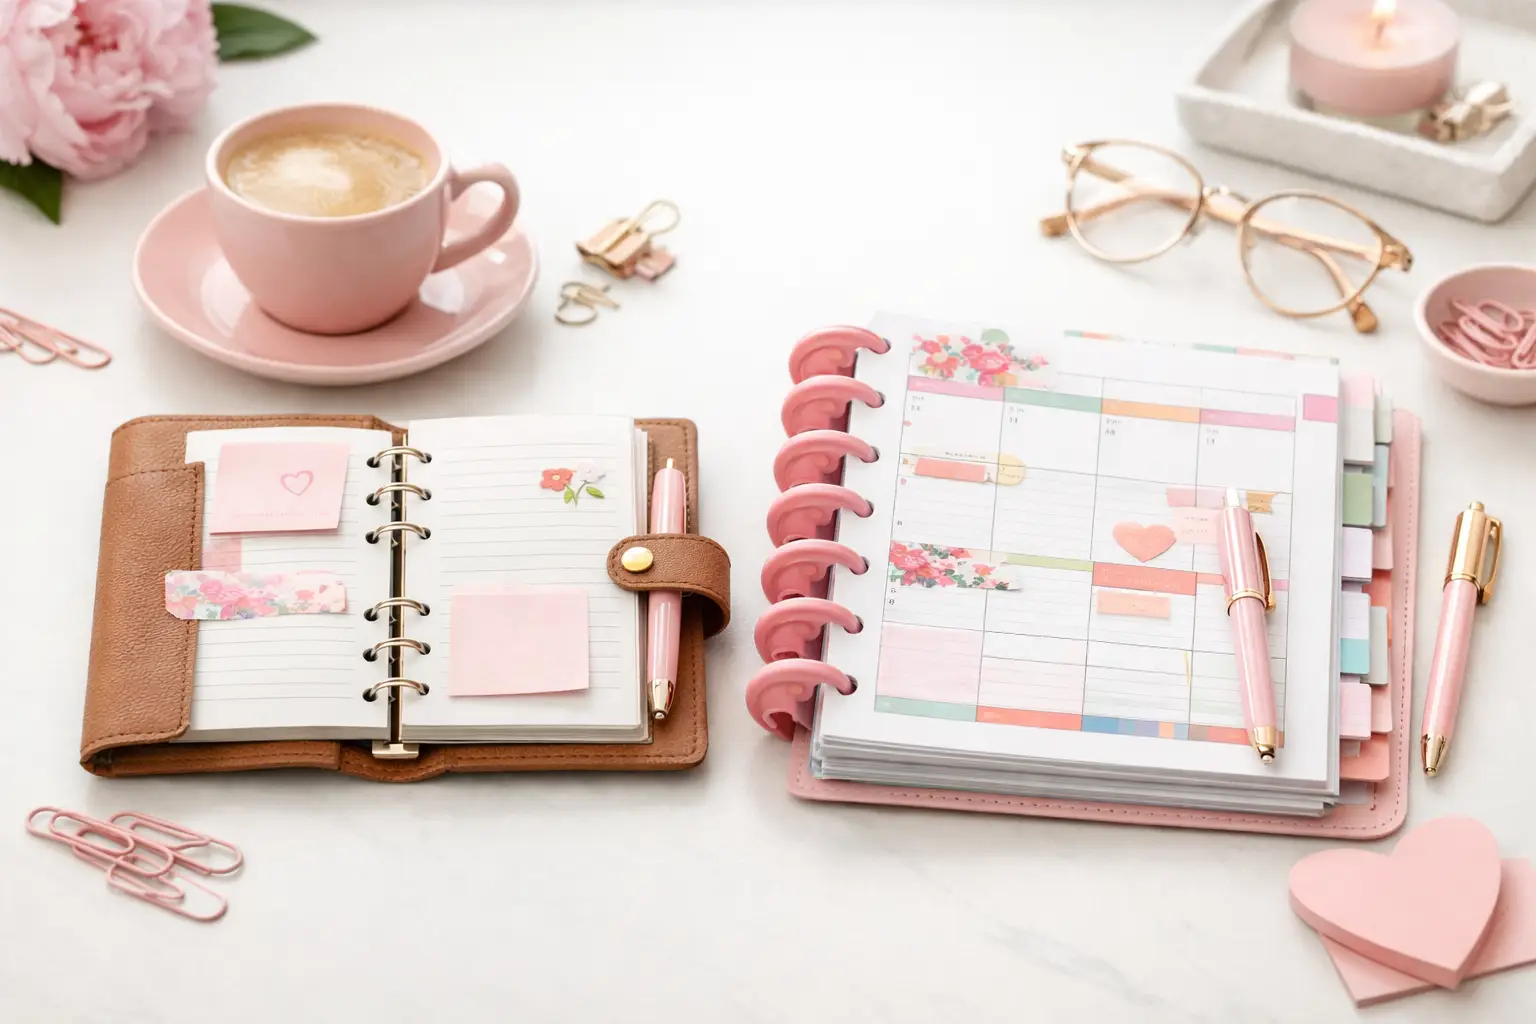
A6 vs Happy Planner: Which Fits Your Life?
A6 vs happy planner: compare size, space, portability, and page options to choose printable inserts that make your everyday planning feel easier with purpose.
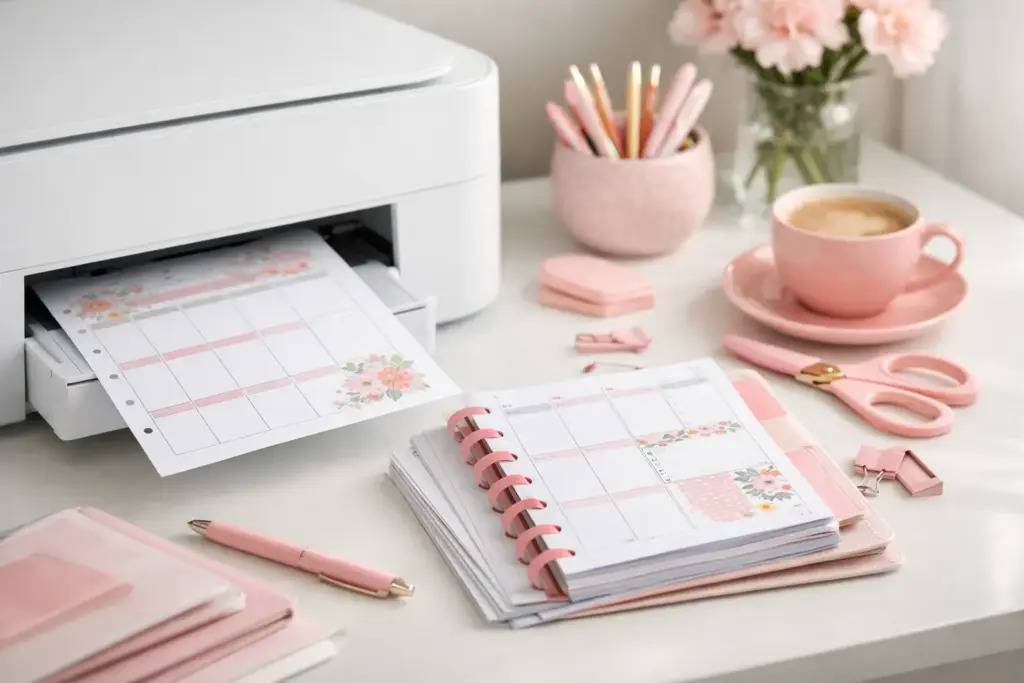
That moment when your printable pages come out slightly too small, the punch lands awkwardly, or the boxes don’t quite match your layout can make even experienced planners pause. If you’ve been wondering how to print happy planner pages without wasting paper or patience, the good news is that the process is usually simple once a few key settings are in place.
Printing planner inserts is one of the best parts of using printables because you get control over the details that pre-printed planners never quite get right. You can choose your paper, print only the pages you actually need, and build a planner that fits your routine instead of working around someone else’s layout. Your successful planning story begins with a single print, but a clean result depends on size, scale, and setup more than people expect.
The most common printing issue is scaling. Printers love to “help” by shrinking or enlarging files automatically, and that’s exactly what throws planner pages off. When you print, look for settings like Actual Size, 100%, or Custom Scale set to 100. Avoid Fit to Page, Shrink Oversized Pages, or any setting that sounds like it might adjust the file for you.
That one change solves a lot. If your insert was designed correctly for Happy Planner Classic and your printer keeps the file at 100%, the proportions should stay where they belong. If you let the printer resize it, your boxes may look close enough at first glance, but punched pages can feel wrong in the planner and paired left-right spreads may not line up well.
It also helps to confirm what size file you downloaded. Some printable shops offer several planner formats in one bundle, and it’s easy to open the wrong version when you’re moving quickly. A page designed for A5 or Personal Wide will not behave like a Happy Planner page, even if the layout style looks similar.
For most people searching how to print happy planner pages, the real question is which Happy Planner size they’re working with. Happy Planner Classic is the most common, but Mini and Big use different page dimensions. That means printing success starts before you hit the print button.
Make sure the PDF you’re printing was created specifically for that format, expecially if you use Happy Planner Classic size. If the design includes crop marks or trimming guides, that usually means the file is meant to be cut after printing. If it is a ready-to-print file without trim marks, it may already be formatted to print directly at size.
This is where reading the product details matters. Some inserts are designed for easy home printing on standard paper and then trimmed. Others are arranged two-up or include mirrored pages for duplex printing. Neither approach is wrong, but they do require different handling.
A beautiful layout can still feel off on the wrong paper. If you like a light, flexible planner that turns easily and doesn’t get bulky fast, standard paper around 24 lb to 28 lb often works well. If you write with wetter pens, use markers, or prefer a sturdier page, stepping up to a heavier stock can make a noticeable difference.
There is a trade-off, though. Heavier paper feels more premium and usually handles ink better, but thick stacks add bulk quickly, especially in discbound systems. Lighter paper keeps your planner more manageable and is often easier to print at home in larger batches.
If you’re unsure, print one week on your usual paper and one week on something slightly heavier. Planner people know that small material changes can completely shift how a setup feels in daily use. The best paper is the one that fits your writing tools and your routine, not the one that sounds fanciest.
You do not need a complicated setup to get a clean result, but a few settings are worth checking every time. Beyond scaling at 100%, pay attention to orientation. If the insert is designed in portrait, make sure your printer doesn’t rotate it automatically. If it is landscape, confirm that as well before printing a batch.
Print quality is another consideration. For everyday inserts, standard quality is usually fine and saves ink. For decorative dashboards, covers, or vellum-style pages, a higher-quality setting may be worth it because fine lines and softer design details tend to reproduce better.
If your file includes front and back pages, test duplex printing with just two sheets first. Home printers vary a lot, and some flip on the long edge while others need short-edge flipping depending on the file setup. This is one of those places where a test print saves frustration.
Even if you’ve printed inserts before, do a single-page test. It sounds cautious, but it is the easiest way to catch small issues before they become a stack of almost-right pages. Hold the printed page against an existing Happy Planner page if you have one. Check the width, height, and where the punch area will fall.
If the page needs trimming, test that too. Cut one sheet, punch it, and place it in your planner. Make sure it turns well and doesn’t sit awkwardly outside the covers or too close to the discs. Tiny differences matter more once the pages are actually in use.
This is especially true for dashboard layouts, weekly spreads, and any insert where visual alignment matters. A page can technically fit and still not feel polished. A quick test helps you catch that before printing twenty more.
Many printable inserts are designed to print on standard paper and then be trimmed down. If that’s your setup, consistency matters more than speed. A paper trimmer usually gives cleaner and more repeatable cuts than scissors, especially if you are printing multiple pages.
Use the crop marks if the file includes them, and trim in the same order each time. That helps avoid slight variations from page to page. If your inserts are double-sided, trim one test sheet first and make sure the front and back still align well after cutting.
You’ll also want to think about punch placement. Since Happy Planner pages work with a discbound punch system, leave the intended margin intact. If you trim too aggressively on the punched side, the page may still go in the planner, but it won’t have the same durability.
If your pages are too small, the first thing to check is scaling. If they are cut off, look at paper size and orientation. Sometimes a printer defaults to Letter while the file was prepared with different assumptions, or the printable area is restricted by your printer margins.
If the print looks blurry, try a higher-quality print setting and make sure you’re printing from the original PDF rather than a screenshot or preview image. If colors seem dull, that can be a paper issue, an ink issue, or simply a file that was designed with function over decoration in mind.
And if everything is technically correct but the page still doesn’t feel right in your planner, trust that instinct. Functional planning is personal. You may want heavier paper, a cleaner trim, or a different insert style entirely. That flexibility is part of what makes printables so useful.
Once you know your preferred settings, save them somewhere easy to reference. A simple note near your printer with paper type, scale, orientation, and duplex preferences can make future printing much faster. If you regularly print Happy Planner Classic inserts, having a go-to routine turns setup into a quick habit instead of a repeated guessing game.
Many planner users also keep a small printed sample page tucked into their planner supplies. It becomes a visual benchmark for future prints, especially helpful when switching printers, trying a new paper, or printing a fresh batch months later.
If you enjoy customizing your system seasonally or printing only what you need week by week, this kind of routine makes the process feel easy instead of fiddly. That’s where printable planning shines. At Pretty Easy Planning, that mix of beauty and function is exactly the point.
Printing your own planner pages gets easier fast once you stop treating every file like a mystery and start treating it like part of your creative corner of planning possibilities. A little testing, the right scale setting, and paper that suits your style can turn a simple PDF into pages you’ll genuinely love using.

€4,24
€4,24
€4,24
€4,24
A6 vs happy planner: compare size, space, portability, and page options to choose printable inserts that make your everyday planning feel easier with purpose.
Wondering which planner pages do i need? Build a practical paper planner with only the inserts that support your real routines, goals, and plans daily.
The future of printable planners favors flexible, beautiful systems: print what fits your week, refresh routines, and keep every page useful for life.