A Custom Planner System Example That Works
See a custom planner system example built for real life, from daily priorities to meal plans, household lists, goals, and creative notes when needed.
A planner should not make your life harder. If you have ever bought a beautiful planner, used three pages, and then felt annoyed by the layout, you already know why so many paper lovers want to learn how to build a custom planner instead.
A custom planner gives you room to create a system around your actual life, not someone else’s idea of a perfect routine. You can choose the size that fits your bag, the pages that support your work and home life, and the sections that help you stay focused without wasting paper on pages you never use. That is where planning starts to feel less frustrating and a lot more useful.
The easiest mistake is building from the outside in. You see a pretty dashboard, a stack of matching inserts, or a binder in your favorite color, and suddenly you are designing around the accessories instead of your needs.
Start by looking at what you actually plan. Maybe you manage appointments, meal plans, work deadlines, school schedules, and household tasks all in one place. Maybe you need strong weekly structure but only light daily planning. Maybe you love detailed goal tracking, or maybe extra trackers just become clutter after a week.
Before you choose pages, ask yourself a few honest questions. What do you write down every day? What do you keep forgetting? Which pages did you stop using in past planners? What feels helpful, and what feels like homework?
Those answers matter more than trends. A good custom planner supports your routine. A great one supports your routine and feels enjoyable to use.
If you want to know how to build a custom planner that truly fits your life, size comes first. The wrong size can make even the best layout annoying.
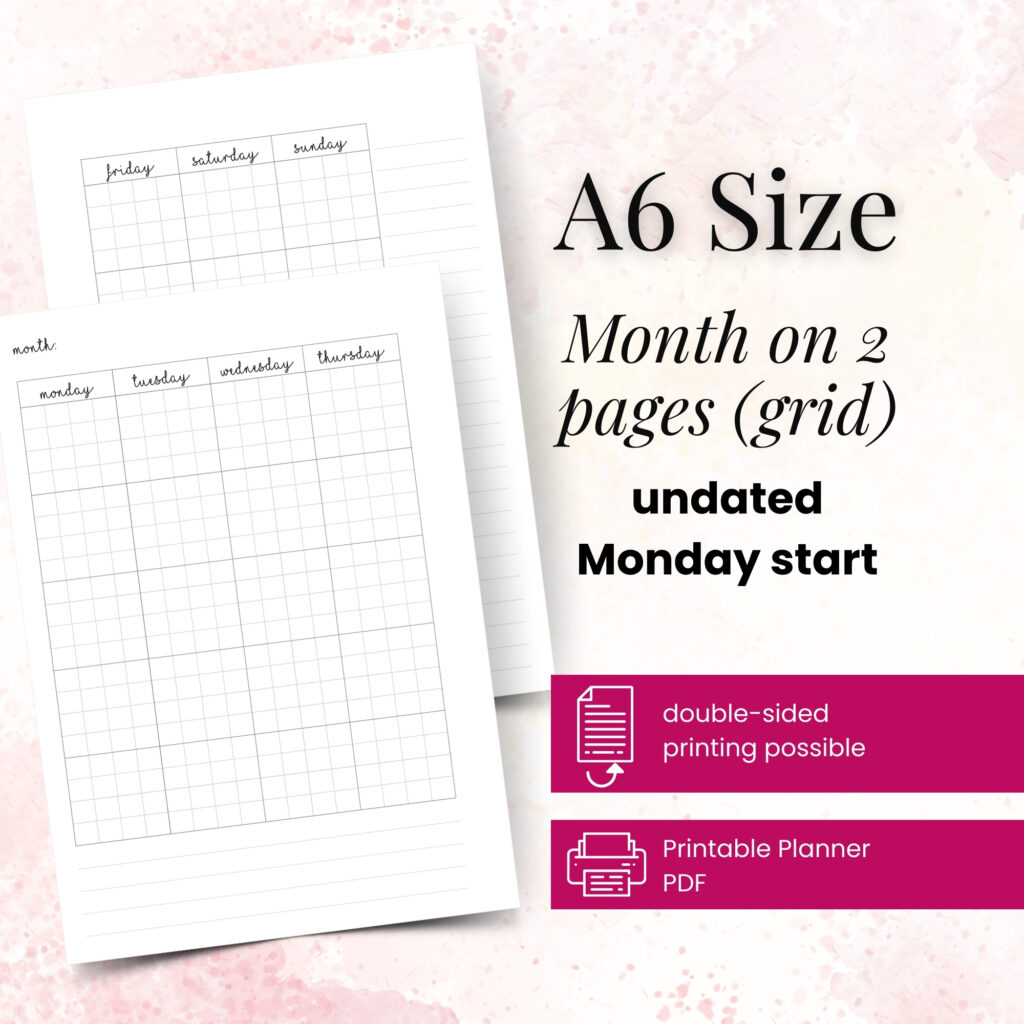
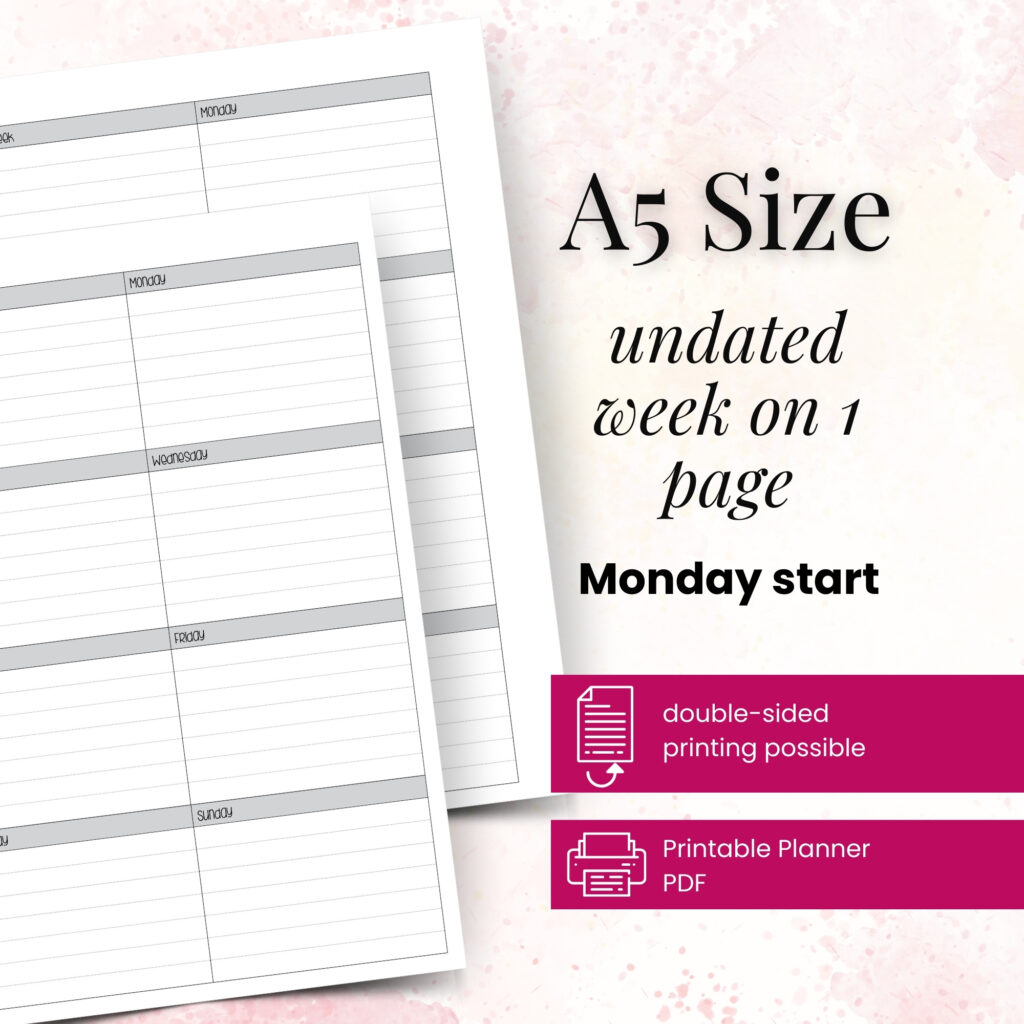
An A5 planner usually works well if you want plenty of writing space and like keeping everything in one book. It is roomy, comfortable, and easy to build into a full planning system. A6 feels more portable and compact, which makes it great if you carry your planner everywhere and prefer a lighter setup.
Personal and Personal Wide sit in that middle zone many planner users love. Personal gives you portability with a classic ring planner feel. Personal Wide gives you more breathing room across the page, which can make weekly layouts feel much less cramped. Happy Planner Classic appeals to users who want a larger page and a disc-bound style that still feels flexible.
There is no perfect size for everyone. If your planner lives on your desk, larger pages may help. If you plan on the go, smaller may win every time. Think about where you write, how much space you need, and whether portability matters more than page size.
Now build the heart of your planner. This is where function matters most.
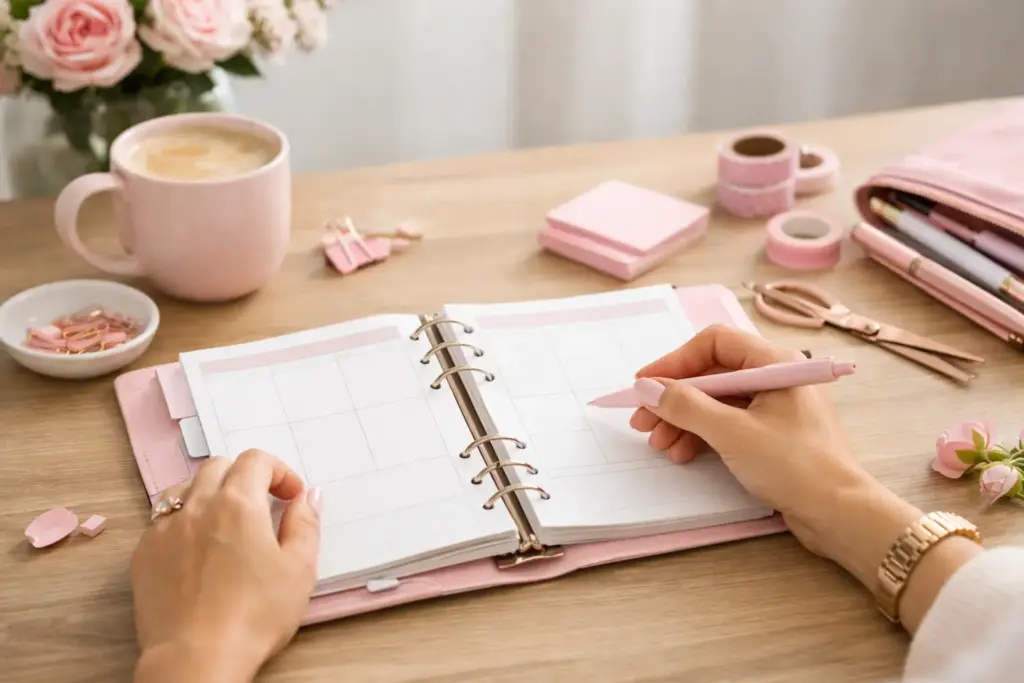
Most people need a monthly view, a weekly layout, and some kind of notes section. That combination creates a strong base. Monthly pages help with appointments, events, and bigger-picture planning. Weekly spreads help you manage your time in a realistic way. Notes pages catch everything that does not belong anywhere else.
Some people also need daily pages, but not everyone does. If your days change fast, or if you enjoy detailed planning with schedules, priorities, and task lists, daily inserts may be worth it. If you mostly plan at a weekly level, daily pages can become extra bulk. That is one of the biggest trade-offs in custom planning. More detail can feel supportive, but it can also create pressure to fill every page.
Start with the inserts you know you will use consistently. You can always add more later. In fact, that is usually the smarter move.
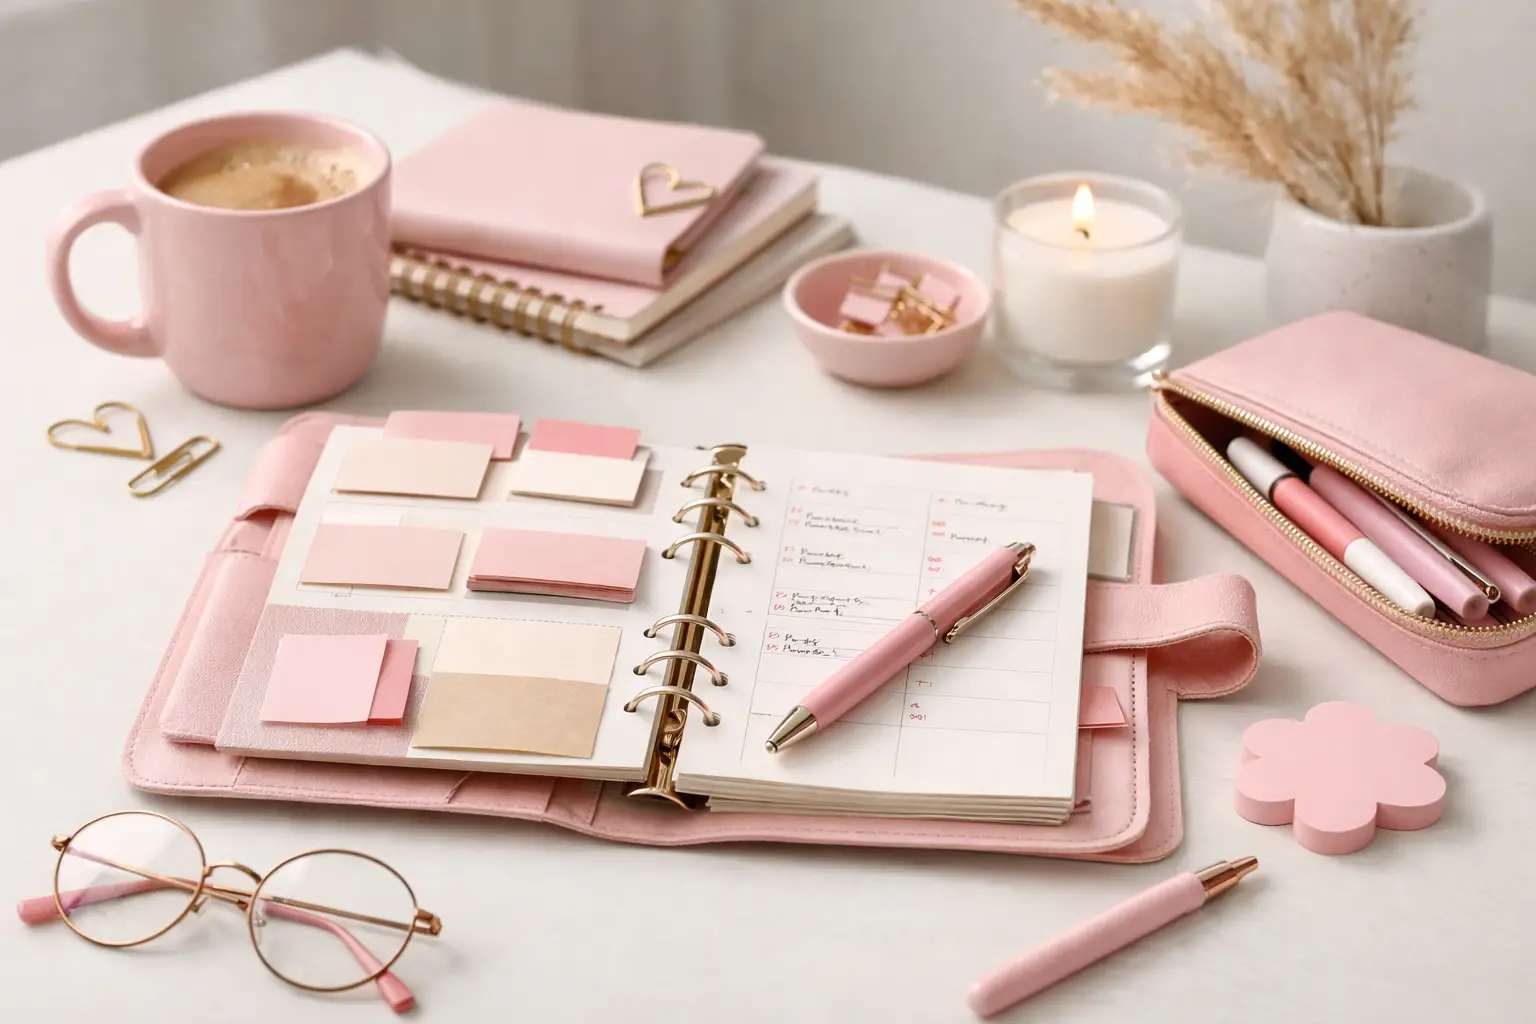
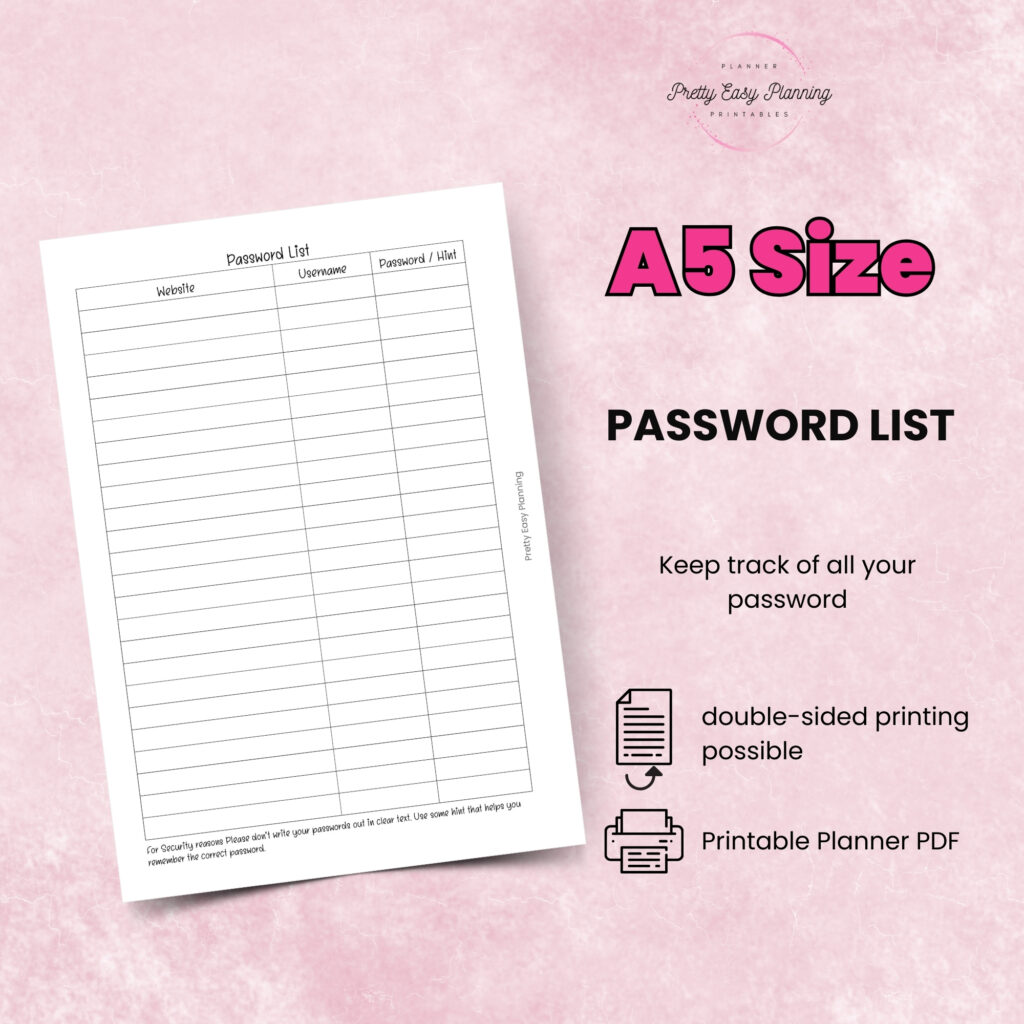
This is the fun part, but it still helps to be selective. A custom planner can include lists, project pages, goal trackers, routines, cleaning plans, reading logs, finance pages, meal planning, or dashboards that set the tone for each section.
The key is to add specialty pages because they solve a problem, not just because they look nice in a flip-through. If you meal plan every week, that section earns its place. If you track habits and actually refer back to them, keep them. If a page type feels exciting on day one and invisible by day ten, it may not belong in your everyday setup.
Dashboards and decorative pages can still play an important role. They create visual breaks, mark sections clearly, and give your planner personality. Functional planning and beautiful planning do not compete with each other. The best setups usually include both.
A custom planner should feel easy to navigate. That means your sections need to make sense to you.
Some people love one all-in-one planner with monthly, weekly, notes, and lists all together. Others prefer clear categories like schedule, home, work, goals, and personal. If you use your planner for many parts of life, section dividers can help you switch contexts without losing track of things.
Think about the order too. Put your most-used pages where you naturally reach first. If weekly planning is your anchor, keep it front and center. If you check routines every morning, place them near the front. If notes are where everything lands, make that section easy to access.
This is one of those areas where experience matters. Creator-tested inserts often work better because they reflect real planning habits, not just pretty page design. At Pretty Easy Planning, that real-use thinking is part of what makes a custom setup feel smooth from the start.
One of the best parts of printable planning is control. You do not need to commit to a full year of every insert type if that does not fit your life.
Print a month of daily pages before printing six months. Try one weekly style before stocking your planner with a whole stack. If your needs shift by season, workload, or family schedule, your inserts can shift too.
This approach saves paper, reduces waste, and keeps your planner from getting overstuffed. It also gives you permission to experiment. A planner should serve your life as it changes. You are not locked into one setup forever.
A beautiful planner system falls apart fast if printing feels complicated. Keep your setup simple enough that you will actually maintain it.
Choose paper that feels good to write on and works well with your pens. Make sure your print settings match your planner size. If you use rings or discs, test a few pages before printing a large batch. Check margins, hole placement, and whether you prefer single-sided or double-sided pages.
If you enjoy changing your inserts often, print smaller batches more frequently. If you like stability, print several weeks or a full quarter at once. Neither is better. It depends on whether you want flexibility or less maintenance.
Learning how to build a custom planner is not about getting it perfect on the first try. It is about creating a system you can adjust with confidence.
Your needs in January may not match your needs in July. A busy work season may call for more detailed weeklies. A calmer season may need only monthly planning and notes. New goals, routines, or responsibilities can shift what belongs in your planner.
That is not failure. That is the whole point of customizing.
Pay attention to what you skip, what you reuse, and what you wish you had. If a section keeps growing, give it more space. If one keeps getting ignored, remove it for now. The most useful planner systems are usually edited, refined, and rebuilt over time.
A planner works when it supports action. It should help you see what matters, remember what needs attention, and create a little more calm in the middle of real life.
That means the best custom planner is not always the fullest, fanciest, or most decorated one. It is the one you reach for every day because it feels natural to use. It holds the right pages, in the right order, with enough flexibility to keep up with you.
Start simple. Choose your size carefully. Build around your actual routines. Add beauty where it makes you happy and function where it makes you consistent. Your successful planning story begins with a single print, and the best part is that you get to shape it page by page.
Give yourself room to test, adjust, and make it your own, because the planner that truly fits you is usually the one you build with honesty, not perfection.

€4,24
€4,24
€4,24
€4,24
See a custom planner system example built for real life, from daily priorities to meal plans, household lists, goals, and creative notes when needed.
Try this household planner setup example to organize meals, chores, appointments, and family routines with printable pages that fit your real life better.
Wondering what size planner inserts fit your binder or discs? Match dimensions, hole spacing, and print settings for pages that work beautifully every single day.