A planner does not need to look full, color-coordinated, or perfectly consistent to help you. The best planner ideas for beginners start with one honest question: what do you need help remembering, deciding, or making time for this week?
Many new paper planners buy beautiful supplies, set up ten sections, and then feel behind by Wednesday. Start smaller. A planner works best when it removes mental clutter and gives your real life a place to land, whether you are managing work deadlines, school pickups, appointments, meals, or a goal that has waited too long for attention.
Key Takeaways
-
Start with a simple weekly view and add pages only when you need them.
-
Choose a planner size that feels comfortable to carry and write in.
-
Use your planner for appointments, priorities, and routines before adding decorative details.
-
Test one layout for two weeks before deciding what to change.
-
Print only the pages that support your current season of life.
Start With One Planning Problem
Before you choose inserts, identify the problem you want your planner to solve. Maybe appointments disappear into your phone, household tasks keep circling in your head, or you cannot see how your work schedule affects your personal time. A clear purpose helps you avoid building a planner that looks lovely but never leaves the desk.
Write down one main need and one supporting need. For example, your main need may be keeping track of family appointments. Your supporting need may be remembering what to buy at the grocery store. That combination suggests a weekly spread plus a simple running list, not an elaborate system with pages you will not use.
This approach also gives you permission to change your setup later. Planning is not a personality test. It is a practical tool, and your tool should adapt when your routine changes.
Choose a Beginner-Friendly Planner Format
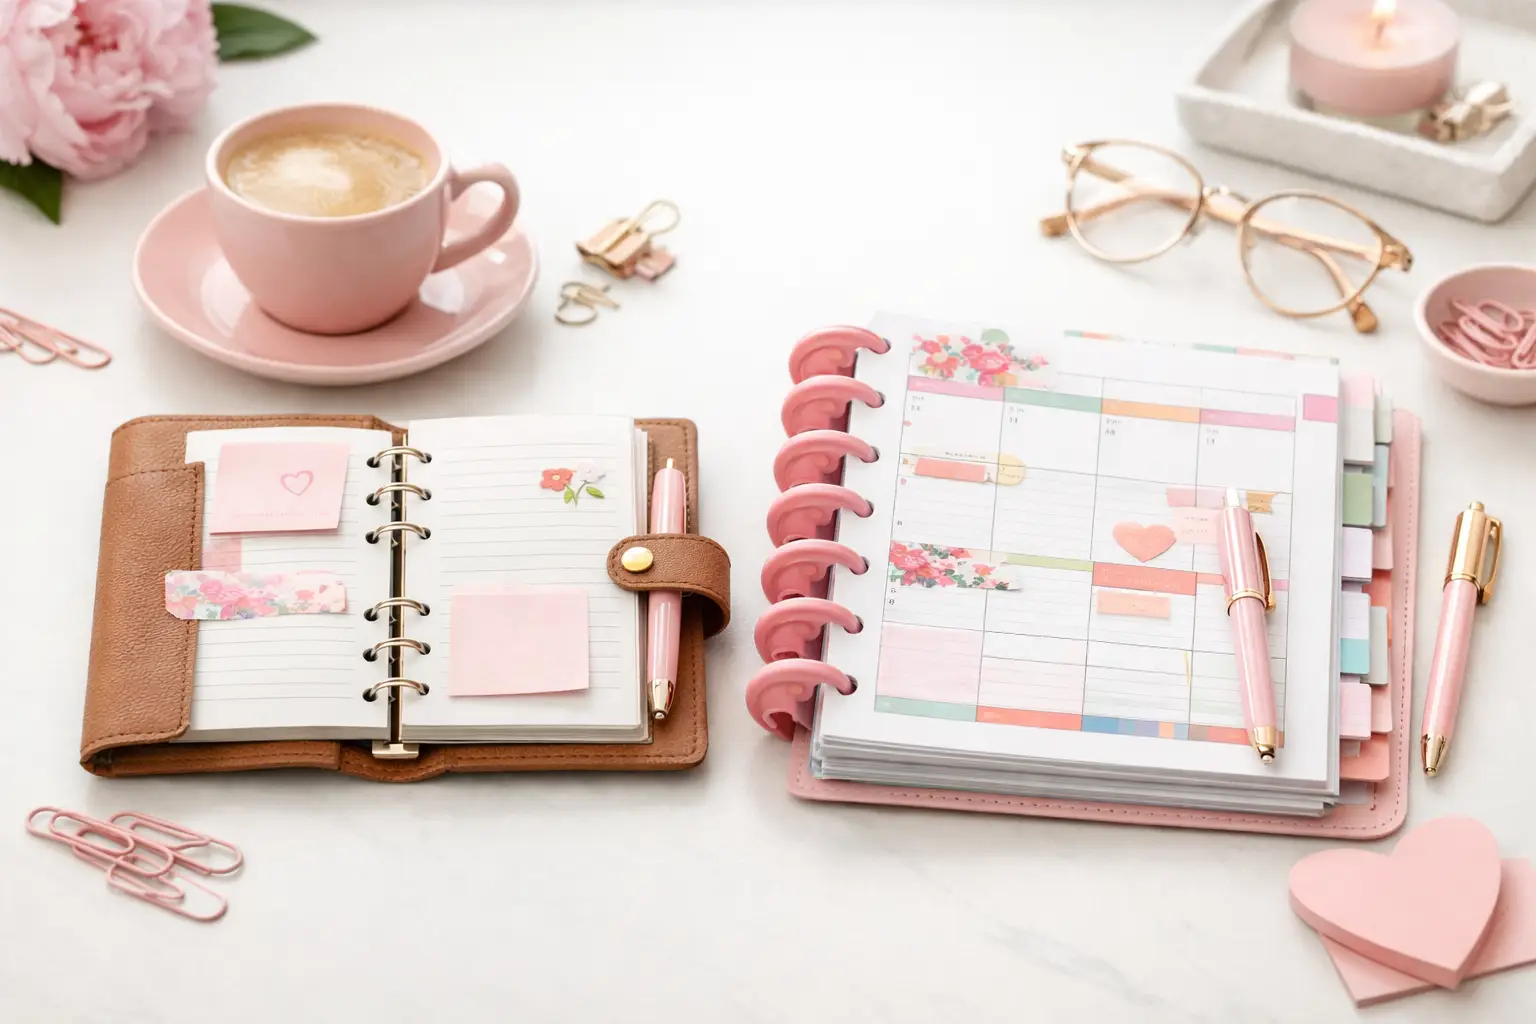
Size affects how likely you are to use your planner. An A6 or Personal planner feels portable and works well for appointments, short task lists, and quick notes. A5 gives you more writing room for work projects, household planning, and detailed weekly lists. Happy Planner Classic offers a familiar, roomy page style for people who like to see more at a glance.
There is no universally best size. If you want a planner in your bag every day, a smaller format may suit you. If you tend to plan at a desk and write detailed notes, extra space may matter more. Personal Wide can offer a helpful middle ground when you want portability without cramped columns.
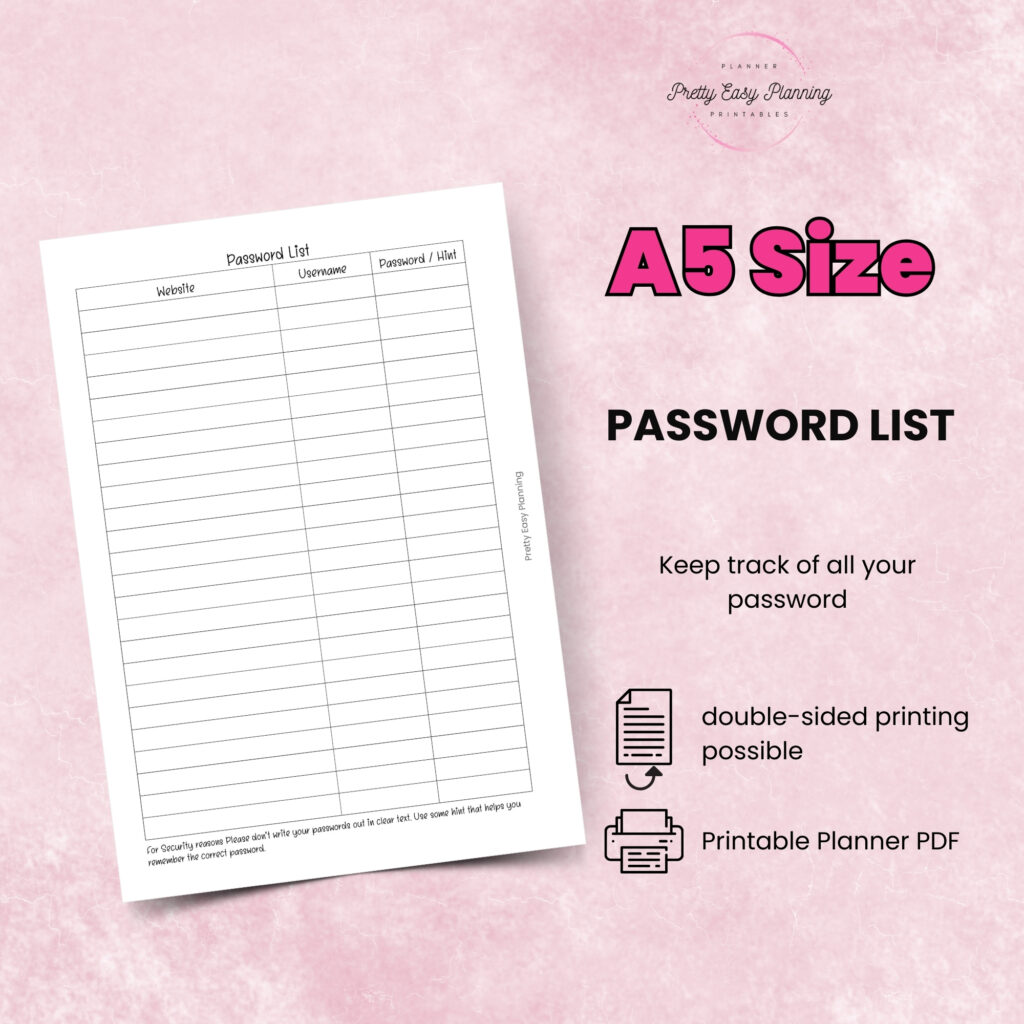
Printable inserts make this decision less stressful. You can try a layout in the size you own, print a few pages, and see how it feels in your hands. You do not need to commit to a full year of pages before you know what fits.
Begin With a Weekly Layout
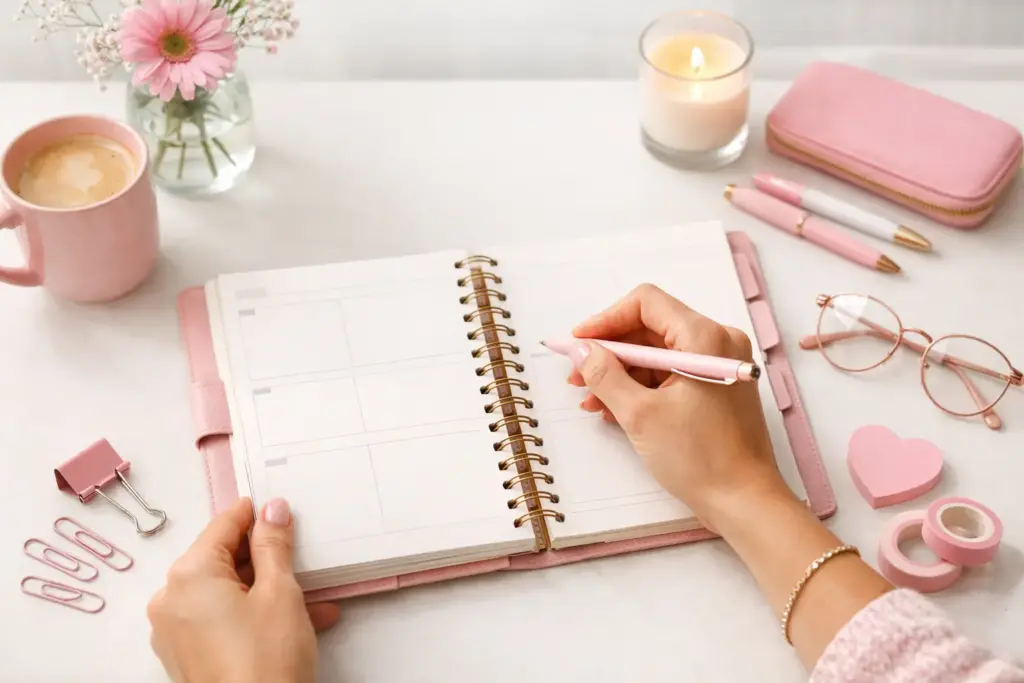
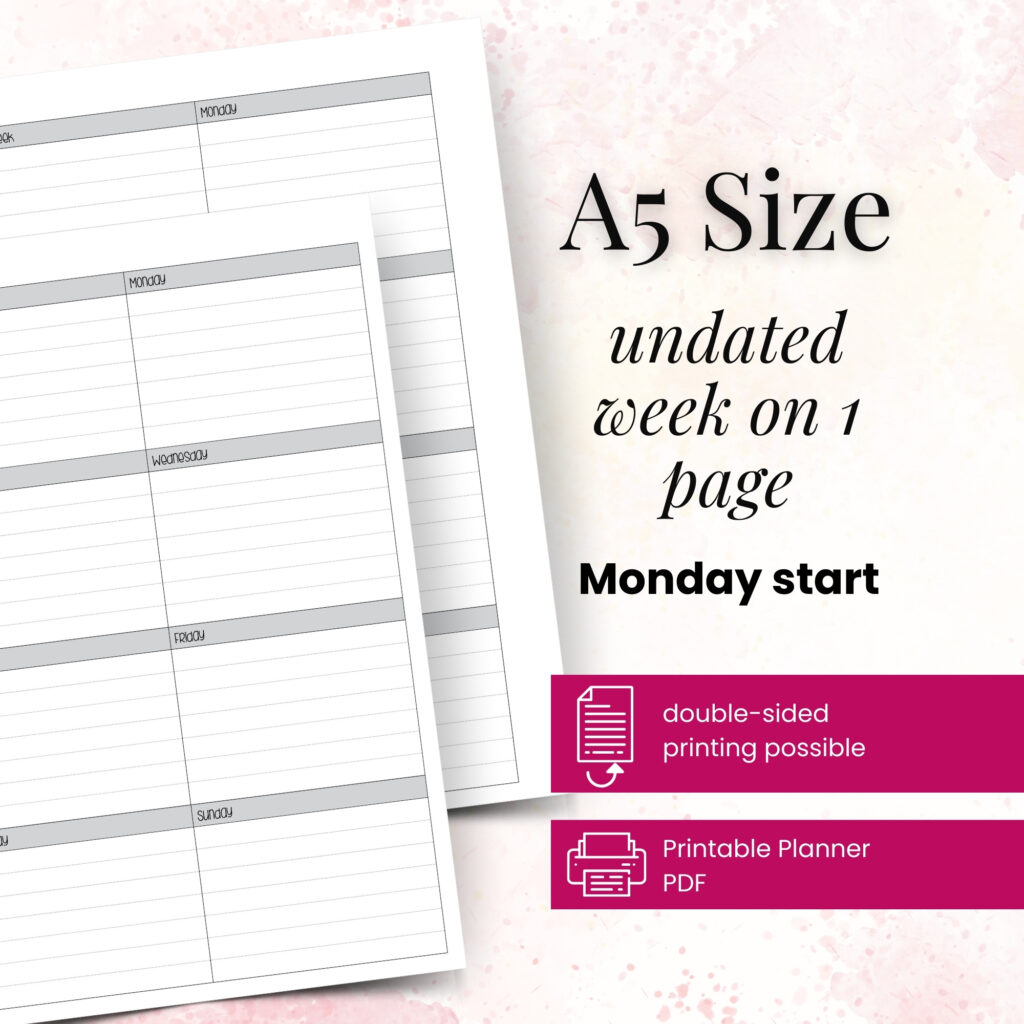
For most beginners, a weekly insert creates the easiest starting point. It lets you see appointments, tasks, and family plans together without demanding daily planning habits right away. Use the dated spaces for fixed commitments, then add a short list of priorities for each day.
Avoid filling every blank line. White space is useful. It leaves room for a late meeting, a school reminder, or the ordinary tasks that appear without warning.
A weekly layout also helps you notice patterns. You may realize that Tuesdays always feel overloaded, that you forget errands unless you group them, or that you schedule too much for weekends. Those insights turn a planner from a list holder into a decision-making tool.
Add a Monthly Page for the Big Picture
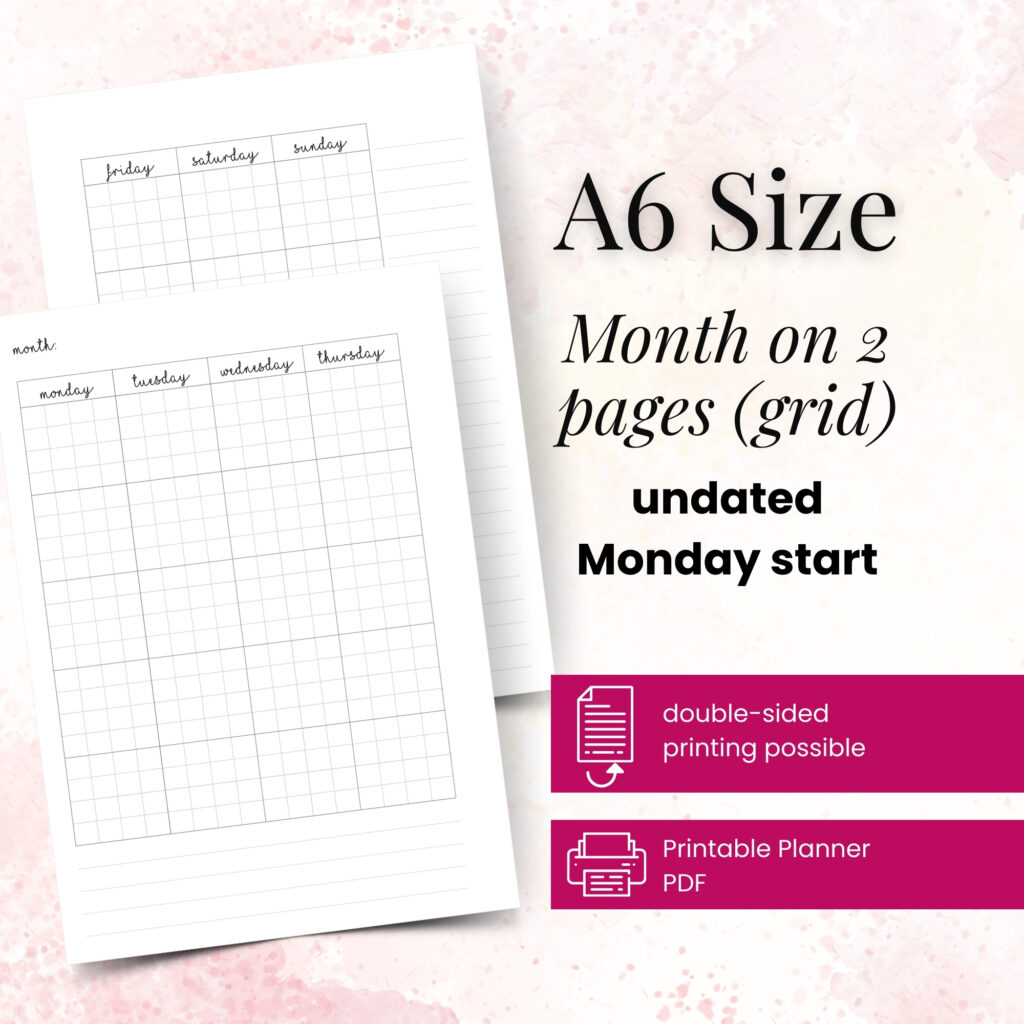
Monthly pages work best for events that matter weeks ahead: birthdays, travel, bill due dates, school dates, and project deadlines. Keep this spread simple. If you write every possible task on a monthly calendar, you may create visual noise instead of clarity.
Try a quick monthly reset on the last day of the month. Add known dates, check upcoming deadlines, and move any unfinished goals into the next month only if they still matter. That final step prevents old tasks from following you forever.
Build a Simple Daily Planning Routine
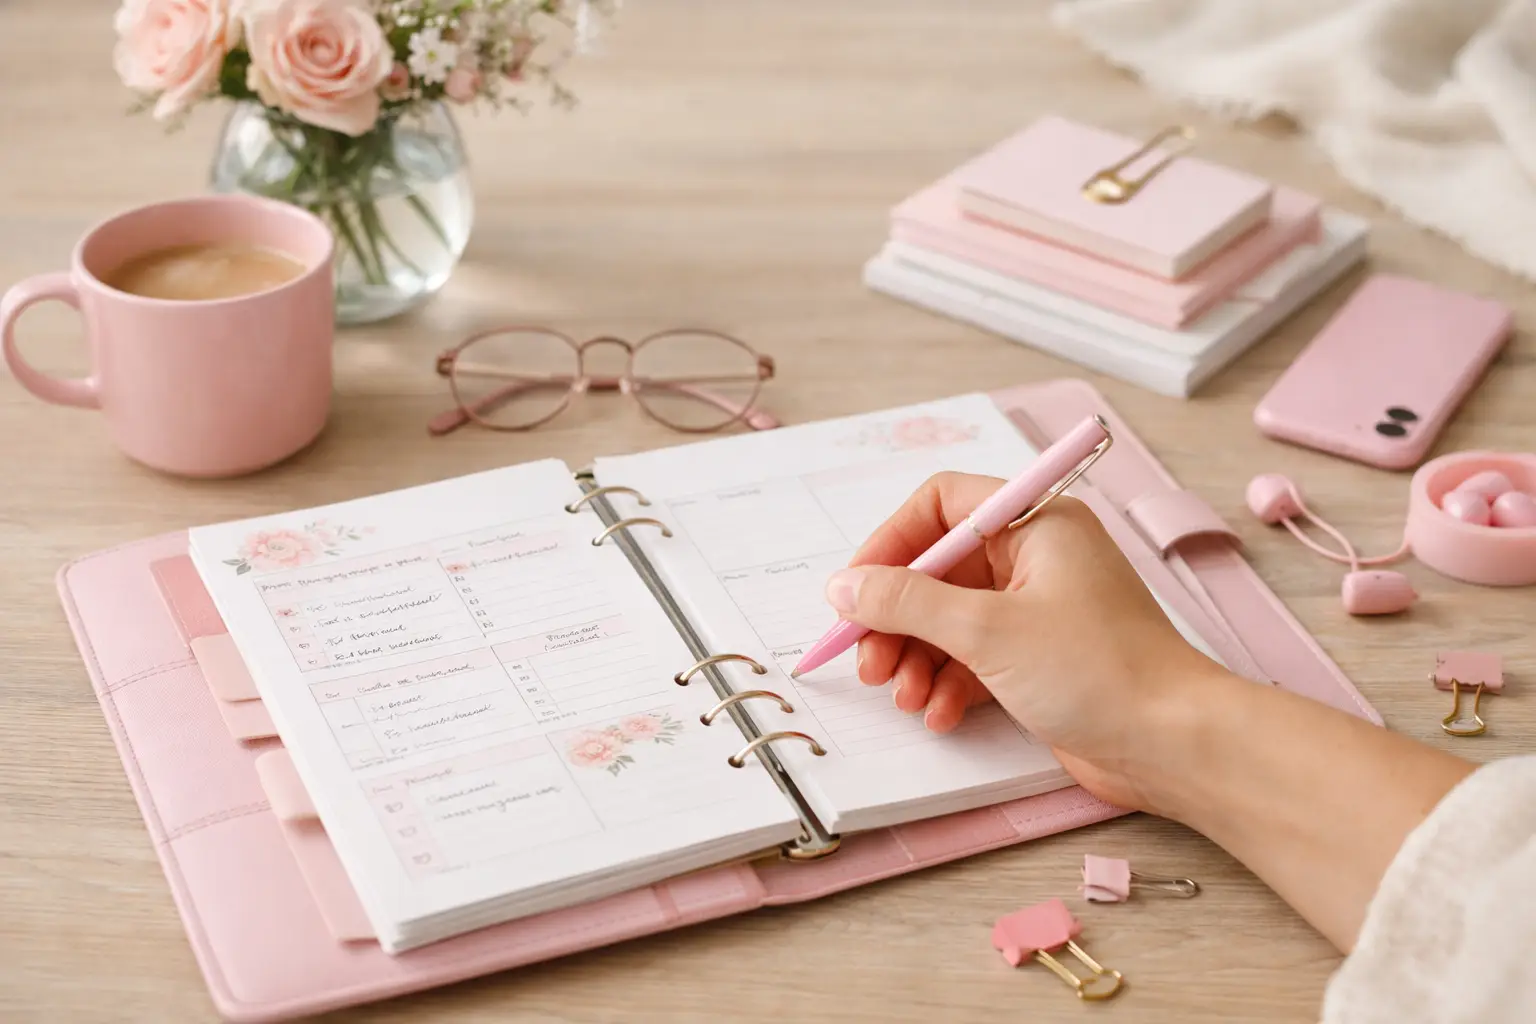
A planner becomes useful through repetition, not through a perfect setup. Give yourself a five-minute planning routine at a time you can realistically protect. For some people, that happens with morning coffee. Others prefer a quiet evening check-in after the kitchen is clean.
First, look at your calendar and write down fixed commitments. Next, choose up to three priorities that would make the day feel productive or calmer. Finally, add small tasks only if you have time and energy left after those priorities.
For example, a busy Thursday might include a 10:00 a.m. meeting, a dentist appointment, and one work deadline. Your three priorities could be sending a proposal, picking up a prescription, and making dinner before practice. You do not need to add “reply to every email” if that task has no clear finish line.
At the end of the day, check off what you completed and move only the important unfinished items forward. Crossing out a task can feel satisfying, but it also teaches you something. If the same item moves for three days, break it into a smaller next step or decide it does not belong on your list.
Use Lists That Support Your Real Life
Lists can make a beginner planner feel wonderfully organized, but too many lists become another form of clutter. Add them slowly and choose pages that answer recurring questions.
A running grocery list helps if you often forget essentials. A brain-dump page helps if ideas and errands pile up in your head. A household reset list may help if you share responsibilities with a partner or family. Keep these pages near the section where you will naturally look for them.
You can also create a “waiting on” list for orders, replies, and paperwork. This small page can save you from searching through text messages and email when you need to follow up. If a list does not earn its place after a few weeks, remove it without guilt.
Make Your Planner Easy to Return To
Life interrupts routines. A vacation, busy work season, illness, or family emergency can leave several pages blank. Do not try to backfill everything. Turn to the current week, write down what matters now, and continue from there.
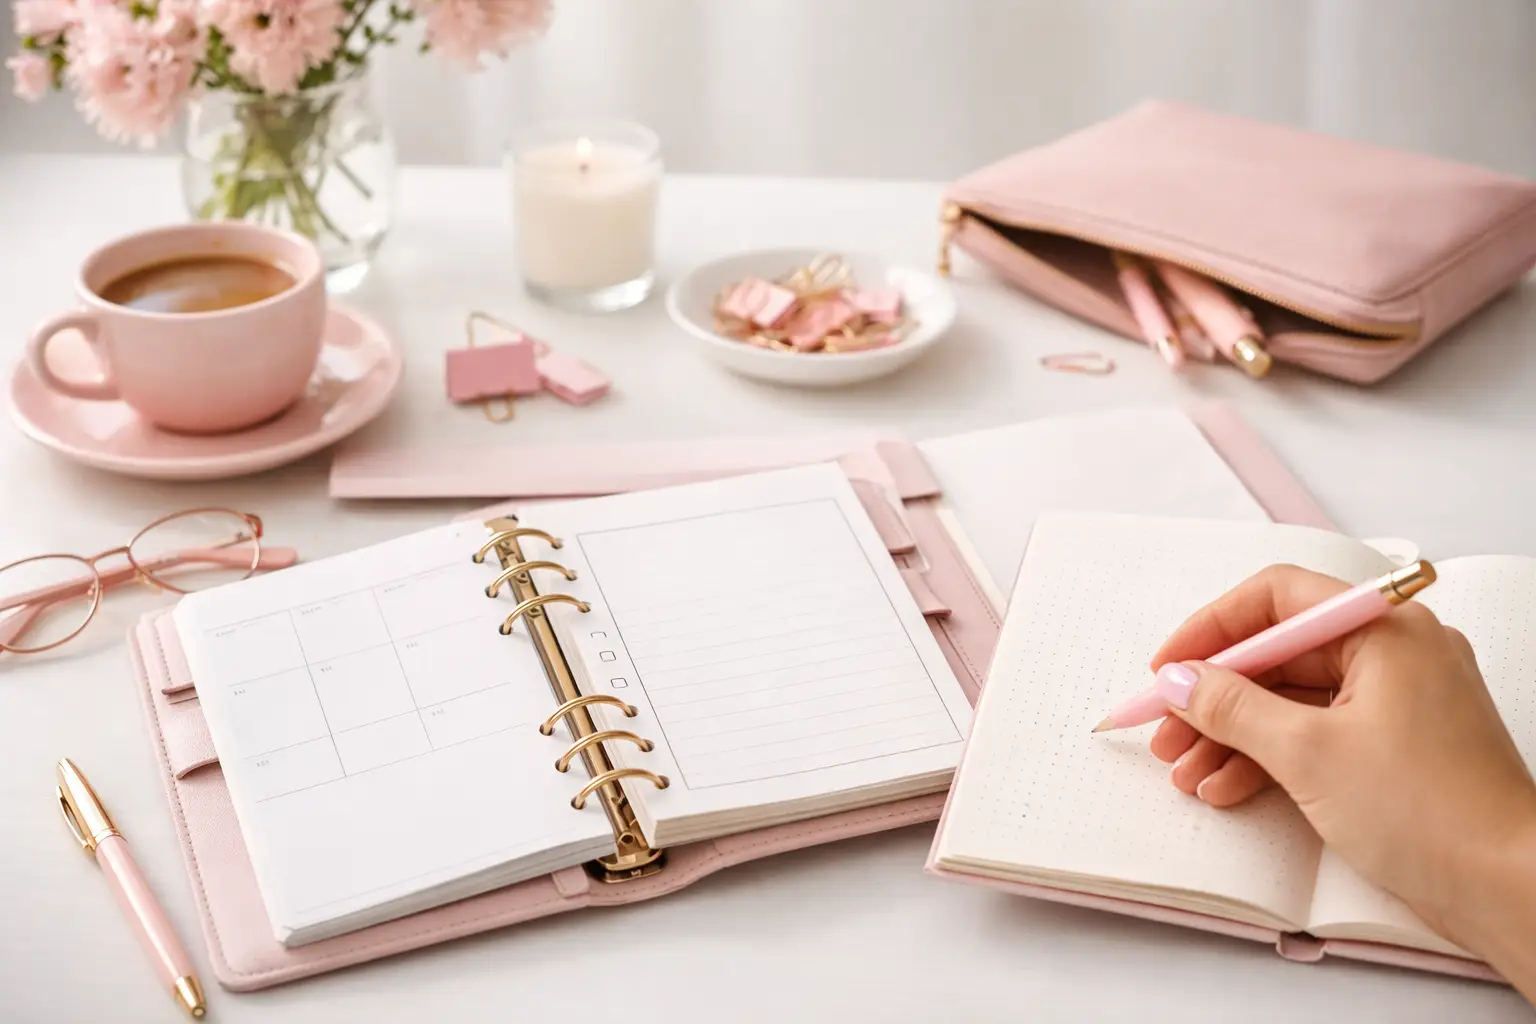
Make returning easy by keeping your supplies simple. Use one reliable pen, a few sticky notes for temporary reminders, and tabs or dashboards only where they help you find key sections faster. Decorative vellum-style pieces and coordinated accessories can make opening your planner feel special, but function should lead the setup.
Color can support function, too. You might use one color for work, one for family, and one for personal care. Limit the system to colors you can remember. If you need a legend every time you open your planner, simplify it.
Try a Two-Week Planner Experiment
Give any new layout two weeks before judging it. One week can be unusually calm or unusually chaotic, so it rarely tells the whole story. During your experiment, pay attention to where you naturally write and what information you keep searching for.
At the end of two weeks, ask yourself a few practical questions. Did you have enough room for appointments? Did your task list feel manageable? Which pages stayed empty? Did you enjoy opening the planner?
Then make one change, not five. Perhaps you need a notes page beside your weekly spread, more room for meals, or a smaller daily list. Small adjustments help you learn what works without turning planning into a constant setup project.
Let Your System Grow With You
The most useful planner ideas for beginners leave room for personality without demanding perfection. Once your basic weekly rhythm feels steady, you can add pages for goals, reading, wellness, finances, projects, or memory keeping. Add them because they serve you, not because they look expected in someone else’s planner.
Printable planning gives you a practical advantage here: print the pages you need, in the paper you enjoy using, and reorder them when your routines shift. Your successful planning story begins with a single print, one realistic priority, and a system you genuinely want to open tomorrow.