A6 vs Happy Planner: Which Fits Your Life?
A6 vs happy planner: compare size, space, portability, and page options to choose printable inserts that make your everyday planning feel easier with purpose.
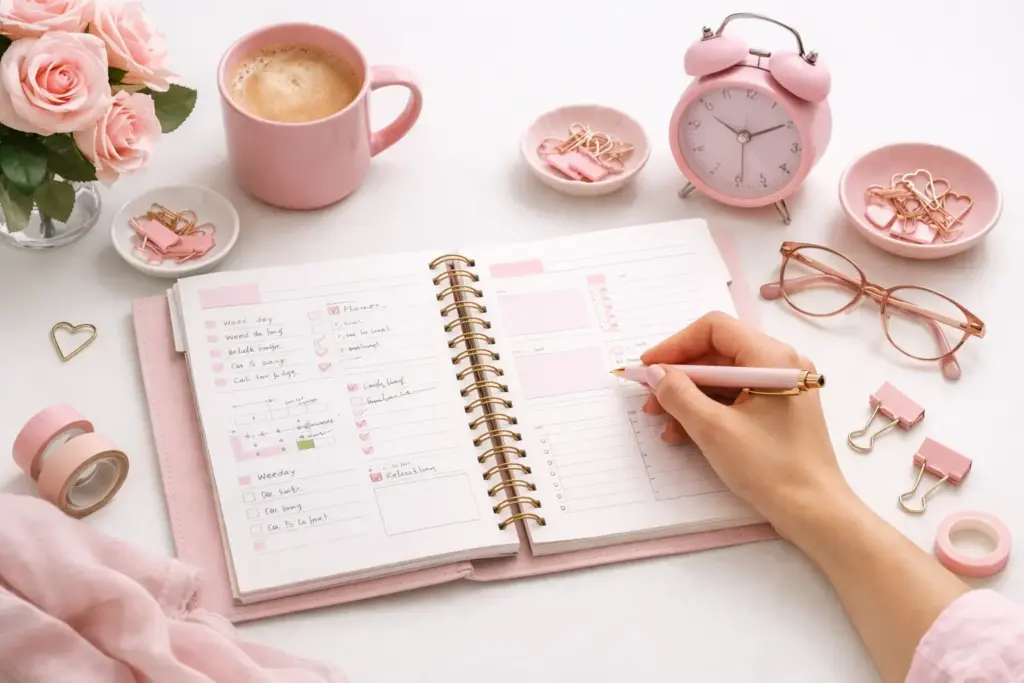
A new planner can look like a creative corner of planning possibilities – and a surprising amount of pressure. You may see beautiful weekly spreads, trackers, lists, and dashboards and wonder which pages you truly need. The best planner pages for beginners do not fill every possible need. They give you a clear place to see your time, capture tasks, and make your next step easier.
Start with pages that support your real routine, not an imaginary perfectly organized life. If you work full time, care for a family, study, or simply want a calmer way to hold your plans, a few well-chosen inserts will take you much further than a thick planner filled with untouched pages.
Think of your first set of pages as a small team. Each insert should have one job. When several pages repeat the same job, planning starts to feel like paperwork instead of support.
For most beginners, three page types form the strongest foundation: monthly pages for the big picture, weekly pages for everyday coordination, and notes pages for the details that do not belong on a calendar. Add from there only when you notice a real gap.
A monthly calendar answers the questions that can surprise you later: What appointments are coming up? Which weekends are already busy? When does a bill need attention? Use it for dates that matter more than one day, including birthdays, travel, school events, renewals, and deadlines.
Keep the monthly page light. Write only date-specific commitments, then glance at it before you plan each week. If every little task lands on this page, the calendar quickly becomes hard to read.
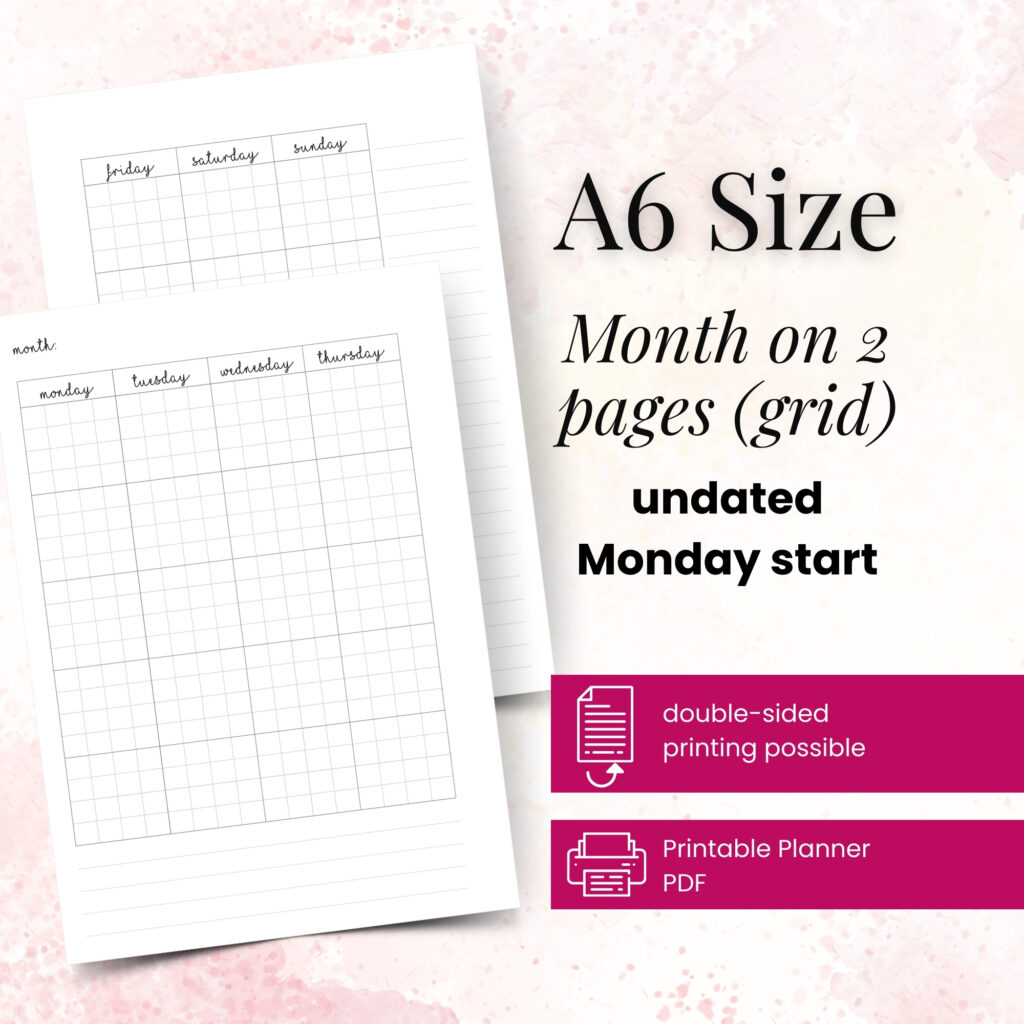
A two-page monthly spread gives you generous room to write, especially in A5 or Happy Planner Classic. In a smaller A6 or Personal planner, choose a clean layout with open boxes and avoid squeezing several categories into each day. A readable calendar beats a crowded one every time.
Your weekly layout will likely become the heart of your planner. It shows you the next seven days at once, which makes it easier to balance appointments, errands, work tasks, and personal plans before they collide.
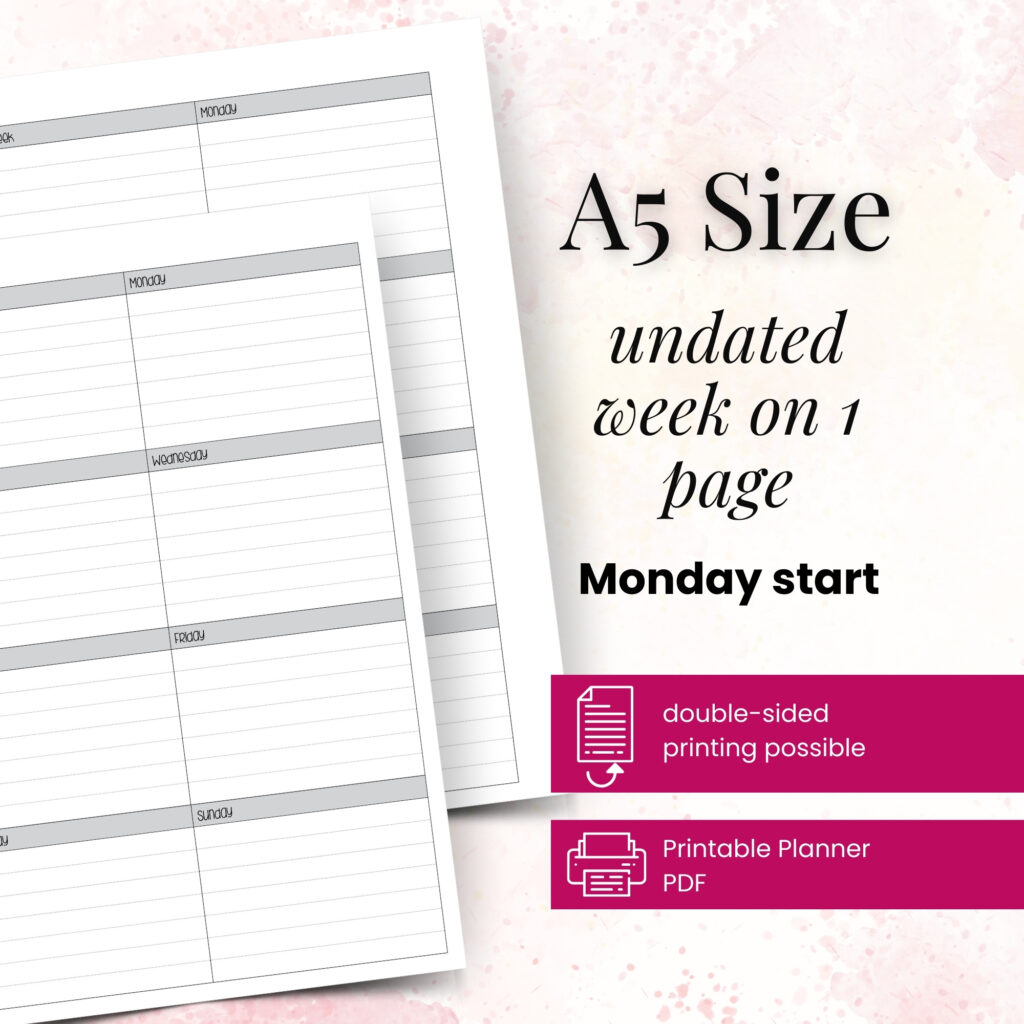
Beginners often do best with an undated weekly insert. You can print only the weeks you need, skip a quiet vacation week, and test different designs without wasting a stack of dated pages. A weekly layout with one section per day works well if you prefer a clean overview. Choose a vertical layout with separate morning, afternoon, and evening space if your days run on a schedule.
For example, write your dentist appointment and meeting times first. Next, add one or two priority tasks for each day. Leave room for ordinary life, because laundry, grocery shopping, and an unexpected phone call still need somewhere to go.
Notes pages may look basic, but they prevent your planner from becoming a collection of loose scraps. Use lined paper for meeting notes, phone calls, and journal-style reflections. Dot grid pages suit flexible lists, simple sketches, and custom layouts. Blank pages give you space to think visually.
Place a few notes pages behind each month or at the back of your planner. When you need to jot down a recipe idea, a conversation detail, or a list of questions for an appointment, you will know exactly where it belongs.
You do not need to make every note page pretty. A useful page can hold messy handwriting, crossed-out ideas, and quick reminders. Your planner earns its place when it works on busy days too.
Once the core pages feel natural, add one or two inserts that solve a repeating problem. This approach keeps your setup personal without making it complicated.
A daily page gives one date more breathing room. It helps when you manage many appointments, need a detailed task list, or want a dedicated section for meals, movement, water, or daily priorities.
You do not need a daily page for every day of the year. Many planner users print daily inserts only for workdays, travel, exam weeks, or seasons that demand extra attention. This flexible approach keeps your binder slimmer and lets you use the page when it delivers real value.
Choose a simple daily layout at first. Look for a schedule column, a short task list, and an open notes area. Pages packed with trackers can feel motivating for some people, but they can also create pressure when you miss a day.
When you keep remembering tasks at inconvenient moments, add a master list. This page holds items that matter but do not have a date yet: replace a lightbulb, research a class, organize photos, call the insurance company, or plan a birthday gift.
Review this list during your weekly planning time. Move only a few realistic tasks onto the coming week. That small habit protects your weekly spread from becoming an intimidating parking lot of unfinished chores.
A categorized list works especially well here. Divide the page into home, work, personal, and errands, or create categories that match your life. If categories feel like extra maintenance, keep one running list instead.
Meal planning pages do more than answer the question, “What’s for dinner?” They help you connect your schedule, grocery list, and energy level. On a week with late meetings, plan simple meals. Before a busy weekend, add a few ingredients to your shopping list early.
A beginner-friendly meal page needs a space for each day, a grocery list, and perhaps a small notes section for prep. You do not need to plan breakfast, lunch, dinner, and snacks if dinner is the only decision that causes stress. Build the page around the choice you want to make easier.
Trackers can look beautiful in a planner, yet too many can turn into a daily report card. Start with one behavior that supports a current goal. You might track bedtime for a month, mark no-spend days, record workouts, or check off a reading habit.
Keep the measurement clear and kind. A simple row of dates works well because you can see patterns without overanalyzing them. If you stop using a tracker after two weeks, that does not mean you failed. It means the page did not fit this season, and you can replace it with something more helpful.
The same page type can feel completely different depending on its layout. Before you print a full month, consider how you naturally think and write.
If you need to see your whole schedule at a glance, choose open weekly columns or a horizontal weekly spread. If you work in time blocks, a vertical schedule with hourly lines may feel more natural. If you make long lists and prefer flexibility, pair a clean weekly insert with plenty of notes and list pages.
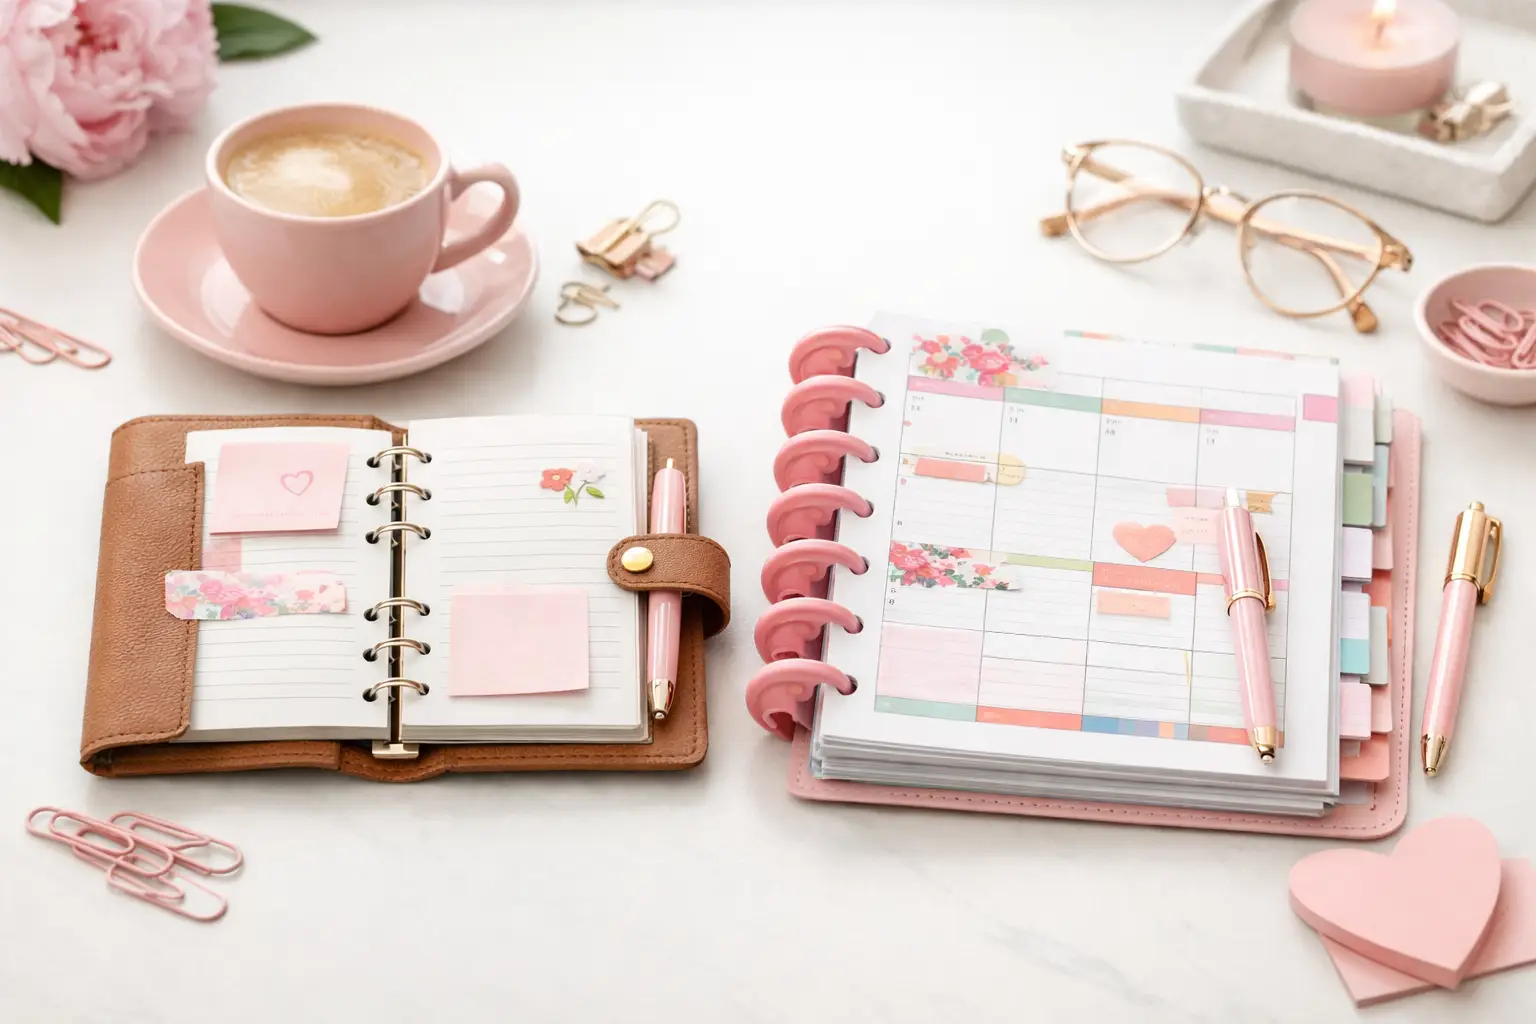
Planner size matters too. A6 travels easily but offers less room for large handwriting and detailed schedules. Personal and Personal Wide balance portability with usable space. A5 and Happy Planner Classic give you more room for family plans, work notes, and creative touches. There is no universally best size – only the one you will enjoy opening.
Print one sample page before committing to a batch. Punch it, place it in your binder, and write on it at your desk and away from home. Check whether the margins work with your rings, whether the paper feels comfortable, and whether you can read your plans without squinting.
You can build a beginner planner without creating an elaborate system. Gather a monthly insert, four to six weekly pages, several notes pages, and one optional page that solves a current problem. Print enough to test, not enough to lock yourself into a choice.
Start by adding dates and fixed commitments to the monthly pages. Then fill in the coming week with appointments and your top priorities. Put your master list and notes pages behind the weekly section, where you can find them quickly. Finally, add your meal plan, daily page, or tracker only if you know when you will use it.
Give the setup two weeks before you judge it. Notice which page you reach for first, which sections stay blank, and where you still write on random scraps. Those clues will show you what to print next. Pretty Easy Planning inserts make that experimentation feel practical: you can choose the format that fits your planner and reprint the layouts that earn a permanent spot.
Your planner does not need to look finished before it can help you. Begin with a few pages, use them honestly, and let your successful planning story grow one useful print at a time.

€4,24
€4,24
€4,24
€4,24
A6 vs happy planner: compare size, space, portability, and page options to choose printable inserts that make your everyday planning feel easier with purpose.
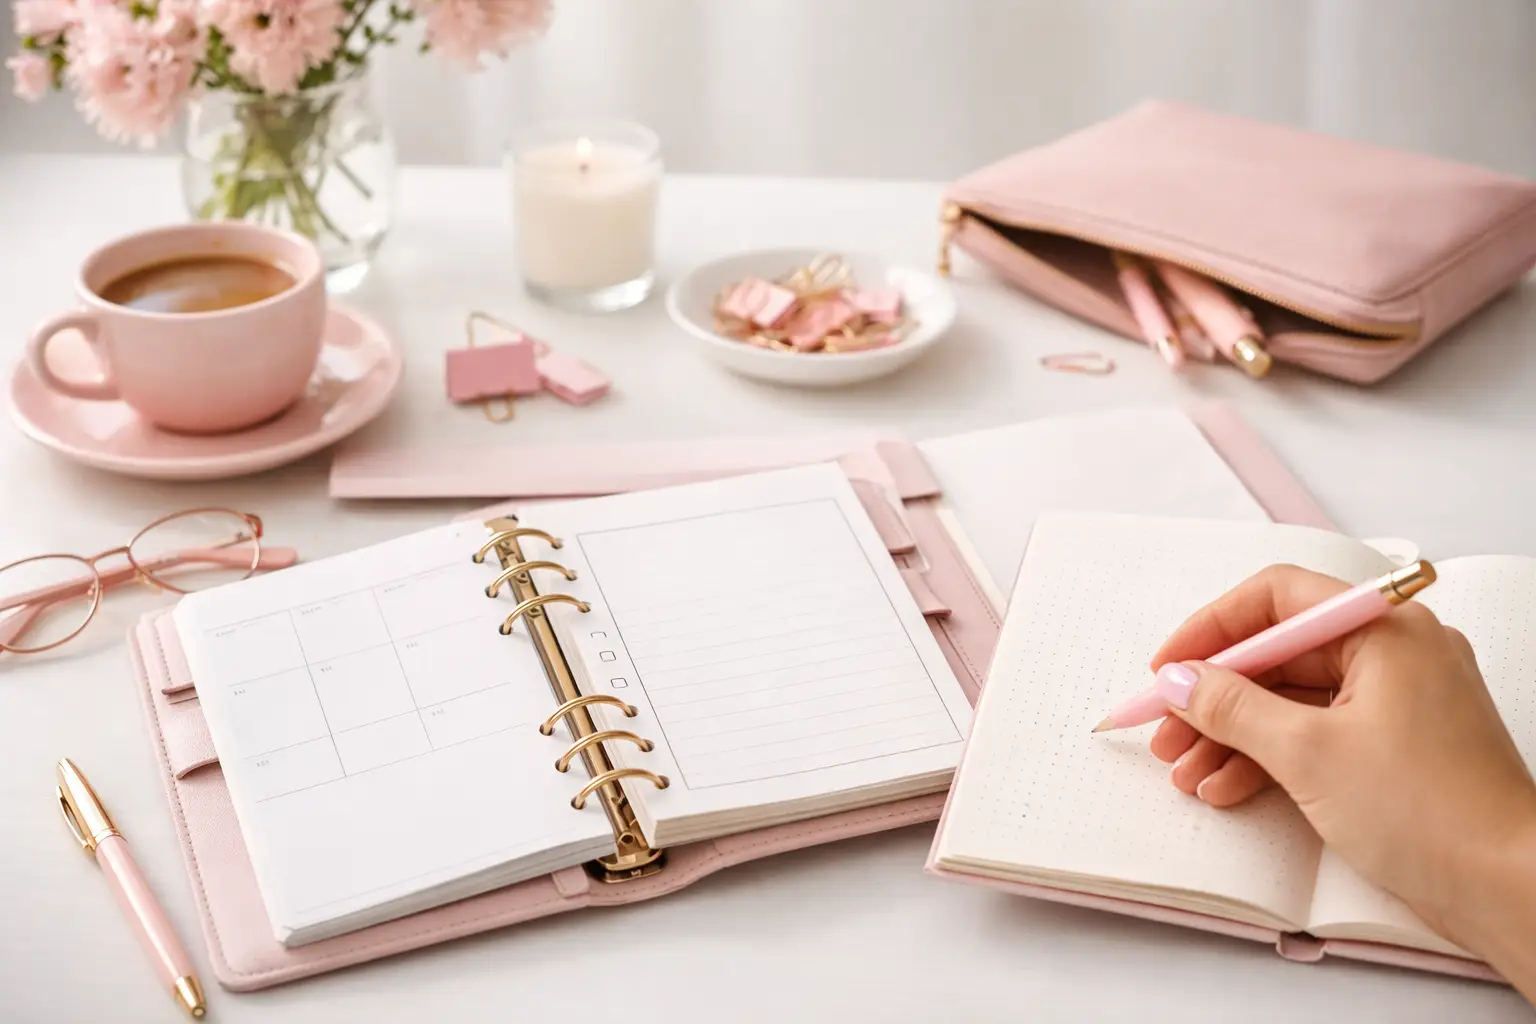
Wondering which planner pages do i need? Build a practical paper planner with only the inserts that support your real routines, goals, and plans daily.
The future of printable planners favors flexible, beautiful systems: print what fits your week, refresh routines, and keep every page useful for life.