A5 pages can look perfect on your screen and still come out slightly too small, off-center, or upside down in your planner. The good news is that once you know how to print A5 inserts with the right scale and paper settings, the process becomes wonderfully simple. A few careful choices now will give you pages that turn neatly, line up with your rings, and make your planner feel completely your own.
Key Takeaways
-
Print A5 inserts at 100% or Actual Size, never Fit to Page.
-
Use A4 or US Letter paper, depending on what your printer handles best.
-
Test one page before printing an entire month or bundle.
-
Choose double-sided printing with the correct flip setting, then check the front and back before punching.
-
Trim only when your PDF includes crop marks or when you print two pages on one larger sheet.
Start With the Correct A5 Size
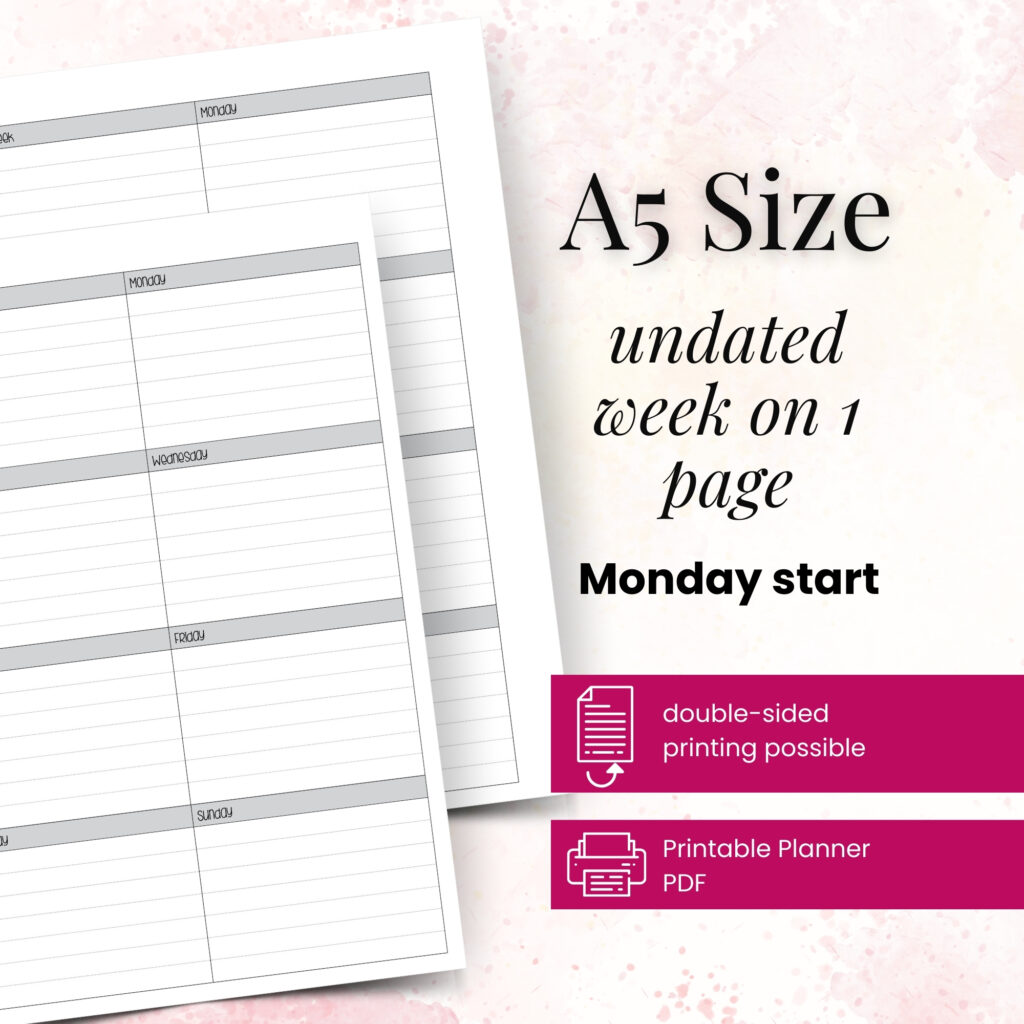
A5 paper measures 5.83 by 8.27 inches, or 148 by 210 mm. It is a popular planner size because it gives you more writing room than Personal pages without becoming bulky. Before you print, make sure you downloaded the A5 version of your insert rather than a similar-looking format such as Personal, Personal Wide, or A6.
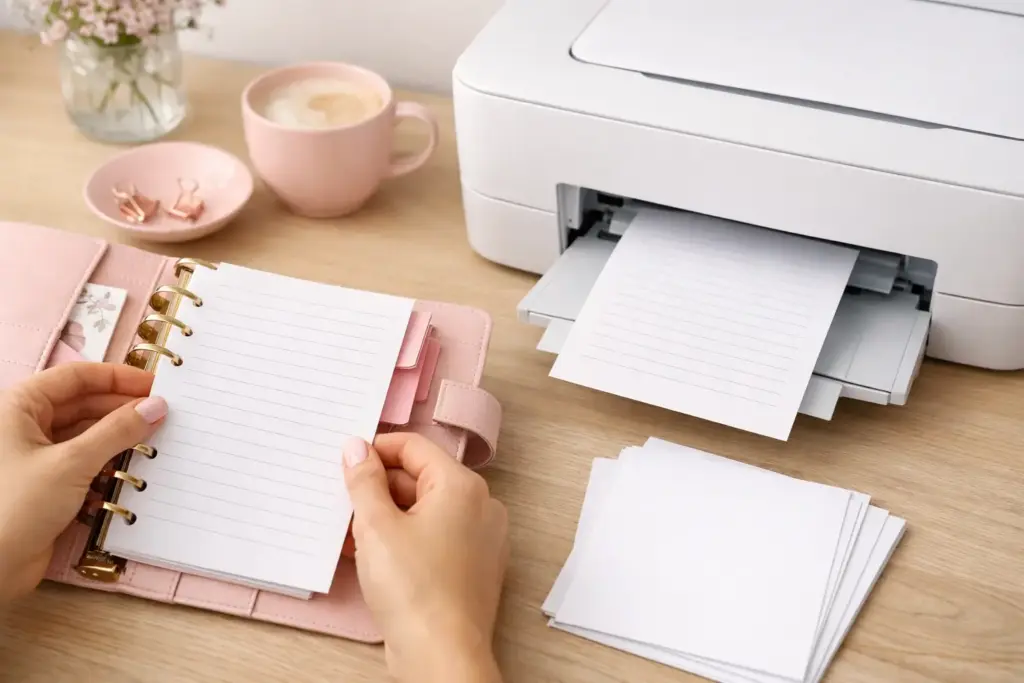
Most A5 insert PDFs come ready to print on an A5 sheet. If your printer supports A5 paper, you can load it directly and print without trimming. That option saves time and creates a clean, professional result.
Many home printers in the US work more reliably with US Letter paper. You can still print A5 pages successfully on Letter paper, but the method depends on the file. Some PDFs place two A5 pages on one Letter sheet, while others print one A5 page with extra white space around it. Check the first page preview before you send anything to the printer.
Choose Paper That Works for Your Planner
Paper changes how your planner feels in daily use. A bright white 24 lb paper works beautifully for most weekly, monthly, and list inserts. It feels substantial enough for everyday writing while keeping your planner easy to carry.
If you use gel pens, highlighters, or fountain pens, try 28 lb or 32 lb paper. Thicker paper can reduce show-through, although it also adds more bulk. A planner filled with daily pages may feel heavy quickly, so consider using heavier paper for dashboards, goal-setting pages, and special sections instead of every insert.
You can also choose paper with a softer white tone if you prefer a warmer, more relaxed look. The best choice depends on your pens, your planner cover, and the style you want to create. Print a sample page on two paper types if you feel unsure. Your own handwriting will tell you more than a package label can.
Set Your Print Scale to Actual Size
The most common printing mistake comes from automatic scaling. Printer software often tries to help by enlarging or shrinking a page to fill the available paper. For planner inserts, that setting can shift margins and make the page too large for your rings.
Open your PDF in a reliable viewer, then look for the page sizing options in the print window. Select Actual Size or set the scale to 100%. Avoid settings such as Fit, Shrink Oversized Pages, Fit to Printable Area, or Scale to Fit unless the insert instructions specifically tell you otherwise.
If you print an A5 PDF on A5 paper, Actual Size should preserve the intended dimensions. When you print onto Letter paper, you still want 100% scale if the PDF already includes two A5 pages per sheet or includes the needed trim area. Scaling the file down just because the paper is larger can create inserts that look almost right but feel frustratingly small once you punch them.
Check Orientation Before You Print
Portrait orientation works for most A5 inserts, including vertical weekly layouts, notes pages, and daily planning pages. Landscape orientation may suit some horizontal layouts or pages arranged side by side.
Your PDF preview offers the fastest answer. If the page looks sideways in the preview, change the orientation there instead of rotating the paper by hand. Let the file guide you. This small check prevents a stack of pages that must be reprinted.
Print a One-Page Test First
A test page takes less than a minute and can save a surprising amount of paper. Print one page, place it inside your A5 planner, and inspect the margins. The punched edge needs enough white space for holes or discs, while the outer edge should not feel cramped.
Look closely at any lines, boxes, and header areas near the page edges. If text sits unusually close to the edge, first confirm that you selected Actual Size. Do not immediately trim the page smaller, since the issue may come from the print setting rather than the PDF.
Use the test sheet to check your preferred pens, too. Write a quick appointment, add a highlighted task, and turn the page over. You are building a planner for real life, not just a pretty stack of paper. A layout should support the way you plan on busy Mondays as well as quiet Sunday resets.
Print Double-Sided Pages the Right Way
Double-sided inserts keep your planner lighter and help sections stay together. However, duplex printing requires one important setting: choose the correct edge to flip on.
For most portrait A5 inserts, select Flip on Long Edge. This setting keeps the front and back upright like the pages of a book. If you select Flip on Short Edge instead, the back page may print upside down.
Printers vary, so test a single two-sided sheet before printing a larger set. Mark the top of your test page lightly with a pencil, then check how your printer returns the paper. If your printer does not offer automatic duplex printing, you can print the odd pages first, reload them, and print the even pages. Follow your printer’s paper path carefully, because some machines feed the printed side face up and others feed it face down.
For dated or sequential inserts, check the page order in the preview. The first back page should match the first front page in a way that makes sense once you turn it. A little attention here keeps weekly spreads and daily pages in the correct rhythm.
Trim Cleanly When You Print on Larger Paper
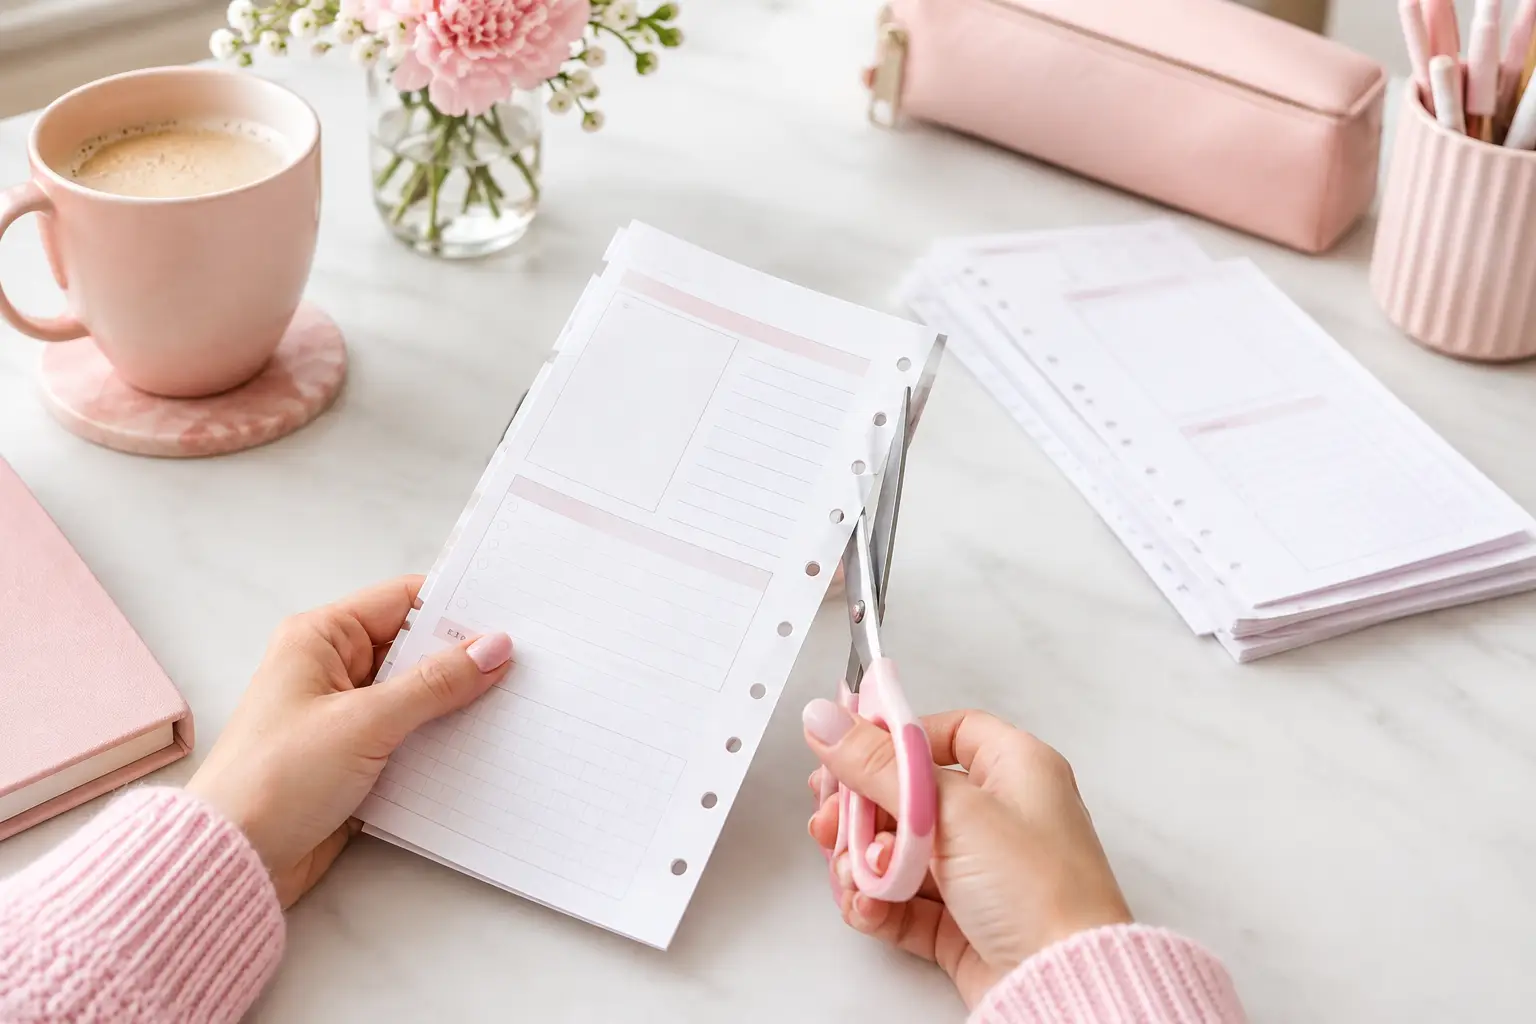
If you print A5 inserts on Letter paper, you may need to trim the pages after printing. A paper trimmer gives the cleanest result, especially when you print a batch. Scissors work for a single test page, but they make it harder to keep every edge straight and consistent.
Look for crop marks on the PDF. These small corner marks show exactly where to cut. Align the crop marks with your trimmer guide, make one clean cut at a time, and stack finished pages in the same direction. If your file does not include crop marks, do not guess at the final size. Check whether the file was designed to print directly on A5 paper or whether its product instructions include a two-per-page printing method.
Keep your trimmed stack away from the punch until you confirm the size. Once you punch holes, correcting a crooked cut becomes much harder.
Punch and Assemble With Margin Space in Mind
After trimming, place one page in your planner before punching the full stack. This final fitting step lets you see whether the inner margin gives your pages enough room to turn comfortably.
For ring planners, align the page in your punch so the printed content stays clear of the holes. For discbound planners, use the punch designed for your disc system and make sure the mushroom-shaped cuts sit evenly along the edge. A slightly uneven punch can make pages catch when you turn them.
Print only the pages you need for the season ahead. You may want monthly pages for the full year but daily pages for just the next few weeks. That flexibility is one of the best parts of building your own planner system: your pages can change as your routines, goals, and schedule change.
Keep a Simple Printing Routine
Once you find settings that work, save them somewhere easy to find. A note inside your planner or near your printer can list your preferred paper, scale, duplex setting, and paper-loading direction. Future reprints will feel much faster when you do not need to rediscover the setup.
Your successful planning story begins with a single print. Start with one test page, make the small adjustment your setup needs, and enjoy the satisfying moment when a fresh A5 insert fits your planner exactly as you imagined.