How to Trim Planner Pages for a Clean Fit
Learn how to trim planner pages accurately with simple tools, clean-cut techniques, and sizing tips for A5, Personal, A6, and more at home with ease.

A beautiful printable can look completely different once it leaves your printer. A page may appear centered on screen, yet the holes cut into the checklist, the bottom line disappears, or a border ends up noticeably heavier on one side. This planner printing margins guide helps you prevent those frustrating results before you use your favorite paper or print a full month of inserts.
Margins are not just blank space. They protect the useful parts of your page, make room for binding, and give your layout a polished, intentional look. Once you understand how your printer handles paper, you can print pages that fit your planner and your routine with far less trial and error.
Every home printer has a printable area. Most cannot print all the way to the edge of the sheet, even when the page design looks edge-to-edge on screen. Your printer leaves a small unprintable border, often between 0.12 and 0.25 inches, although the exact amount depends on the model.
Planner pages add another consideration: the binding. Ring planners need room for holes and reinforcements. Discbound pages need space for the mushroom-shaped punch. Even a simple stapled booklet benefits from a comfortable inside margin so the text does not disappear into the fold.
A well-designed insert already accounts for a sensible writing area and binding space. Your job is to preserve that design when you print. If you scale the page down or let the printer reposition it without checking, you can lose the balance that makes the layout easy to use.
The easiest margin fix begins before you open the print dialog. Choose the file size made for your planner. An A5 insert should print from an A5 PDF, a Personal insert from a Personal PDF, and so on. A page designed for one format will not become a perfect fit simply because you select a different paper size in your printer settings.
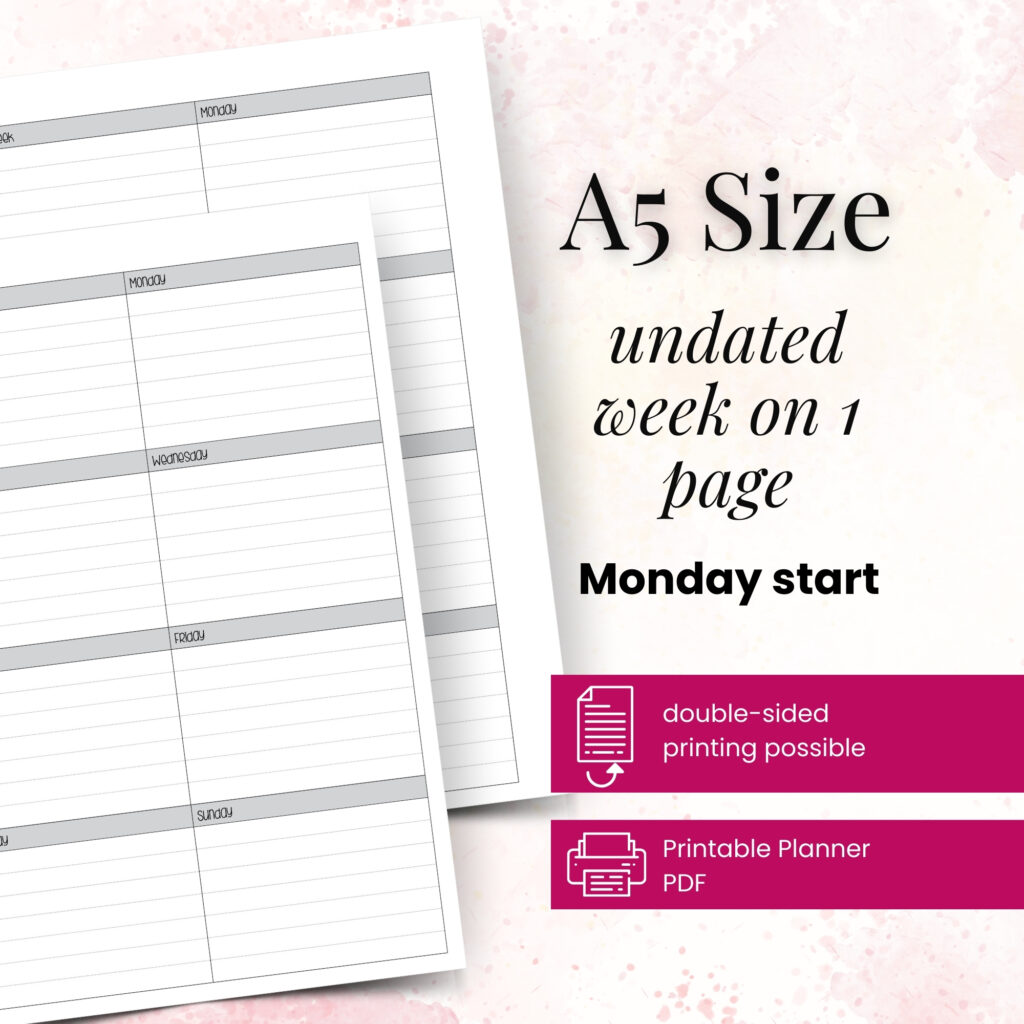
For example, an A5 page measures 5.83 by 8.27 inches, while a Personal page measures 3.74 by 6.73 inches. Printing an A5 design onto Personal paper forces the printer to shrink it. That can make text too small, reduce writing space, and leave odd-looking borders.
Pretty Easy Planning layouts come in popular planner formats so you can begin with the intended proportions. Match the PDF to your planner first, then choose the paper handling method that works with your printer.
Portrait and landscape pages can create a surprisingly common printing mistake. A weekly spread might include one portrait page and one landscape page, or it may need duplex printing with a specific flip direction. Look at the PDF preview before you print and confirm that the orientation matches the page design.
If your printer automatically rotates the page, it may alter the placement of margins. Select “Auto Rotate” only when the preview still shows the page correctly.
In the print dialog, look for settings such as “Actual Size,” “100%,” “Custom Scale,” “Fit,” “Shrink Oversized Pages,” or “Scale to Fit.” For planner inserts, “Actual Size” or 100% usually gives you the best starting point.
Why? Scaling changes every part of the page. A 95% print may seem harmless, but it can make a carefully placed punch margin wider than necessary and reduce the writing boxes you chose the insert for. On the other hand, scaling above 100% can cut off the outer edge of the design.
Use “Fit” only when you have a clear reason. It can help if you print a page on a slightly larger sheet and plan to trim it, but check the preview and measure the final result. A trimmed page may fit the cover while still leaving too little room for your punch.
Some printer dialogs apply a scaling setting in two places: one in your PDF reader and another in the printer properties window. Check both. If your PDF reader uses 100% but the printer driver uses “Fit to Printable Area,” the driver can still shrink the page.
A quick test solves this. Print one page, then measure it against the listed planner size with a ruler. If an A6 page should be 4.13 by 5.83 inches, your finished page should match closely before you punch it.
The inside margin is the edge closest to your binding. It deserves more attention than the outside edge because it handles the physical work of living in your planner.
For ring-bound planners, leave enough blank space that holes do not touch lines, boxes, or important labels. For discbound planners, account for the wider bite of a disc punch. Happy Planner Classic users especially should test the page with their own punch because punch shapes and alignment can vary slightly between tools.
If you print single pages, identify the binding side before you load your paper. This sounds obvious, but it becomes easy to mix up when you print a left page and right page with mirrored margins. Hold the test page inside your planner, mark the binding edge lightly in pencil, and confirm that the layout faces the correct direction.
A two-page weekly spread should not use the same punch margin on both pages. The left page needs its extra binding space on the right edge, while the right page needs it on the left edge. Designers often call these mirrored pages.
When you print a spread, place both test pages side by side before punching. Look at the center seam. Headings, time blocks, and decorative elements should sit comfortably away from the rings or discs. If the center looks crowded, do not try to fix it by shifting the paper in the tray. Return to the correct left and right PDF pages instead.
One test page saves paper, ink, and patience. Use ordinary printer paper first, especially if you plan to print on heavier paper later. Trim the page if needed, punch it, and place it in your planner exactly as you would use it.
Then check the details that matter during a real planning week. Can you write in the first box near the binding? Does the bottom border remain visible? Do tabs, dashboards, or vellum-style pieces line up with nearby inserts? A page can measure correctly and still feel awkward once it sits next to your other planner pages.
If the result looks slightly off-center but nothing gets cut off, decide whether the difference truly affects use. Many home printers shift pages by a tiny amount. Chasing perfect symmetry can waste time when the page already punches cleanly and looks balanced in the planner.
Your paper size and your paper feed method affect margins. If your printer can handle smaller paper sizes directly, load A5, A6, or Personal paper in the correct guides and print at 100%. Make sure the side guides rest against the paper without bending it. Loose guides can cause skewed pages, which makes even a perfect margin look wrong.
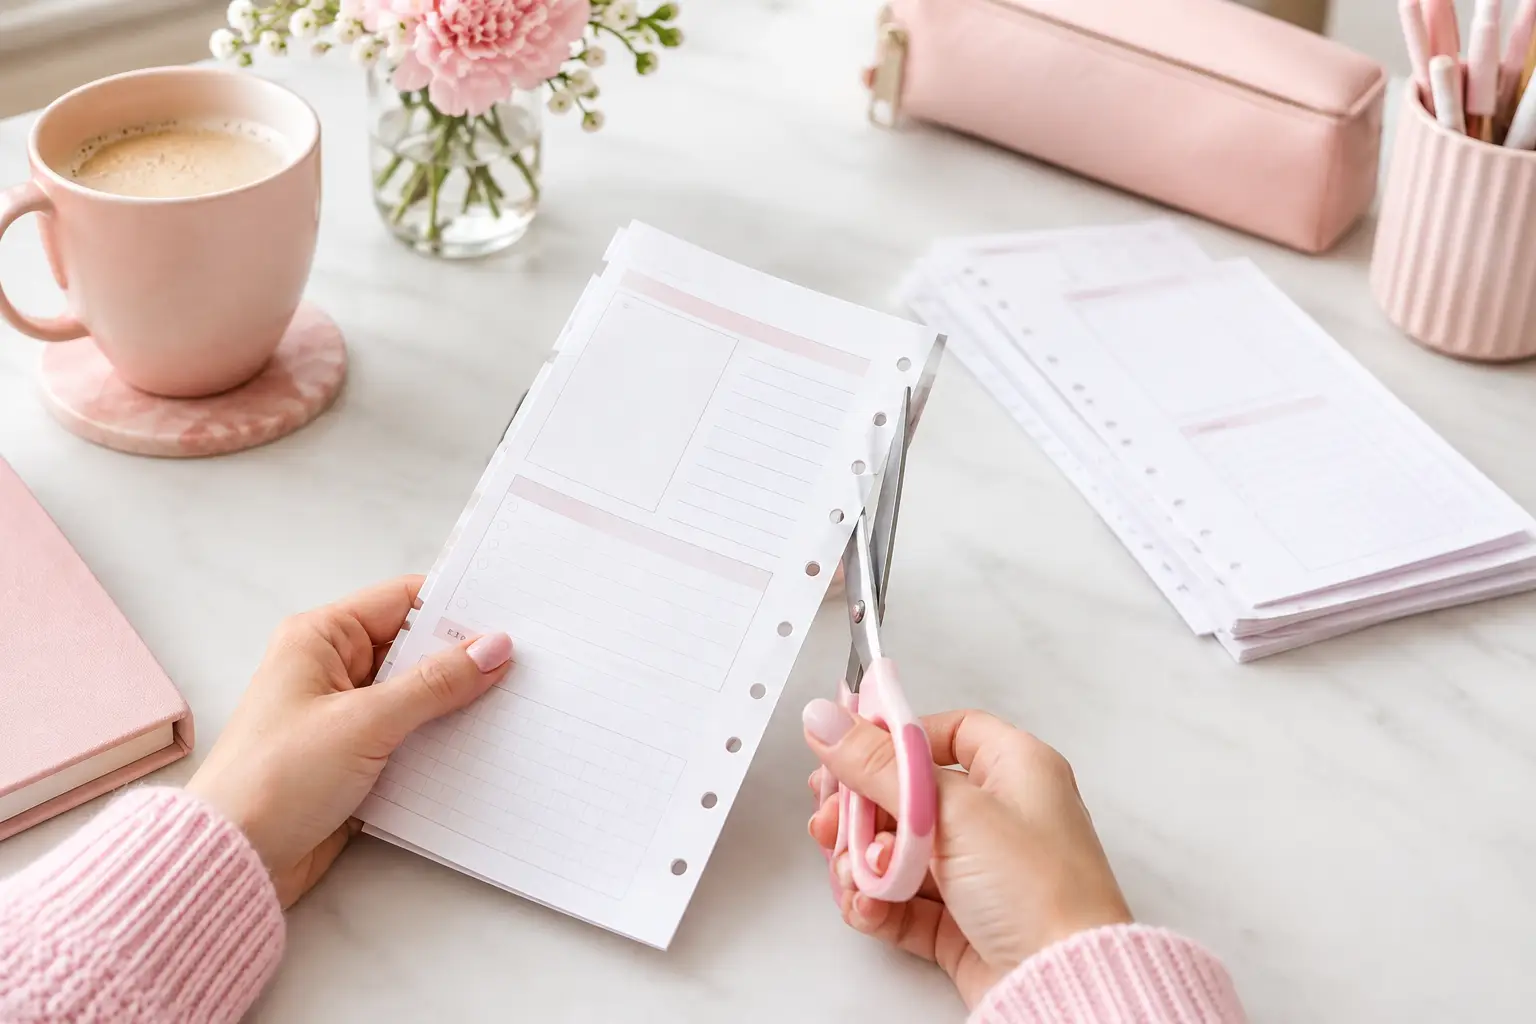
Some printers struggle with small sheets. In that case, print on letter-size paper and trim the insert afterward. This method often gives you more consistent alignment, but it adds a cutting step. A paper trimmer creates straighter results than scissors, particularly for dashboards and pages with visible borders.
For Personal and Personal Wide inserts, printing two pages per letter-size sheet can save paper. Use the correct PDF option for that layout and keep scaling at the stated percentage. After trimming, test both pages because the left and right positions may have slightly different printer alignment.
If text or borders disappear at the edge, your printer likely cannot reach that area or the page has enlarged during printing. Return to 100% scale first. If the design still cuts off, check whether your printer has a borderless option. Use it only if the insert allows for edge-to-edge printing, since borderless mode can expand the image and crop a little around the edges.
If one side has a larger white border, make sure the paper guides are straight and that the paper stack sits flat. A persistent shift on every page usually comes from the printer’s natural alignment rather than the PDF. You can often compensate by using a small position adjustment in printer properties, but write down the setting so you can repeat it later.
If your punched holes clip the layout, do not immediately shrink the page. First, check that you selected the right mirrored page and placed the punch correctly. If the layout truly sits too close to the binding for your punch, trim a little from the outside edge instead. This keeps the writing area near the rings intact.
Once you find settings that work, save them somewhere easy to find. A note tucked into your planner can list the paper type, print scale, duplex setting, and which way to reload pages for double-sided printing. Your future self will appreciate it when you print a fresh monthly set in a hurry.
You do not need a perfect printer or a complicated setup to create pages you love using. A correctly sized PDF, a 100% scale setting, and one thoughtful test print will take you a long way. Your successful planning story begins with a single print, and a little margin space gives every page room to work.

€4,24
€4,24
€4,24
€4,24
Learn how to trim planner pages accurately with simple tools, clean-cut techniques, and sizing tips for A5, Personal, A6, and more at home with ease.
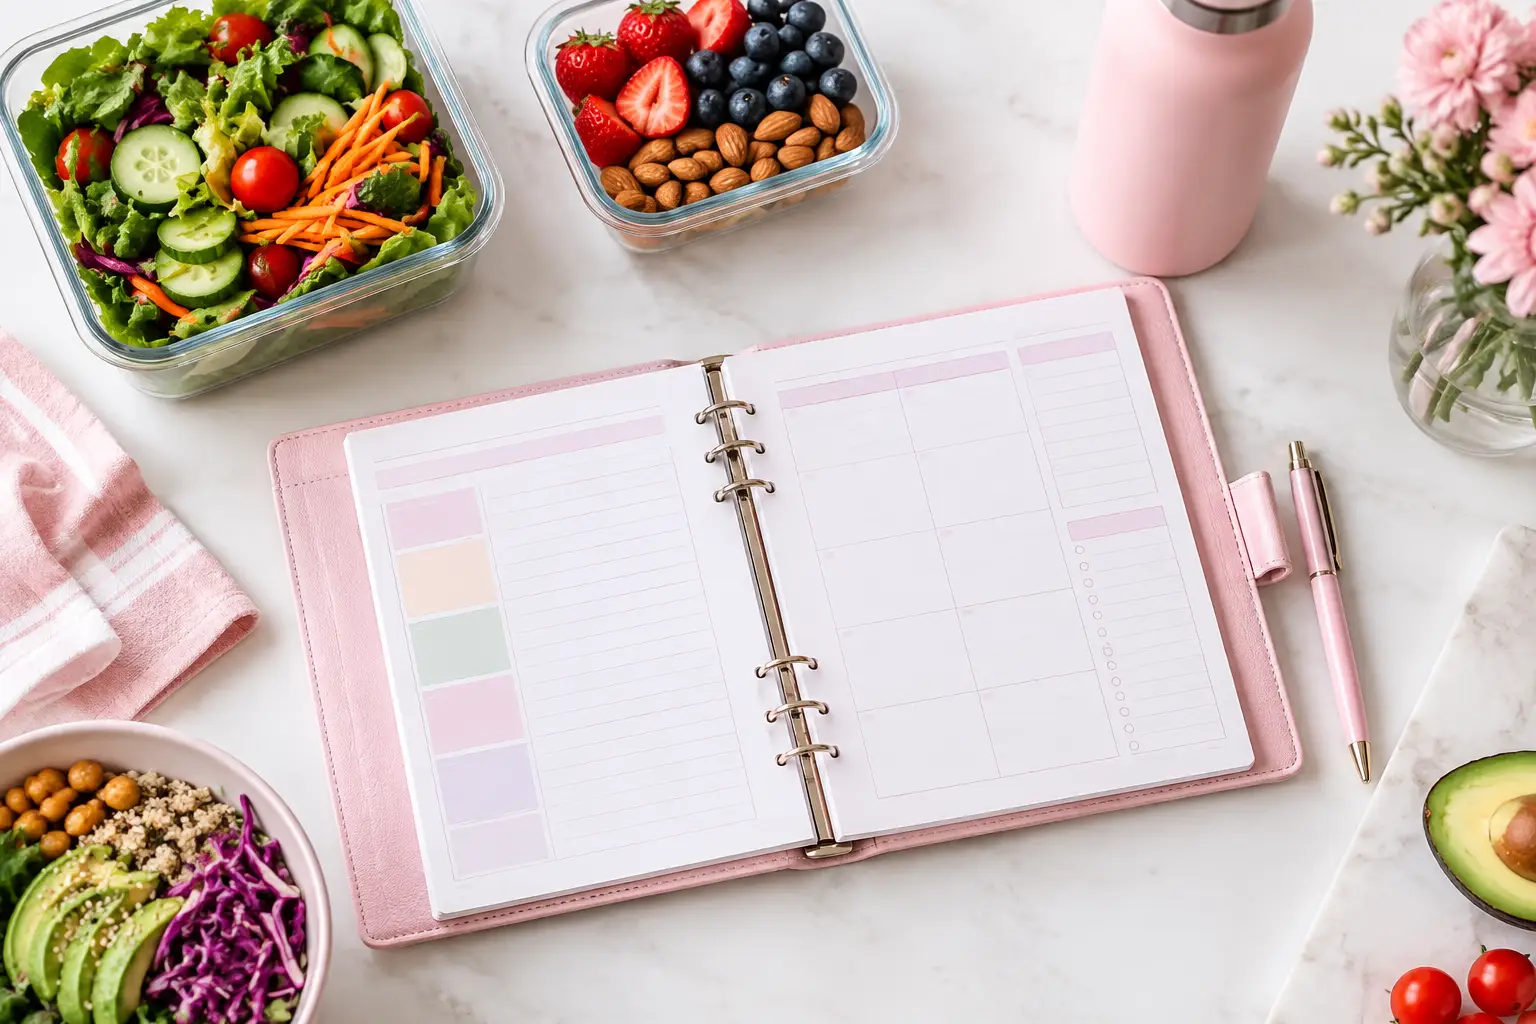
Find the best meal planning inserts for your paper planner, with layout tips for weekly menus, grocery lists, flexible routines, and less waste at home.
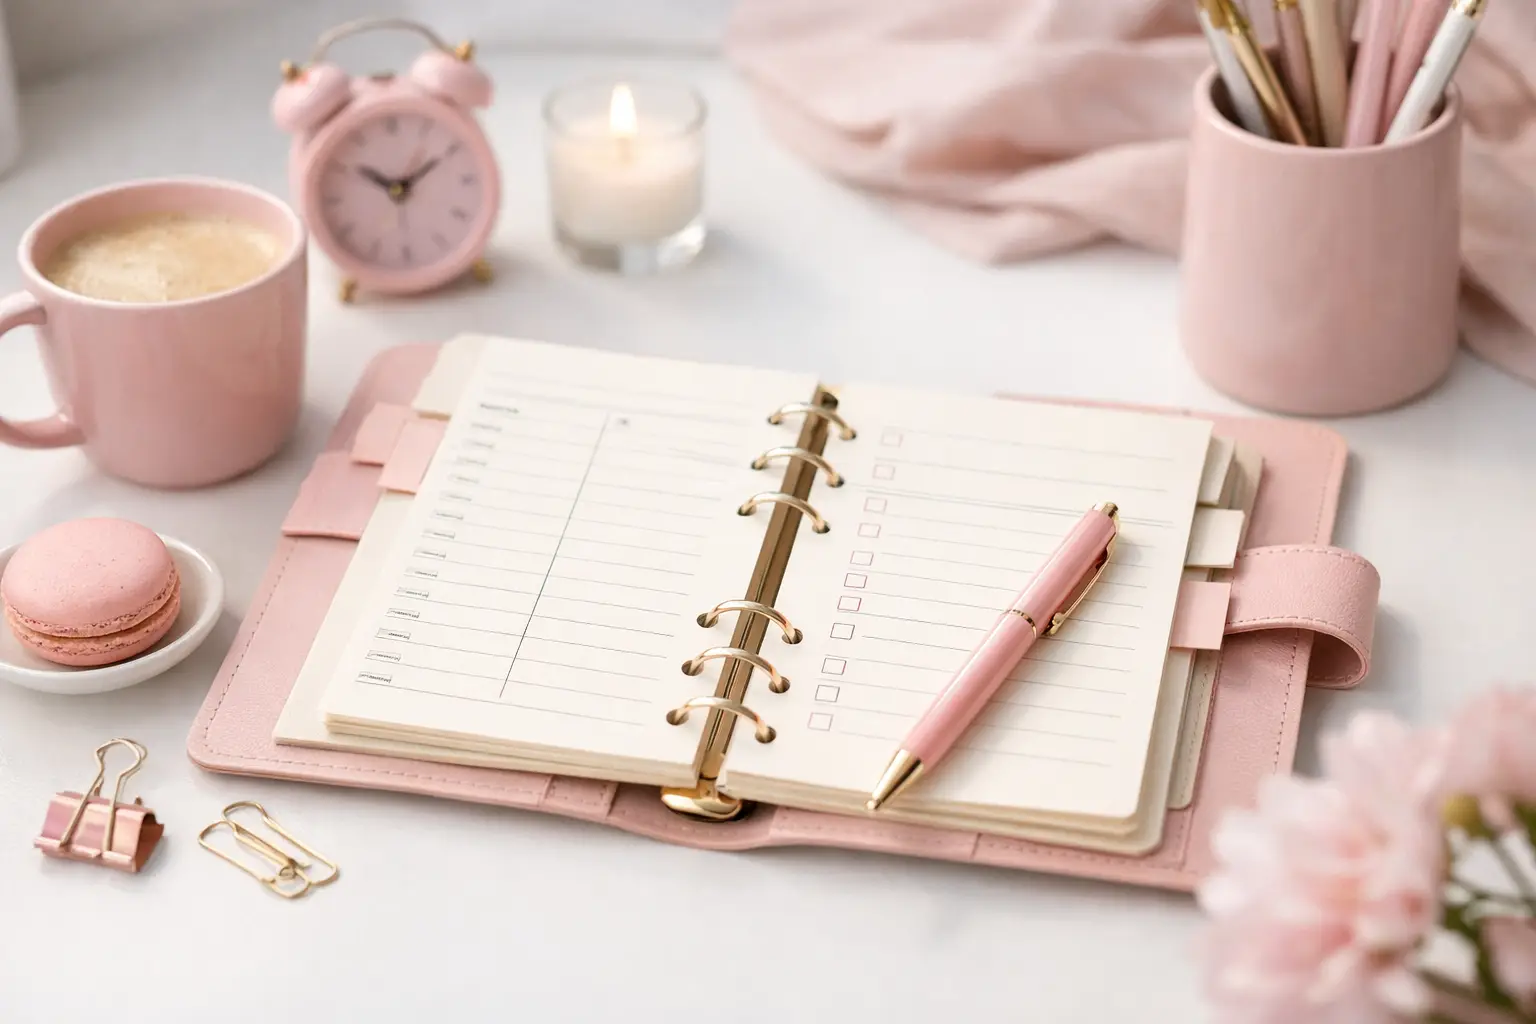
Find the best planner inserts for routines with practical layout ideas for habits, home, work, and self-care that fit your life and paper planner needs.