

Planner Sticky Notes Printable Ideas
Planner sticky notes printable pages add flexible reminders, lists, and tabs to any setup. Print your size, place with purpose, and plan better.
You notice it fast when a planner setup is not working – the stack of unused pages grows, your binder gets bulky, and you keep printing layouts that looked cute but never matched real life. If you have been asking which planner inserts save paper, the answer is not one magic page. It comes down to choosing layouts that fit how often you plan, how much space you actually use, and how flexible you want your system to feel.
For most planner users, paper waste happens in small ways. A daily page leaves half the sheet blank. A weekly spread feels too cramped, so you reprint and start over. A monthly insert gets ignored because your task list lives somewhere else. The good news is that a printable setup gives you much more control, and that is exactly where paper savings start.
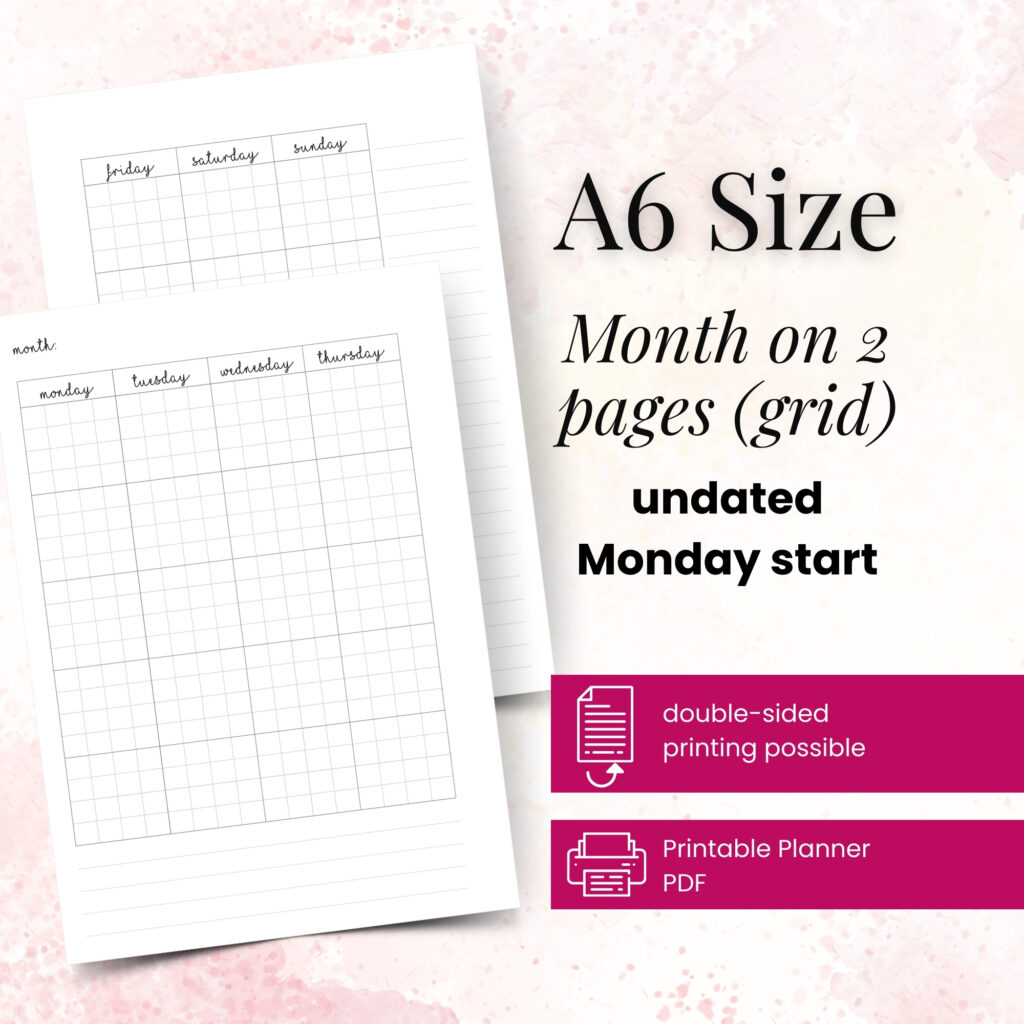
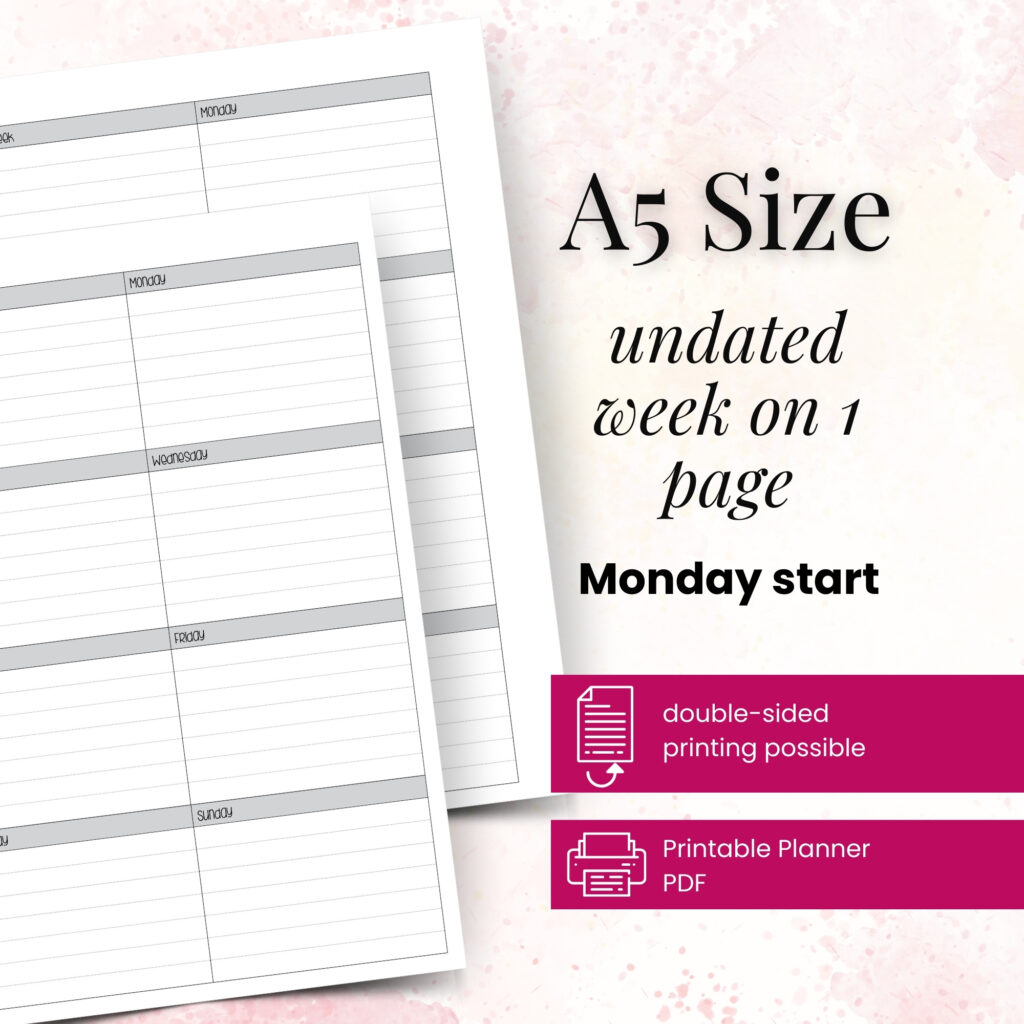
If your main goal is to use fewer pages, weekly inserts usually win. One weekly spread can cover seven days, which immediately cuts down the number of sheets compared with daily pages. That makes weekly layouts a strong choice for household planning, work tasks, meal ideas, appointments, and general to-dos.
Still, it depends on your planning style. If you manage a packed schedule with timed appointments, project notes, and detailed task breakdowns, a weekly insert may save paper at first but create stress later. When the page feels crowded, you may end up adding extra notes sheets anyway. In that case, the weekly layout alone does not truly save paper. It just shifts the overflow somewhere else.
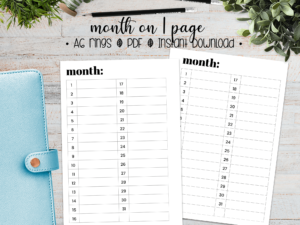
Monthly inserts save even more paper because one set of pages covers an entire month. They work beautifully for deadlines, birthdays, bills, travel dates, and goal checkpoints. But a monthly layout rarely handles everyday planning by itself. Most people still need space for weekly priorities or notes, so monthly pages work best as part of a layered system rather than the whole system.
Daily inserts look appealing for a reason. They offer structure, breathing room, and a fresh start each day. If you love detailed planning, they can feel calm and satisfying. But they also use paper fast. A full month of daily pages adds up quickly, especially if your weekends stay light or your schedule changes often.
Weekly inserts ask you to be a little more selective. You write the essentials, group tasks, and see your whole week at once. That usually means fewer pages and better visibility. For many planner users, this is the sweet spot between function and efficiency.
A practical example makes this easier. Imagine you use one page per day from Monday through Sunday. Over four weeks, that is around 28 daily pages, not counting monthly calendars or extra notes. A weekly setup might use four to eight pages total for the same time period, depending on the layout. That difference adds up fast.
If you feel torn, try a hybrid routine. Use weekly inserts as your main structure, then print daily pages only for high-pressure days like travel days, launch weeks, exam prep, or packed meeting days. You get detail where you need it without committing to daily pages all month long.
Monthly inserts can be the biggest paper savers in your planner, but only if you treat them as a planning tool instead of decoration. A monthly calendar works best when you fill it with anchors: key dates, recurring tasks, payment reminders, family events, and simple deadlines.
Problems start when you expect the monthly spread to hold every detail. Tiny boxes can only do so much. If you squeeze in long task lists or tracking notes, the page gets messy and stops being useful. Then you print extra pages to fix the problem.
A smarter method is simple. Use the monthly insert for overview planning, then pair it with a weekly insert for action steps. That combination stays lean, clear, and much easier to maintain.
Some of the best paper-saving inserts are not the obvious ones. Notes pages, lists, and dashboards often reduce waste because they fill gaps in your system without forcing you into a full extra layout.
A dashboard insert works well when you want one page for top priorities, habits, errands, and reminders. Instead of printing a full daily page every time life gets busy, you can use a dashboard for the week and keep moving. List pages do something similar. They hold shopping lists, project steps, packing plans, or brain dumps without wasting the empty sections that often come with more structured inserts.
This is where customization matters. If a page has sections you never touch, it is probably not saving paper, even if the layout looks compact. The inserts that save the most paper are the ones you finish and reuse in your routine.
Your answer depends on what your days actually look like.
If you plan mostly appointments, errands, and household tasks, monthly plus weekly inserts usually save the most paper. You get enough space without overprinting. If you manage detailed projects or time-blocked work, weekly inserts with occasional daily pages often work better. If you use your planner more like a life hub with lists, routines, and flexible notes, dashboards and list inserts may save more paper than a traditional daily setup.
Planner size also matters, but not in the way people expect. A smaller insert does not always save paper overall. If the page feels too cramped, you may print more extras to compensate. A layout that fits your handwriting and planning habits often saves more in the long run, even if the page size is slightly larger.
That is why many experienced planner users build around real use, not planner theory. An A5 weekly that holds everything cleanly may waste less than a smaller insert that constantly needs backup pages.
Start with one month of honest observation. Look at the pages you actually use, not the pages you wish you used. Notice where you leave blank space and where you run out of room.
Then choose your base layout. For most people, that should be either a weekly insert or a monthly plus weekly combination. This creates structure without overcommitting pages.
Next, add only two or three support inserts for your real planning needs. That might be a notes page for overflow, a list insert for ongoing tasks, and a dashboard for busy weeks. Keep the mix tight. Too many insert types often create more printing, not less.
Finally, print in smaller batches. Instead of preparing three months at once, print one or two weeks of inserts, test them, and adjust. This step makes a huge difference because your system can evolve without leaving you with stacks of pages you no longer want.
At Pretty Easy Planning, this kind of flexible setup sits at the heart of a smarter planning routine. You can choose the layouts that support your life, print what you need, and skip the pages that would only collect dust in your binder.
Saving paper does not always mean choosing the fewest pages possible. Sometimes the layout that uses more paper helps you stay consistent, and consistency makes your planner more useful. A page you love and use fully can be more efficient than a minimal page you avoid.
There is also the question of planning comfort. Some people think better with space. Others prefer compact layouts that keep them focused. Neither approach is wrong. The real goal is to avoid printing pages that do not earn their place in your planner.
That is why experimentation matters. Try one layout for two weeks, review it honestly, and adjust without guilt. Your successful planning story begins with a single print, but the best setup usually comes from a little testing.
If you want to save paper, choose inserts that match your pace, your handwriting, and your real routines – not just the layout that looks the most efficient on the screen.

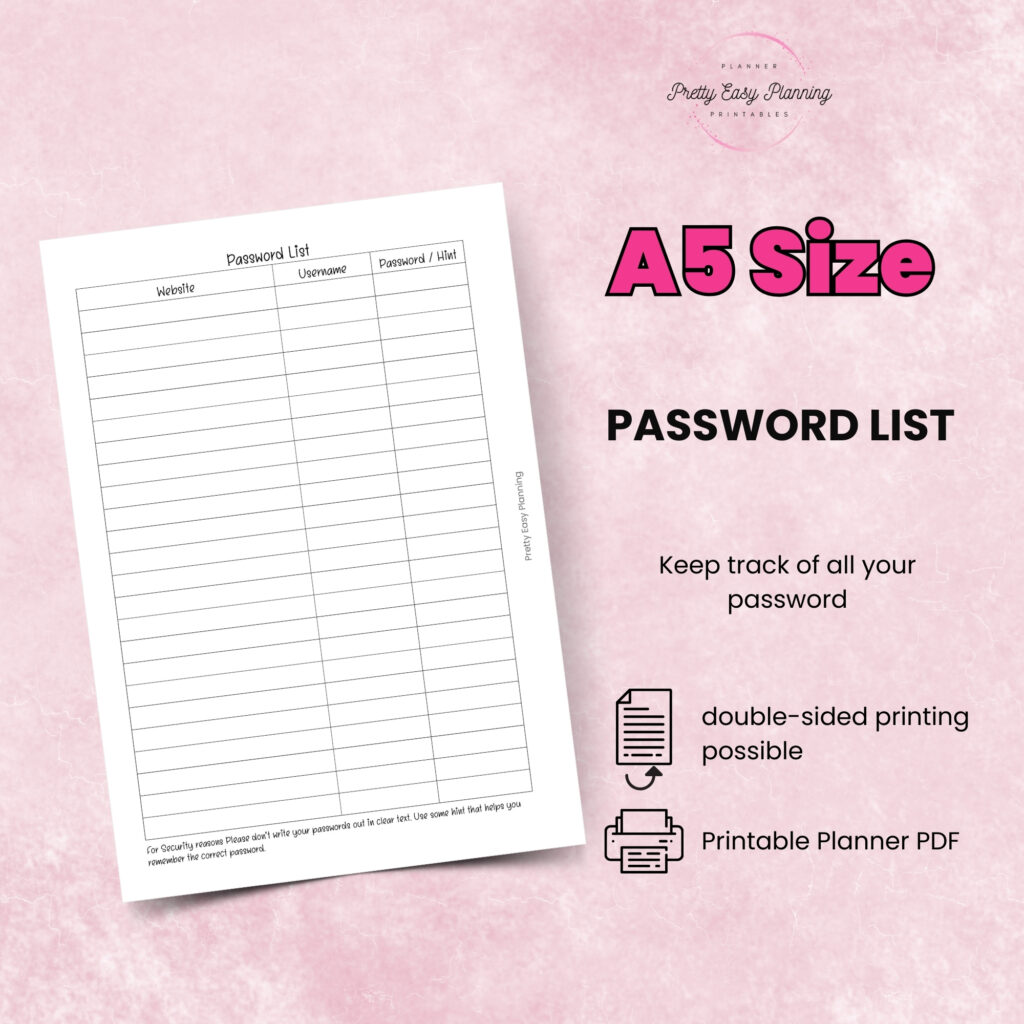
Planner sticky notes printable pages add flexible reminders, lists, and tabs to any setup. Print your size, place with purpose, and plan better.
Learn how to organize planner sections in a way that fits your routine, cuts clutter, and makes your planner easier to use every day.
Are printable planners worth it? See when they save money, add flexibility, and fit your routine better than pre-printed planners.