
Planner Printing Margins Guide for Perfect Pages
Use this planner printing margins guide to set up clean, punch-ready pages for A5, Personal, A6, and Happy Planner Classic inserts at home without fuss.
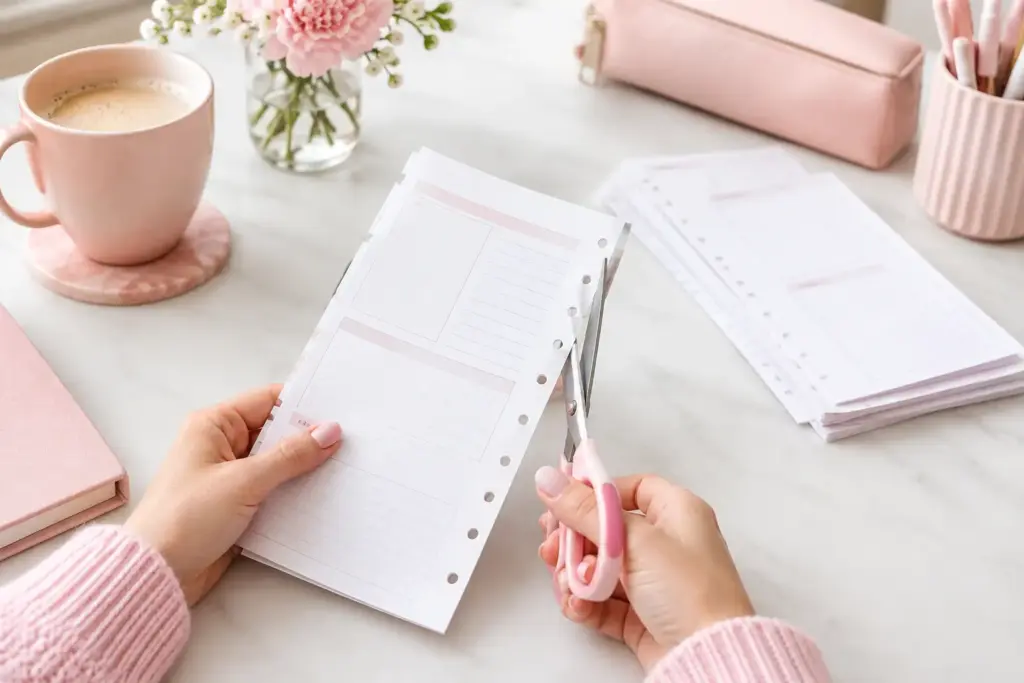
A beautiful printable insert can lose its polished look in seconds when one edge sits crooked in your planner. The good news? Learning how to trim planner pages takes far less skill than it seems. With the right setup, you can create clean, even pages that fit your rings, discs, or binder cover like they were made for it.
Trimming also gives you more freedom with your printable collection. You can print the pages you need, choose paper that feels right in your hands, and prepare each insert for the planner size you actually use. A little care at the cutting stage makes your whole planning routine feel more intentional.
The secret to tidy planner pages is not cutting quickly. It is setting yourself up so the page tells you exactly where to cut. Most printable inserts include crop marks, which are the small lines near the corners that show the finished page size. Treat those marks as your guide, not the edge of the design.
Start by printing one test page. This step may feel small, but it saves paper and frustration. Place the test page inside your planner after trimming it. Check that the margins look balanced, the page turns easily, and any writing space near the binding remains usable.
If you use inserts from Pretty Easy Planning, choose the file that matches your planner format before you print. An A5 page and a Personal page can look similar at a glance, yet even a small size difference will affect the fit and the punch placement.
Open your PDF and look closely at the print settings. Choose “Actual Size” or “100%” in most cases. Avoid settings such as “Fit,” “Shrink Oversized Pages,” or “Scale to Fit” unless the file instructions specifically tell you to use them. Those options can change the page dimensions and make crop marks less reliable.
Before you print a larger batch, measure your test page with a ruler. For example, a standard A5 insert should finish at 5.83 by 8.27 inches. A Personal insert usually finishes at 3.74 by 6.73 inches. You do not need laboratory-level precision, but the finished page should sit squarely within the expected size.
Paper choice also affects the result. Lightweight paper cuts easily, but it can shift when you trim several sheets together. Heavier paper feels wonderful for dashboards, lists, and dividers, though it requires a sharper blade and smaller stacks. If you love a crisp, substantial page, trim fewer sheets at a time rather than forcing the trimmer through a thick pile.
A paper trimmer gives most planner users the best combination of speed and accuracy. A guillotine-style trimmer uses a long blade that swings down, while a rotary trimmer slides a small blade along a track. Either can work well when the blade stays sharp and the measuring guide lines up correctly.
A rotary trimmer often feels easier for everyday inserts because the clear cutting rail holds pages in place. A guillotine trimmer can handle thicker stacks, but it demands a firm grip so the paper does not move as the blade comes down. If you only trim an occasional page, a metal ruler and craft knife can create beautifully precise edges. Just use a self-healing cutting mat and keep your fingers away from the blade.
Keep these basics near your printing area:
Replace dull blades sooner than you think. A dull blade tears paper fibers, leaves fuzzy edges, and can pull a page slightly off line. Clean cuts make even simple black-and-white inserts look more refined.
When a page has crop marks on all four corners, resist the urge to cut all sides by eye. Trim in a consistent order instead. Many planner users find it easiest to cut the long sides first, then the short sides. This gives you a clean edge to align against the trimmer guide for the remaining cuts.
Place the page on the trimmer so the first set of crop marks lines up with the cutting path. Hold the paper flat with one hand, especially near the side that will remain on the trimmer bed. Cut slowly and keep the sheet from shifting.
After the first cut, rotate the paper and align the next crop marks. Use the newly trimmed edge against the trimmer guide when possible. That straight edge gives you a more dependable reference point than the original printer-paper edge, which may not be perfectly square.
For a standard letter-size sheet that holds two planner pages, cut the center line first if the layout includes one. Then trim each individual page down to its crop marks. This approach keeps the paper easier to handle and prevents narrow pages from slipping under the cutting rail.
Once your test page fits, you can trim several pages together. Still, your trimmer has limits. Three to five sheets work well for many home trimmers, particularly with 24 lb paper. Cardstock, vellum-style pieces, and heavier paper usually need one or two sheets at a time.
A thick stack can slide just enough to create uneven corners. You may not notice the difference until you flip through the pages in your planner and see a staggered edge. Small batches take a little longer, but they produce a cleaner finished set.
If you want to prepare a monthly bundle, trim all pages with the same dimensions in one session. Keep weekly inserts together, then trim notes pages, dashboards, and decorative pieces separately. This simple sorting habit reduces mistakes and keeps your work area calm.
Trimming and punching work as a pair. A page can measure correctly yet still feel awkward if the punch holes sit too close to the content. Before you punch a full set, place your trimmed test page into the punch and check the inside margin.
For ring-bound planners, make sure the holes do not crowd appointments, checkboxes, or task lists near the left edge. For disc-bound planners, confirm that the mushroom-shaped punches sit evenly and that the page turns without catching. Happy Planner Classic pages need their own width and height, so always use the crop marks for that format rather than adapting an A5 page by hand.
You can also use a trimmed page as a physical template. Place it over future pages before cutting, especially if you print a design without crop marks. Mark the corners lightly in pencil, trim carefully, and erase any visible marks afterward.
This sounds obvious, but it catches many costly mistakes. Look at the page orientation before the first cut. Weekly inserts may have a Monday start or Sunday start, a left-page layout or right-page layout, and a top or side binding margin. A page turned the wrong way can leave the binding space on the outside edge.
Set a finished sample on your desk with the top clearly marked. Compare each page to that sample as you trim. For double-sided printing, check both sides before you cut. The front may look perfect while the reverse side sits upside down or shifts slightly due to printer alignment.
If your printer does not print front and back perfectly centered, adjust before producing a full batch. Some planners never notice a tiny shift, while others prefer every edge to line up precisely. Your planner, your standards.
If your pages look uneven after trimming, first check your trimmer rather than blaming your cutting skills. The printed measuring grid may sit slightly off, especially on an older trimmer. Use the crop marks and a ruler to verify the actual cut line.
When pages come out too small, your printer may have scaled the PDF down. Return to the print dialog and select Actual Size. If the pages come out too large, confirm that you chose the right planner format and did not print a larger size by mistake.
If the blade leaves rough edges, change it or cut fewer sheets at once. If the page shifts under the rail, hold it closer to the cutting line and make sure the paper rests flat against the guide. Tiny adjustments create a noticeably better result.
One more practical tip: save a few trimmed scraps. They work well for pen testing, adhesive checks, tiny notes, or layered planner decorations. Even the offcuts can earn a place in your creative corner of planning possibilities.
A cleanly trimmed page does more than fit your planner. It makes opening your binder, turning to the week ahead, and writing down what matters feel a little more satisfying. Set aside a quiet ten minutes, trim one test page with care, and let that first clean edge start your next planning session.

€4,24
€4,24
€4,24
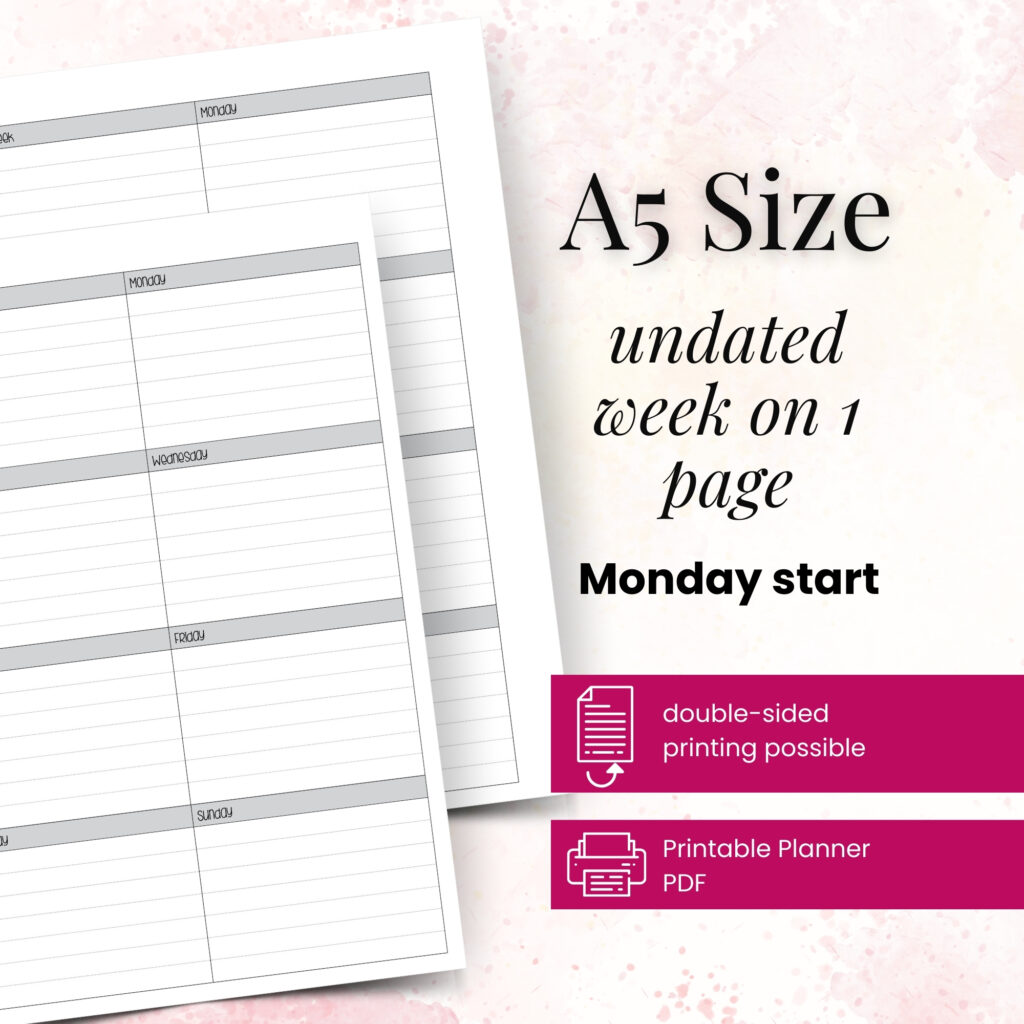
€4,24
Use this planner printing margins guide to set up clean, punch-ready pages for A5, Personal, A6, and Happy Planner Classic inserts at home without fuss.
Find the best meal planning inserts for your paper planner, with layout tips for weekly menus, grocery lists, flexible routines, and less waste at home.
Find the best planner inserts for routines with practical layout ideas for habits, home, work, and self-care that fit your life and paper planner needs.