A busy week can look perfectly manageable until work deadlines, school forms, grocery runs, and a dentist appointment all land on the same page. The right work life planner layout example does not ask you to separate your whole life into neat boxes. It gives each part of your life enough room to be seen, then helps you decide what deserves your attention first.
For many paper planners, a combined layout feels more useful than carrying separate planners for every role. You can see the meeting that affects pickup time, the work project that needs an evening of focus, and the household task you can move to Saturday. The goal is not to fill every space. The goal is to create a page you can trust.
Key Takeaways
-
Use one weekly spread to see work commitments and personal responsibilities together.
-
Give timed appointments, task lists, and priorities different spaces so they do not compete.
-
Choose a layout based on how your work actually happens, not on what looks busiest online.
-
Add only the trackers and decorative details that make you want to return to the page.
-
Print a small batch first, test it for a week, and adjust before building a full planner section.
Why a combined work-life layout helps
Work and home rarely stay in separate lanes. A late client call changes dinner plans. A household repair affects when you can work from home. When you keep those details on different pages, you may miss the connection until the week already feels crowded.
A shared weekly layout creates context. It lets you protect focused work time, plan around family commitments, and make realistic decisions about what will fit. It also reduces the mental work of checking several places before you answer a simple question like, “Can I take that appointment on Thursday?”
That said, a combined planner is not right for every situation. If you manage confidential projects, use a planner in a public office, or simply prefer a stronger boundary after work, keep detailed work notes in a separate section. You can still use your main weekly spread for work blocks and deadlines without adding sensitive information.
A work life planner layout example for a real week
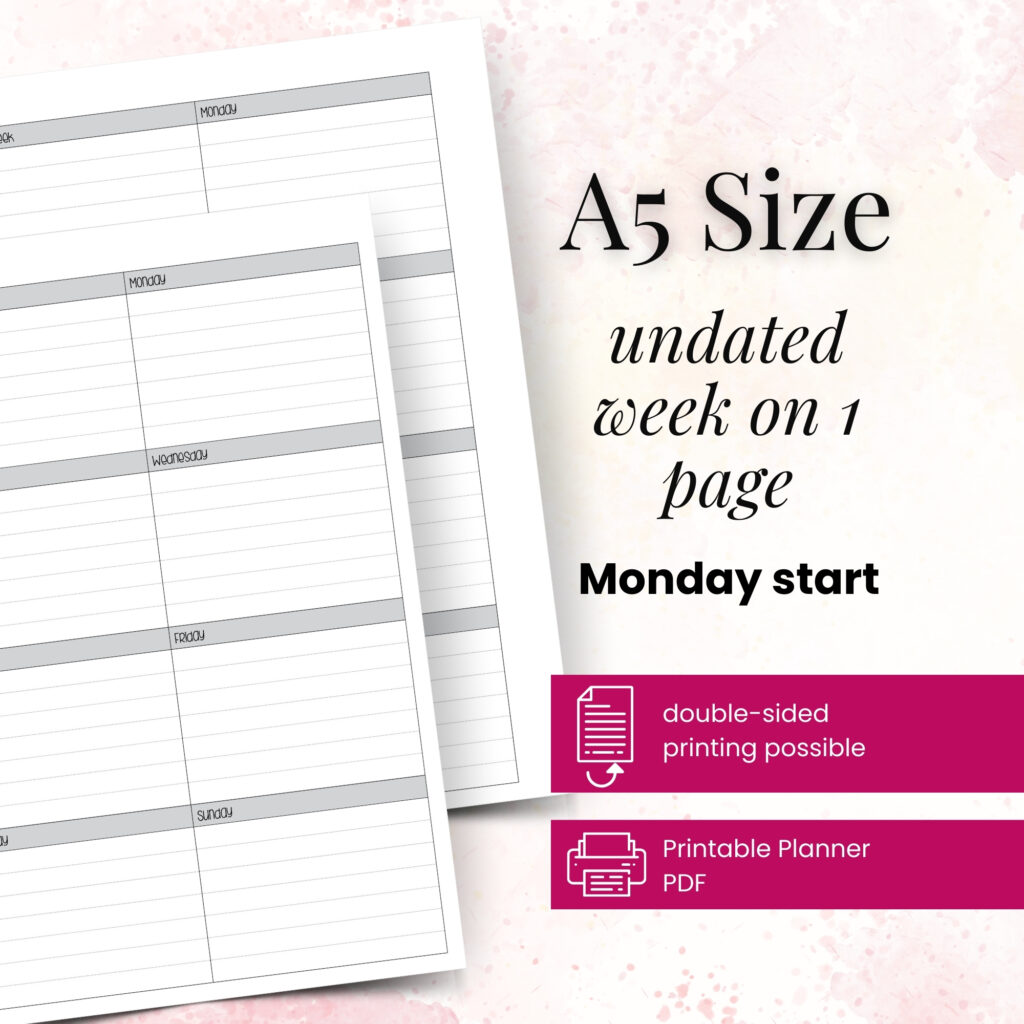
Picture a two-page weekly spread with seven vertical daily columns. Each day has three simple zones: a small schedule at the top, a work list in the middle, and a personal list at the bottom. A narrow sidebar on the left holds weekly priorities, while a slim section on the right captures errands, meal ideas, and items to carry forward.
This setup works because it answers three different questions without mixing them together. The schedule shows where you need to be. The lists show what you need to do. The sidebars keep weekly details from taking over a specific day.
The top zone: appointments and time blocks
Use the top third of each daily column for commitments with a real time attached. Write meetings, appointments, school events, travel, and planned focus blocks here. You do not need to map every hour unless your job requires it. A light structure often leaves more room for real life.
For example, Tuesday might include “9:30 team meeting,” “1:00 project review,” and “5:45 soccer.” If you need deep concentration to finish a report, block “10:30-12:00 report draft” instead of leaving that task loose on a list. That small decision protects time for the work that matters.
The middle zone: work tasks and priorities
Keep your work task area intentionally short. Choose one must-do task and two supporting tasks for each workday. A packed list can look productive, but it often creates frustration when meetings and messages interrupt your plan.
Try writing your most meaningful task first with a small star beside it. On Wednesday, that might be “Finish client proposal.” Supporting tasks could include “Send feedback notes” and “Prepare Friday agenda.” If a task takes longer than expected, move it forward with an arrow rather than rewriting it from scratch. Your planner should show the truth of your week, not punish you for having one.
The bottom zone: home and personal tasks
The personal section holds the work that keeps life moving: pharmacy pickup, laundry, meal prep, a birthday card, a call to a parent, or an evening walk. These tasks matter, even when they do not come with a deadline.
Match tasks to the day you can actually complete them. Put “order groceries” on the day you have ten minutes to do it, not on Monday just because a new week starts there. You will build a more honest plan and avoid the familiar feeling that every unfinished task has become overdue.
Build the weekly sidebar around decisions
A sidebar can become decorative clutter if it collects information you never use. Give it a job. For a work-life spread, start with a weekly priorities box and a running list.
Your priorities box should hold no more than three outcomes. These are not every task on your list. They are the results that would make Friday feel successful. You might write “Submit Q2 budget,” “Book pediatrician appointment,” and “Plan Sunday dinner.” Seeing work and personal priorities together makes it easier to protect both.
Use the running list for tasks that do not belong to one day yet. Add returns, calls, supplies to buy, or questions to ask at your next meeting. During your daily check-in, assign a few of these items to a day. This keeps the daily columns clear while making sure loose tasks have a home.
If meals shape your evenings, add a small dinner line beside each day or create a meal plan box in the sidebar. If you rarely follow a meal plan, use that space for movement, spending notes, or a simple “waiting on” list instead. A useful layout reflects your real routine, not someone else’s ideal one.
Set up your printable insert in five practical steps
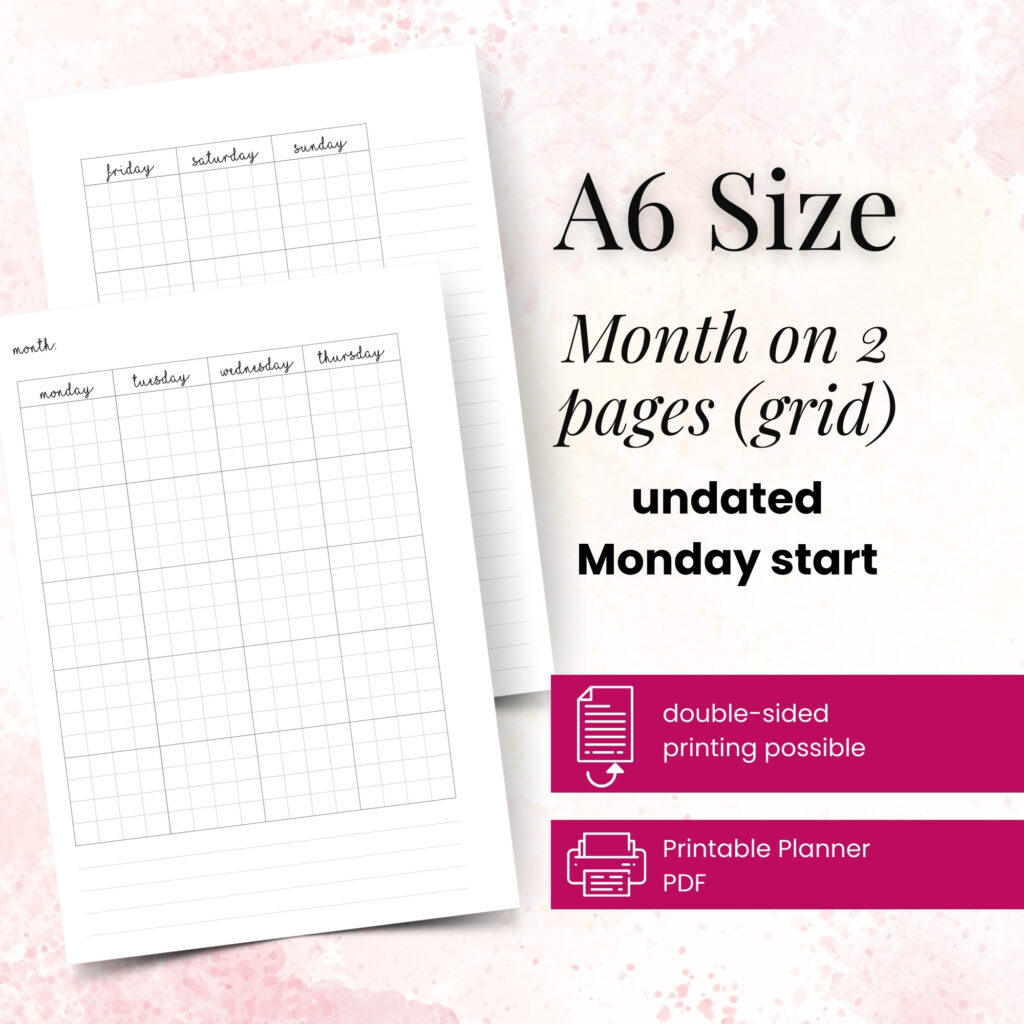
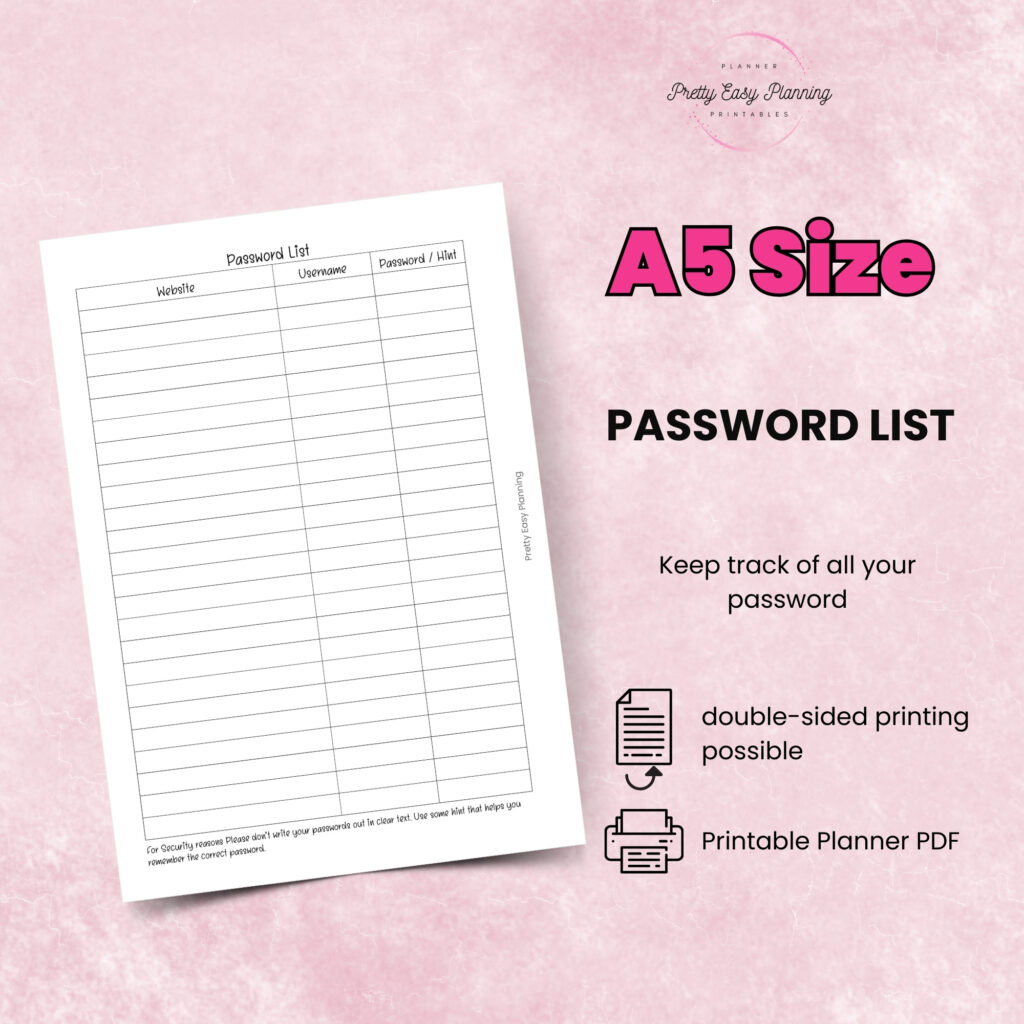
Start by choosing the planner size you reach for most often. An A5 page offers generous writing room for detailed workdays, while Personal or A6 can work beautifully when you prefer a concise overview. Happy Planner Classic pages suit planners who enjoy roomy vertical columns and colorful weekly planning.
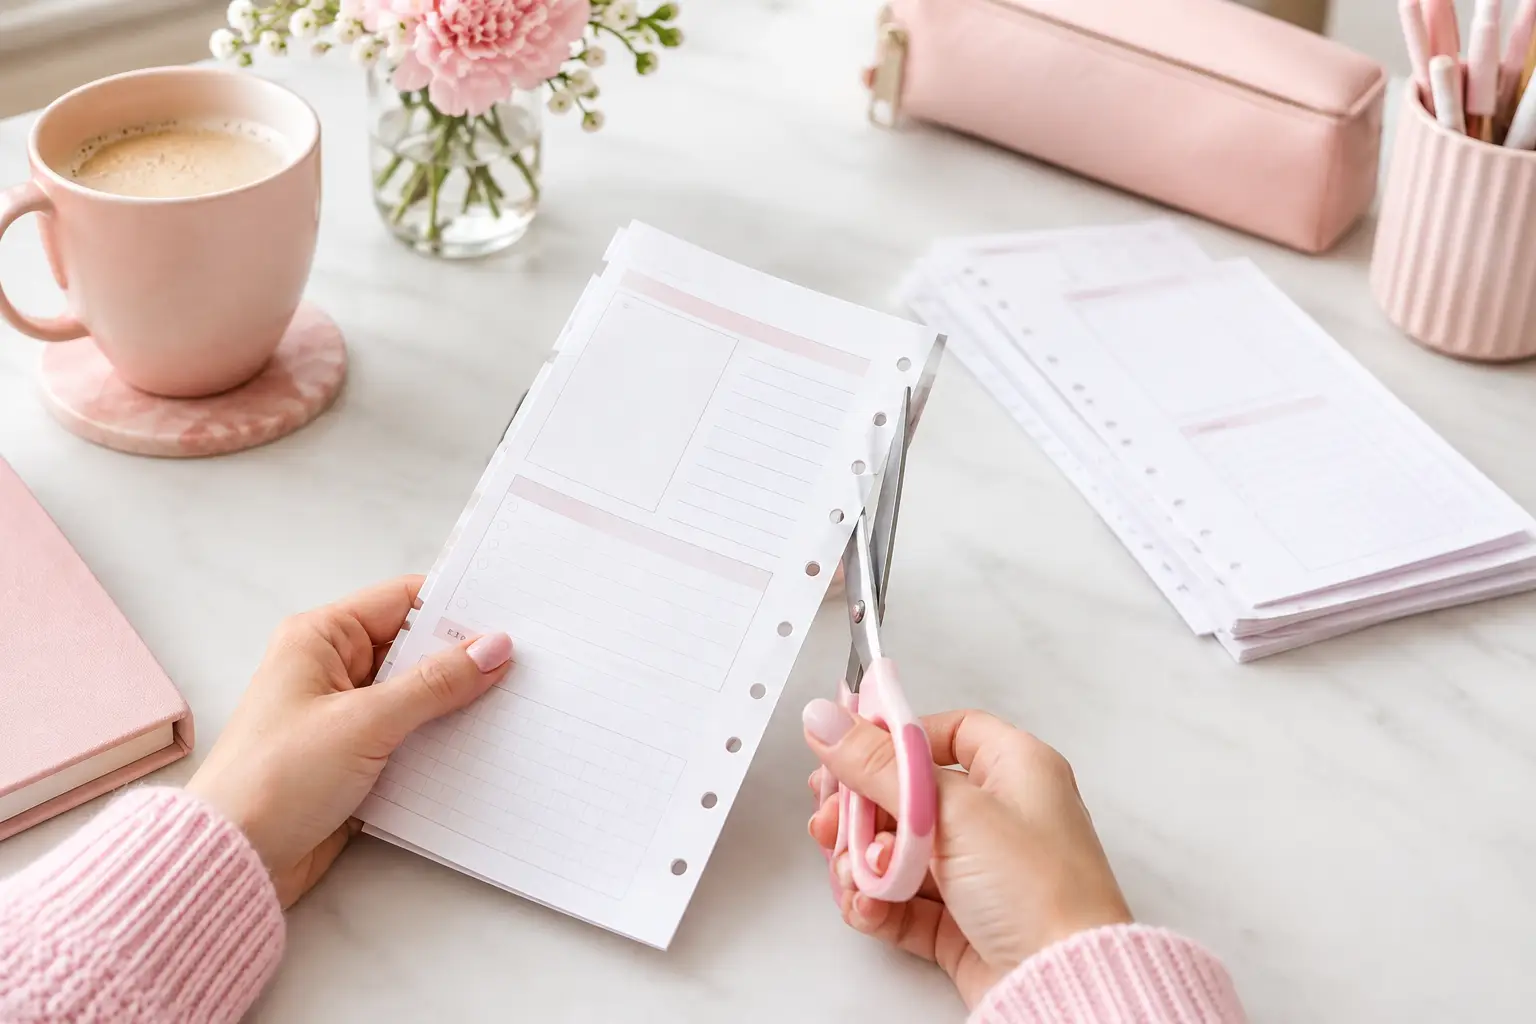
Next, print one week on your preferred paper. Test both sides before printing a larger batch, especially if you use markers or a favorite pen with a wetter ink flow. Paper choice changes the feel of a layout more than many planners expect.
Then, label the zones before you begin the week. A tiny “Work” and “Home” header is enough. You can use highlighter, muted color blocks, or simple pen symbols if visual separation helps you scan quickly. Keep the system easy enough to use on a tired Wednesday night.
During the week, check the page twice a day. Look at it in the morning to choose your next action, then again before you stop work to move unfinished tasks and prepare tomorrow. That second check prevents work tasks from quietly disappearing under a fresh page.
Finally, review the spread on Sunday or whenever your planning week resets. Notice what you ignored. If you never use the hourly space, switch to a task-focused layout. If personal tasks keep overflowing, give them a larger section. Printable inserts make this kind of adjustment wonderfully low-pressure because you can print only what you need next.
Make the page feel like yours without losing function
A planner should feel inviting, especially when it holds demanding weeks. Add a vellum-style divider to mark your work section, choose one accent color for appointments, or use sticky notes for temporary tasks. Those details can make planning feel more personal without turning setup into another task.
Still, decoration should support the page, not cover it. If a full sticker cluster leaves no space for a rescheduled meeting, scale it back. If color coding makes you scan faster, keep it. The best balance depends on what helps you return to your planner consistently.
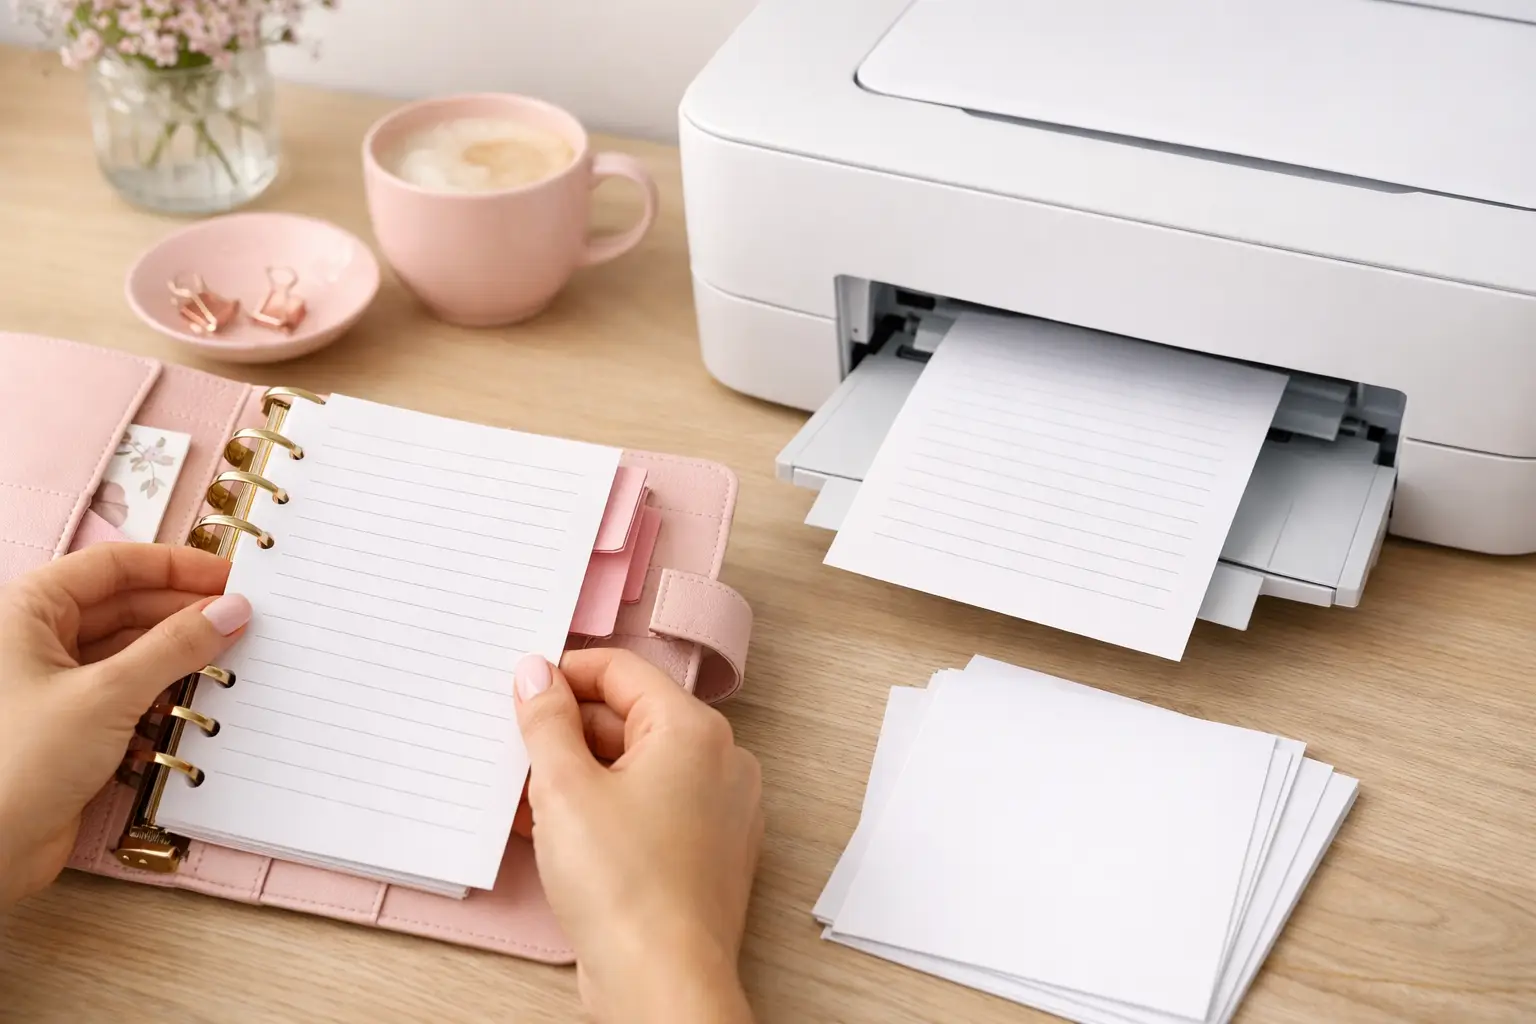
Pretty Easy Planning layouts are designed with this kind of flexibility in mind: clear structure first, then room to make the page your own. You can print a tested weekly format in the size that fits your ring binder or disc planner and refine it as your season changes.
Your successful planning story begins with a single print, a realistic week, and a layout that gives both your responsibilities and your life a place to breathe.