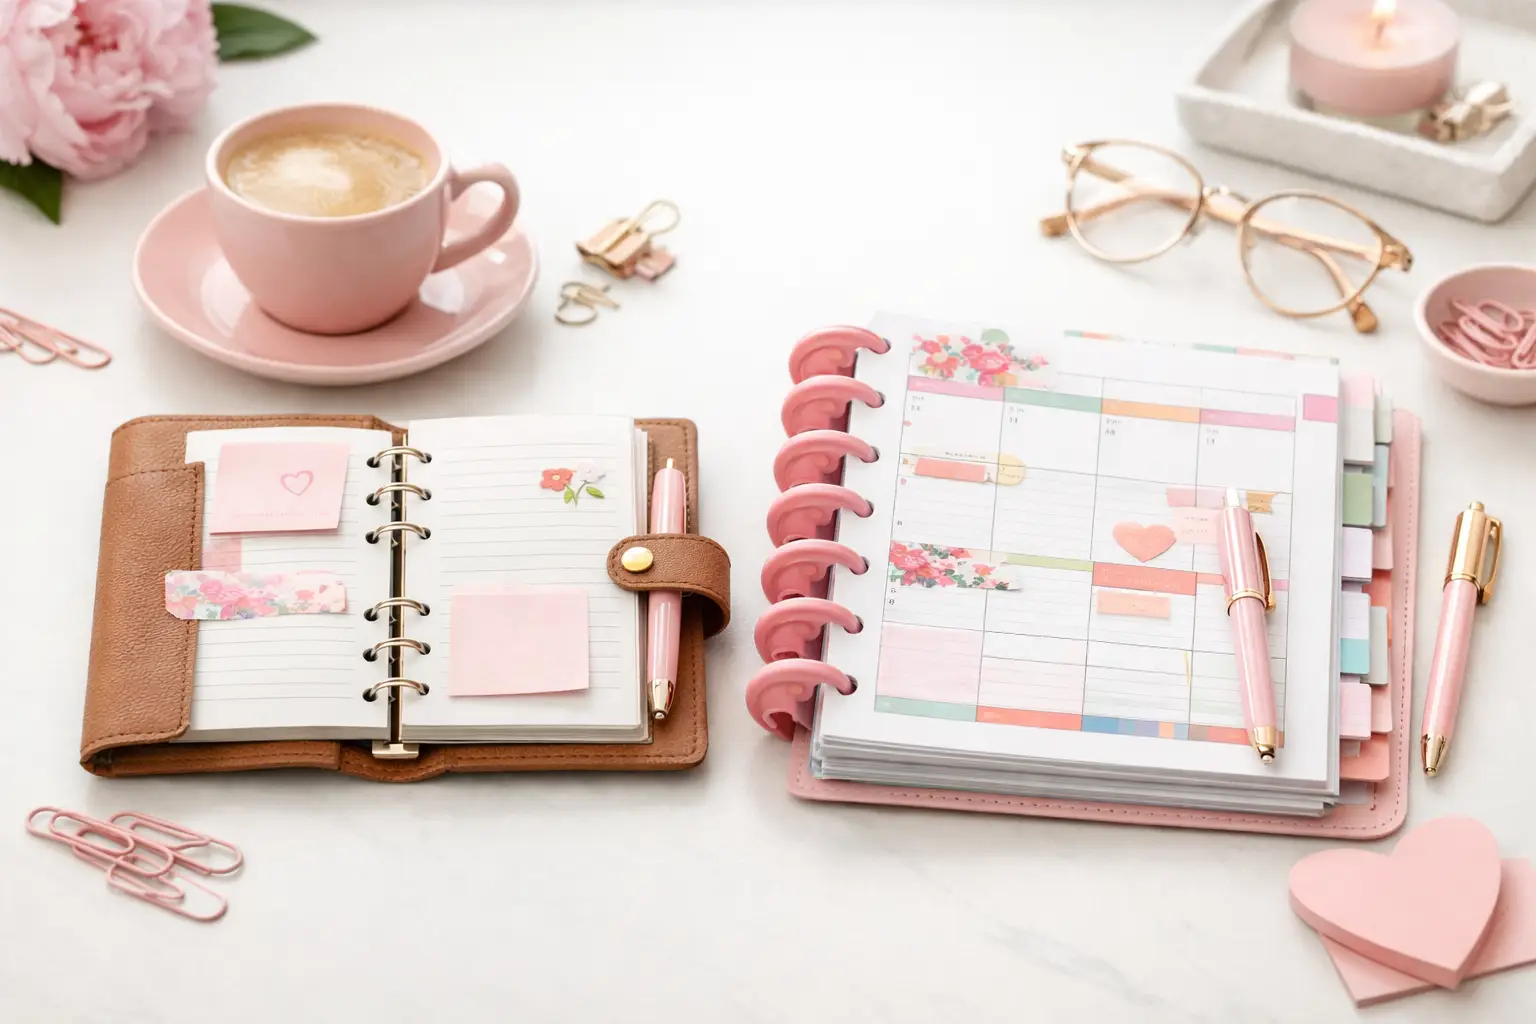
A6 vs Happy Planner: Which Fits Your Life?
A6 vs happy planner: compare size, space, portability, and page options to choose printable inserts that make your everyday planning feel easier with purpose.
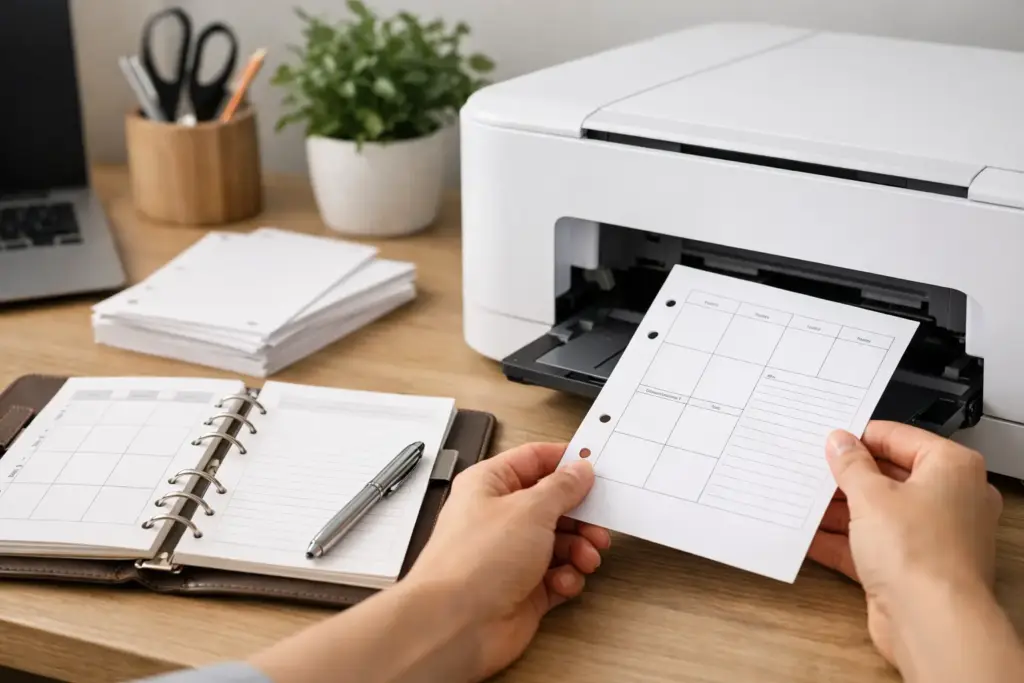
Nothing ruins planner excitement faster than printing a fresh set of inserts, trimming them down, and realizing the margins are off, the holes will eat into the layout, or the pages somehow came out tiny. If you have been searching for how to print planner inserts without wasting paper and patience, the good news is that it gets much easier once you know which settings actually matter.
Printing planner inserts is less about having fancy equipment and more about matching three things correctly: your PDF, your paper size, and your printer settings. When those line up, your inserts look clean, fit your rings or discs, and feel like they belong in the planner you built for your real life.
The first thing to check is the file itself. Printable inserts are usually designed for a specific planner size such as A5, A6, Personal, Personal Wide, or Happy Planner Classic. That size matters before you ever press print. If you print an A5 insert using a setting that shrinks it to fit the page, it may technically print, but the scale will be wrong and the spacing can feel off once you punch it.
Open your PDF in a reliable viewer and look for the print dialog box rather than using a quick-print shortcut. This is where most sizing problems begin or end. You want to confirm the paper source, page orientation, and most importantly the scaling option. In most cases, planner inserts should print at Actual Size or 100%. If your software says Fit, Shrink Oversized Pages, or Scale to Printable Area, pause there. Those settings can change the insert dimensions just enough to create a frustrating mismatch.
That said, there are exceptions. Some inserts are intentionally formatted to print on standard US letter paper and then be trimmed down to planner size. In that case, the file may still need to be printed at 100%, but the final insert size comes from cutting, not from loading specialty paper. It depends on how the PDF was designed.
You do not need premium paper to get great results, but paper choice changes how your inserts feel in daily use. If you love a crisp page turn and minimal bulk, a lighter paper may be your favorite. If you write with juicy gel pens, markers, or fountain pens, you may want something heavier with less show-through.
For many planner users, regular 24 lb or 28 lb paper is a sweet spot for everyday inserts. It prints cleanly, punches well, and keeps your planner from becoming too chunky too fast. If you are printing dashboards, covers, or decorative vellum-style pages, that is where cardstock, vellum, or specialty paper can make more sense.
There is also the practical side. If you are printing weekly inserts you will reprint often, standard paper usually keeps things affordable. If you are printing a yearly overview or reference pages that stay in your planner for months, using a slightly sturdier stock can feel worth it.
If you own a duplex printer, test double-sided printing before you commit to a full batch. Some printers shift the back side slightly, and that can be noticeable on inserts with narrow margins. A one-page test can save a lot of annoyance later.
A lot of printing mistakes happen because people print everything the same way out of habit. Planner inserts work better when you treat each size like its own little system.
If you are printing A5 or A6 inserts on pre-cut paper, your printer needs to support those paper sizes and feed them consistently. Some home printers handle smaller sheets beautifully. Others are much more reliable with letter-size paper only. If your printer is fussy with smaller stock, it may be easier to print on letter paper and trim down.
For Personal and Personal Wide inserts, printing on letter paper and cutting is often the easier route unless you already have a setup you trust. These sizes are small enough that feeding pre-cut sheets can be inconsistent depending on the printer. Happy Planner Classic inserts are a little different because the disc-bound format often benefits from carefully placed margins and specific trimming, especially if the insert was designed with punch space in mind.
This is where creator-tested files really matter. When inserts are designed by someone who actually uses these formats, the spacing tends to make sense once trimmed and punched. Pretty Easy Planning, for example, builds layouts around real planner use, which shows up in those small details that make pages easier to print and easier to live with.
If you want cleaner results, pay attention to a handful of settings instead of trying to optimize everything. The big one is scale, which should usually stay at 100%. The next is orientation. If the insert is landscape and you force portrait, your printer may rotate or crop it in a way that breaks the layout.
Print quality also matters, but not always in the way people expect. Draft mode may save ink, but fine lines, boxes, and subtle design elements can look weak. Standard or high quality usually gives planner pages a cleaner finish, especially for inserts with delicate headers or decorative details. For black-and-white functional inserts, standard quality is often plenty.
If your PDF includes crop marks, keep them on for trimming. If it includes optional layers, check whether you can turn off elements you do not need. Some planner users prefer cleaner pages with less decoration, while others want the full design. That flexibility is one of the best parts of printable planning.
Before printing a full month or bundle, print one page first. It sounds obvious, but it is the most underrated step in the process. You can check alignment, cut size, readability, and punch placement before you use a stack of paper.
Once your inserts are printed, the finish work matters just as much as the print settings. If you trim unevenly, even a perfectly printed insert can look off in your planner.
A paper trimmer usually gives better results than scissors, especially if you are cutting multiple pages to the same dimensions. Line up one sheet, trim carefully, and use it as a visual reference for the rest. If your file includes crop marks, cut just outside or directly on them depending on the design. If there are no crop marks, measure once and keep your cuts consistent.
Punching comes next, and this is where margin space earns its keep. Always test one page before punching the whole set. Hold it inside your planner and check whether the text sits too close to the rings or discs. If it does, the issue may not be your punch. It may be a scaling problem from the print stage.
For double-sided inserts, make sure the front and back are facing the right direction before punching. This sounds small until you realize half your weekly pages are upside down on the reverse side.
If your insert printed too small, the usual culprit is a Fit or Shrink setting. Go back and print at Actual Size. If the insert printed off-center, check your paper guides and make sure the correct paper size is selected in both the printer settings and the PDF print menu.
If the front and back do not align, your printer may not duplex evenly. You can still print double-sided inserts manually, but you may need to experiment with paper flipping direction first. Every printer has its own personality, and some are a little dramatic about it.
If your pages look blurry, increase the print quality and make sure you are printing from the original PDF rather than a screenshot or low-resolution preview. If your insert fits the planner but feels cramped once punched, the issue is often file size versus planner format. Double-check that you downloaded the correct size before printing a full set.
The best printing routine is one you can repeat without thinking too hard every time. Once you find the paper you like, the printer tray that feeds best, and the settings that print your inserts correctly, write them down or save them as a preset if your software allows it.
This is especially helpful if you rotate between daily, weekly, monthly, notes, and list pages throughout the year. A simple routine makes it much easier to print only what you need, when you need it, without turning the process into a whole production.
Printable planning works so well because it gives you control. You are not stuck with extra pages you will never use or waiting for refills to arrive. You get to choose the layout, the paper, the timing, and the exact pages that support your season of life.
Your successful planning story really can begin with a single print. Start with one page, test your settings, and build from there. Once your inserts fit the way they should, printing becomes one of the easiest parts of creating a planner that feels completely your own.

€4,24
€4,24
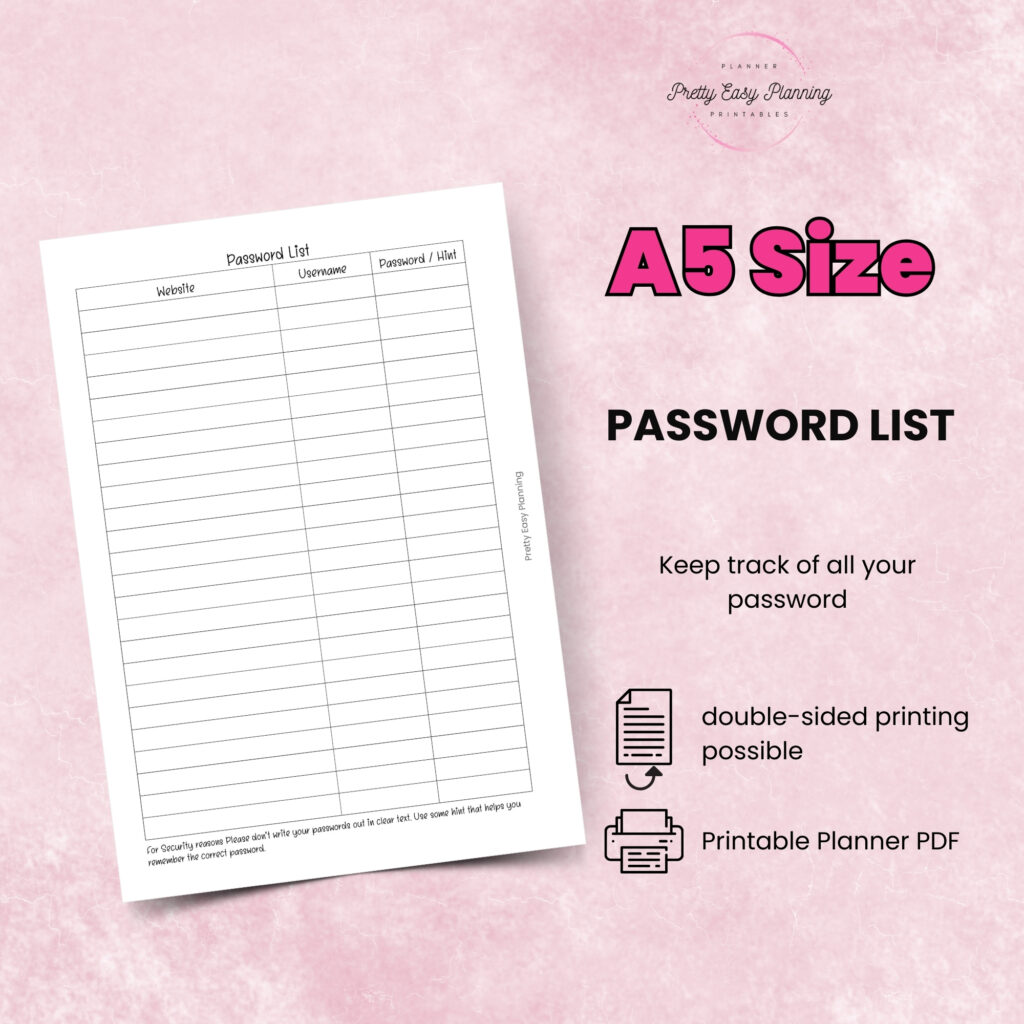
€4,24
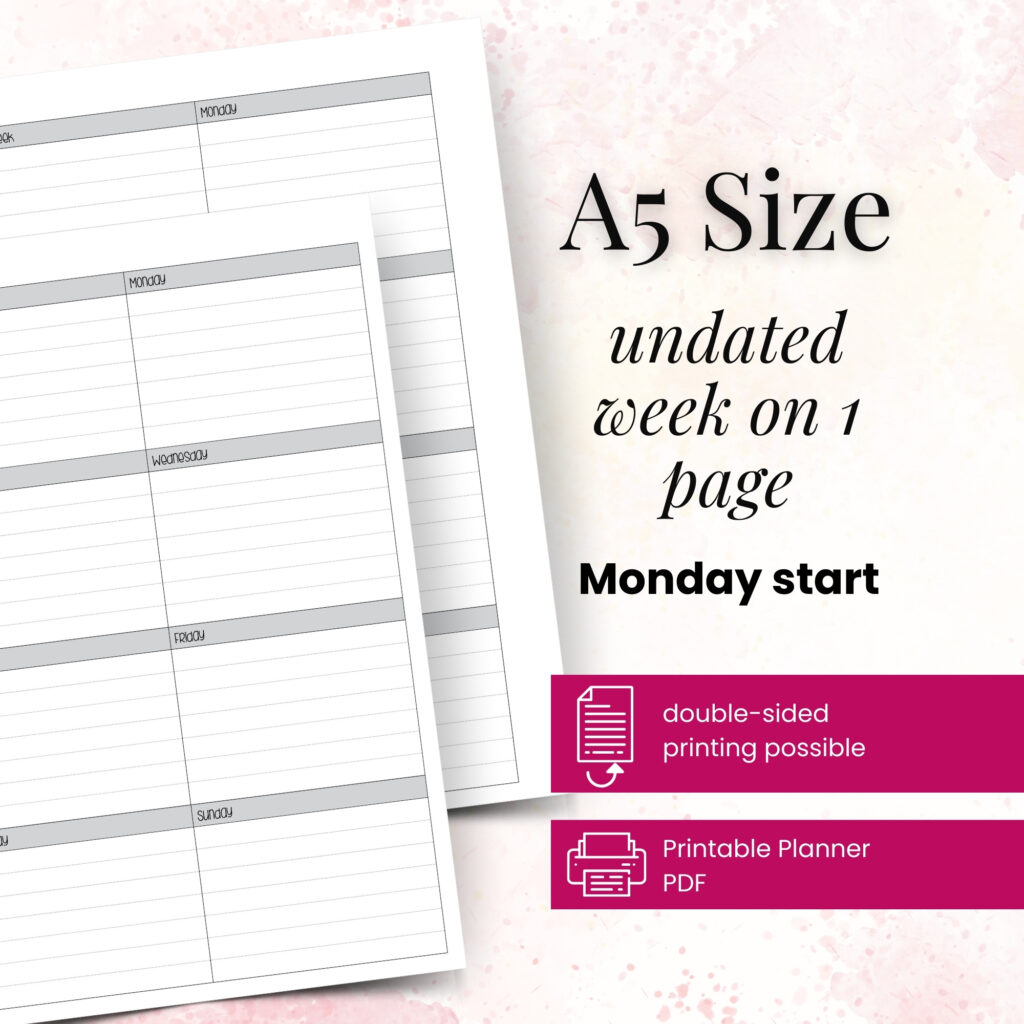
€4,24
A6 vs happy planner: compare size, space, portability, and page options to choose printable inserts that make your everyday planning feel easier with purpose.
Wondering which planner pages do i need? Build a practical paper planner with only the inserts that support your real routines, goals, and plans daily.
The future of printable planners favors flexible, beautiful systems: print what fits your week, refresh routines, and keep every page useful for life.