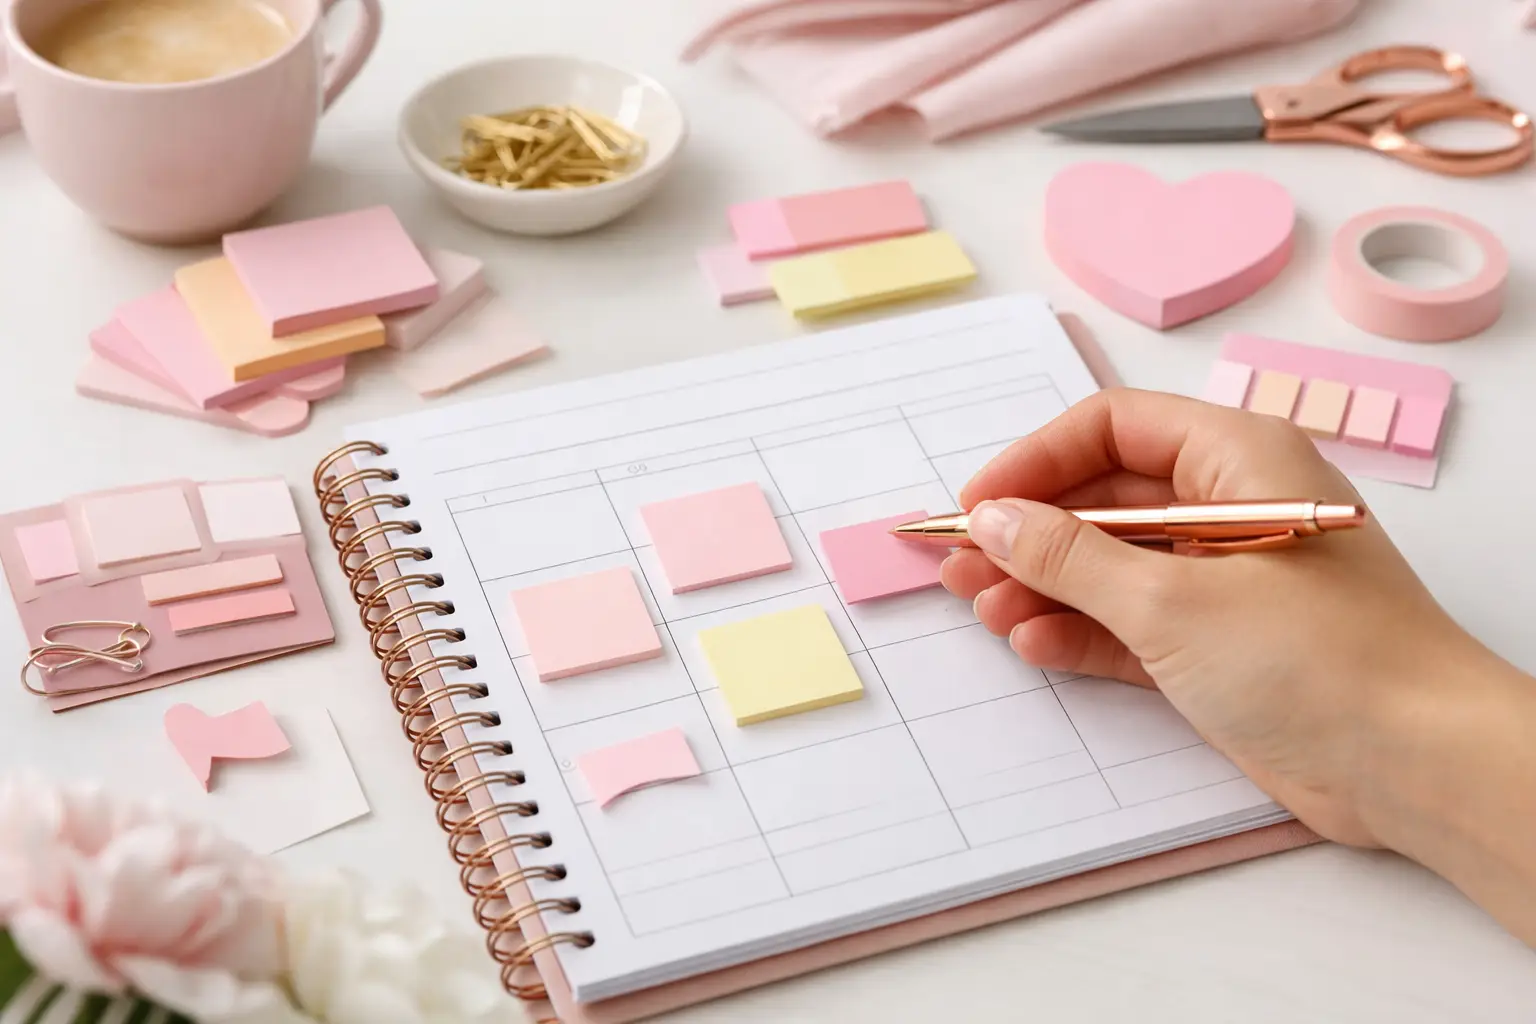
Planner Sticky Notes Printable Ideas
Planner sticky notes printable pages add flexible reminders, lists, and tabs to any setup. Print your size, place with purpose, and plan better.
A planner that looks pretty but slows you down is not doing its job. If you keep flipping past pages you never use, stuffing random notes into the back, or mixing appointments with grocery lists and goal tracking, it is time to rethink your setup. Learning how to organize planner sections can make your planner feel lighter, clearer, and much more useful from the very first page.
The good news is you do not need a complicated system. You need sections that match the way you actually plan. That means giving your calendar space to breathe, putting task lists where you can find them fast, and building a layout that supports your real life instead of copying someone else’s planner.
Before you decide where each section goes, look at how you use your planner during a normal week. Some people check monthly pages every day. Others live in weekly spreads and rarely turn back. Some need a full section for meal planning and household lists, while others just want a few note pages tucked behind the calendar.
That is why the best answer to how to organize planner sections always starts with behavior. Ask yourself which pages you use daily, which ones you check once a week, and which ones you only need once in a while. Your answers will tell you what deserves prime space.
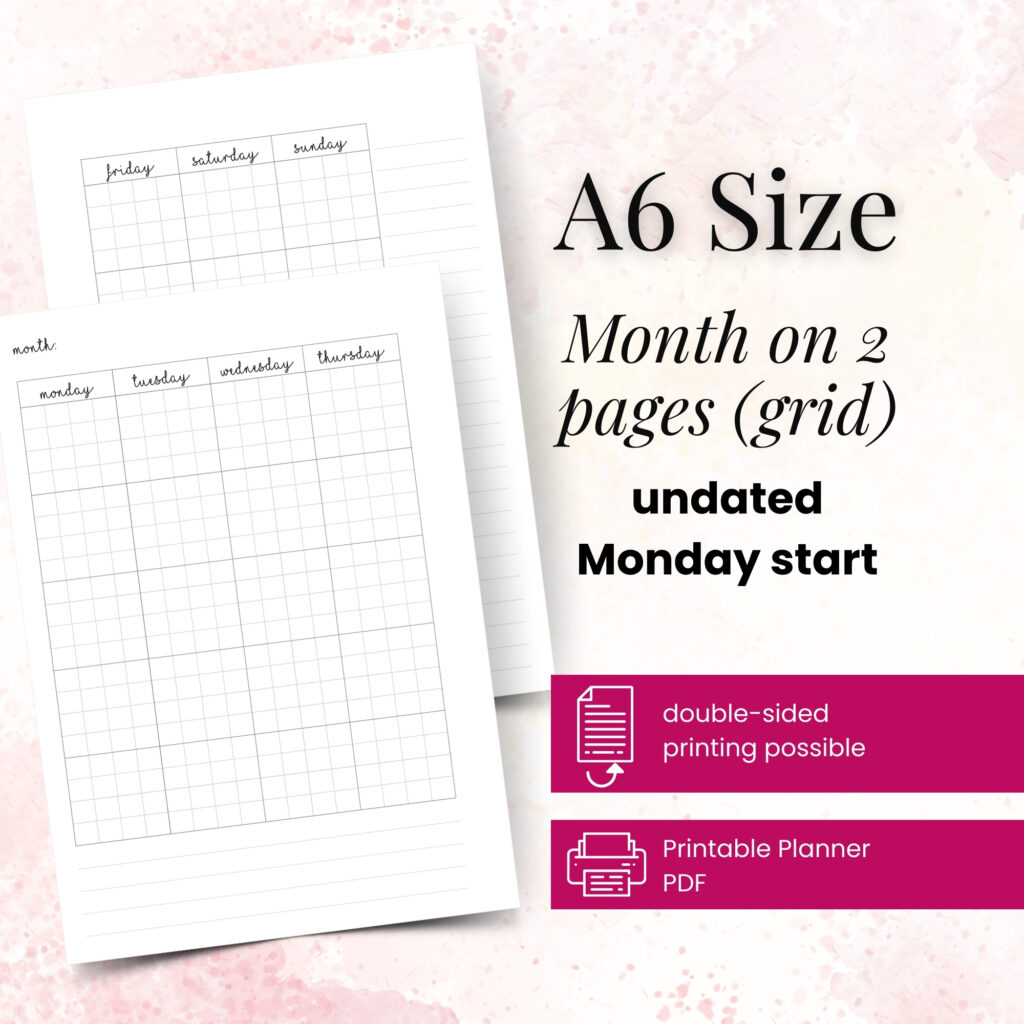
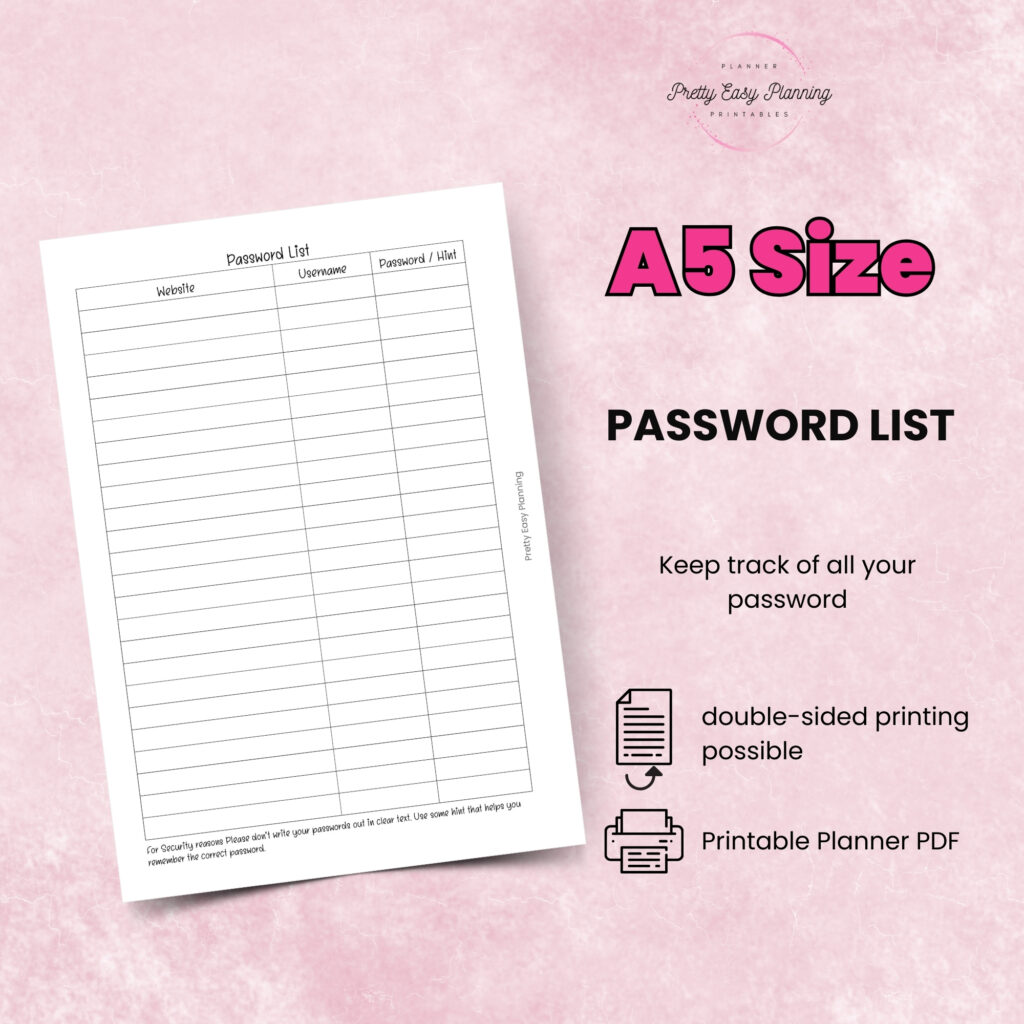
A good planner setup usually includes three kinds of pages: planning pages, action pages, and reference pages. Planning pages hold your yearly, monthly, weekly, and daily views. Action pages support what you need to do, like task lists, projects, routines, meal plans, or budget check-ins. Reference pages hold information you want to keep handy but do not need to see constantly, like passwords, important dates, wish lists, or packing lists.
Once you see your pages in those groups, the structure starts to feel much more natural.
Most paper planners work best when they follow the rhythm of real use. You open the planner, check today or this week, glance at the month, and then move into supporting lists or notes. That flow matters more than making every section look balanced.
For many planner users, a simple order works beautifully: calendar first, task and planning support next, reference pages last. That setup keeps the pages you touch most often closest to the front. It also prevents your planner from feeling bulky in the middle with random inserts scattered everywhere.
A strong front section often starts with a dashboard or quick-view page. This can hold current priorities, appointments to remember, or a short focus list. Right behind that, place your main calendar pages. If you rely on monthly planning to map out deadlines and events, put monthly inserts before weekly inserts. If your weekly pages run your life and your monthly spreads act more like an overview, keep the weekly section easier to reach.
After calendar pages, add the inserts that help you act on your plans. This section might include task lists, project planning pages, notes, routines, meal planning, wellness tracking, or work-specific pages. Keep related pages together. For example, if you plan family meals and grocery shopping side by side, those inserts belong in the same section.
Reference pages usually work best near the back. You still want them in your planner, but they should not interrupt your daily flow. Think of this area as your support section rather than your command center.
It is easy to overbuild a planner when you see beautiful setups online. You might feel tempted to add reading logs, cleaning schedules, finance inserts, gratitude pages, and detailed trackers all at once. If those pages support your life, great. If they just add pressure, they become clutter.
A better approach is to assign every section a job. Your monthly pages track timing. Your weekly pages guide execution. Your notes section catches ideas. Your project section breaks big goals into smaller steps. When each section has a clear role, your planner feels easier to trust.
That is also where customization becomes such a strength. You can build around your actual responsibilities instead of squeezing everything into fixed layouts. A work-from-home parent may want sections for schedules, household management, and personal goals. Someone planning mainly for work may need meetings, task lists, and project pages to take center stage. Neither setup is more correct. It depends on what you need your planner to do.
Dividers make a planner feel organized, but only when they help you move faster. Too many tabs can create visual noise. Too few can make sections hard to find. Aim for major categories, not every possible page type.
For most people, four to six main sections feel manageable. That might look like Calendar, Lists, Projects, Home, Notes, and Reference. Another person may prefer Monthly, Weekly, Daily, Routines, Finance, and Notes. The best labels are the ones you can understand at a glance.
If you use multiple planner sizes for different purposes, keep the section logic consistent. When your A5 home planner and Personal work planner follow similar structure, you spend less time relearning your own system.
You can also create mini-navigation inside a section. A top tab for monthly pages and side tabs for weekly pages can work well if your planner carries a lot of inserts. Just make sure every divider earns its space.
One of the simplest ways to improve your setup is to shorten the distance between your hands and your most important pages. If you use a weekly spread ten times a day, do not bury it behind archived months and old note pages.
Some planner users keep a current month section at the front and move past months elsewhere. Others keep only the current week in the main ring area and store extra pages behind it. This is especially helpful if your planner starts feeling overstuffed.
You can also repeat a few key tools in more than one place when it makes planning smoother. A short notes page near your weekly section and a larger notes section in the back can both be useful. The trade-off is bulk. If repeated pages save time, keep them. If they create confusion, simplify.
A section should feel intuitive the moment you flip to it. If it does not, the problem often comes down to poor grouping.
For example, weekly planning pages and daily pages usually belong close together because they support the same planning window. Project pages and meeting notes often pair well if you use them in the same context. Habit trackers may fit near weekly planning if you check them often, or in a wellness section if they cover health routines more broadly.
Here is a helpful test: when you need one page, what page do you usually need right after it? Those two pages probably belong in the same section or very close to each other.
This is where creator-tested inserts can make a big difference. When layouts are designed from real planning routines, sections tend to connect more naturally, and your setup feels less like guesswork.
A planner is a working tool, not a finished display piece. If a section feels awkward, move it. If you avoid a page for three weeks, ask why. Maybe the layout is wrong for that job. Maybe the section belongs somewhere else. Maybe you do not need it right now.
One of the biggest benefits of printable inserts is flexibility. You can print a small batch, try the flow, and adjust without committing to a full stack of pages that no longer fits your routine. That makes it much easier to fine-tune your planner over time.
Try living with a section order for a week or two before making major changes. Small discomforts sometimes disappear as you build the habit. On the other hand, if you keep hesitating every time you open the planner, trust that signal. Good organization should reduce friction, not create it.
If you want a starting point, use this flow: inbox or dashboard, monthly planning, weekly or daily planning, lists and projects, lifestyle or household pages, then notes and reference. It is clean, easy to navigate, and flexible enough for most planning styles.
From there, adjust based on use. Move active projects closer to the front during busy seasons. Add a dedicated section for routines if you are building new habits. Slim down reference pages if they are taking over your rings. At Pretty Easy Planning, that kind of mix-and-match structure is exactly what makes printable inserts so practical – your successful planning story begins with a single print, then gets better each time you refine it.
The best planner sections are not the most decorative or the most detailed. They are the ones that help you turn the page and know exactly what to do next.

€4,24
€4,24
€4,24
€4,24
Planner sticky notes printable pages add flexible reminders, lists, and tabs to any setup. Print your size, place with purpose, and plan better.

Are printable planners worth it? See when they save money, add flexibility, and fit your routine better than pre-printed planners.
Wondering which planner inserts save paper best? Learn which layouts waste less, when to print less often, and how to build a smarter planner setup.