That loose page with a brilliant idea, a grocery list, and a phone number in the same corner is not a planning failure. It is a sign that your planner notes pages need a clearer job. Notes pages can hold the details that do not belong on a dated spread, but without a simple system, they quickly become the part of your planner you avoid opening.
Learning how to organize planner notes pages gives every thought a home without making your planner feel overly strict. The best setup supports your real routines: a busy workweek, household tasks, creative projects, appointments, and those small ideas you want to remember later. You do not need a perfect system. You need one that makes sense when you are in a hurry.
Key Takeaways
-
Give each notes section one clear purpose so you know where to write immediately.
-
Keep your most-used notes near the front or beside the spreads you use every day.
-
Add page numbers and a simple index when your notes section grows beyond a few pages.
-
Choose printable layouts that match the way you naturally capture information.
-
Review and refresh notes pages regularly so useful information stays visible.
Start With What You Actually Write Down
Before you print a stack of lined pages, look at the notes you already make. Your planner should reflect your life, not someone else’s beautifully labeled system. Think about the last month. Did you jot down meal ideas, project details, books to read, school reminders, gift ideas, or measurements for a room refresh?
Most planners work best with three to five broad note categories. Too few categories create crowded catch-all pages. Too many categories slow you down because every note requires a decision. If you regularly write a mix of personal and work information, you might use Personal, Home, Work, and Ideas. If family management takes up more space, try Home, Kids, Lists, and Reference.
A category should answer one question: “Where would I look for this later?” Put a running list of birthday gift ideas in Gifts, not on a random weekly spread. Keep a doctor’s office phone number in Reference, not buried under a daily task list. This small habit makes your future self very happy.
How to Organize Planner Notes Pages by Section
Once you know your categories, decide how each one will live inside your planner. You can create separate note sections with dividers, place notes behind related monthly tabs, or keep a compact notes section at the back. Each option has a different strength.
A dedicated notes section works well if you use one planner for nearly everything. Place it after your yearly and monthly pages, then add dividers for your main categories. This setup gives you room to grow, especially in an A5 or Happy Planner Classic.
Notes behind related sections feel more natural for planners built around specific areas of life. For example, store meal plans and pantry lists behind your monthly pages, while project notes sit beside your work planning pages. This approach saves page-flipping, but it can make a smaller planner feel thicker more quickly.
A back-of-planner notes section suits anyone who wants a light, simple setup. Keep a few blank pages, a few list pages, and a few grid pages together. Add a page flag or tab for quick access. This option works especially well in Personal or A6 planners, where space matters and you may not want several bulky dividers.
Give each section a clear first page
Start every section with a title page or dashboard. It does not need fancy decoration. A clean label such as “Home Reference” or “Project Notes” gives your section a visual reset and helps you find it fast.
You can also write a short reminder of what belongs there. Under “Home,” write meals, cleaning plans, seasonal tasks, and service contacts. This is useful when you are building a new planner routine because it removes hesitation at the moment you need to jot something down.
Match the Paper Layout to the Note
Blank pages look flexible, but they do not always make information easy to find. The right layout creates gentle structure without telling you exactly what to write. That is one of the biggest advantages of building your own planner pages.
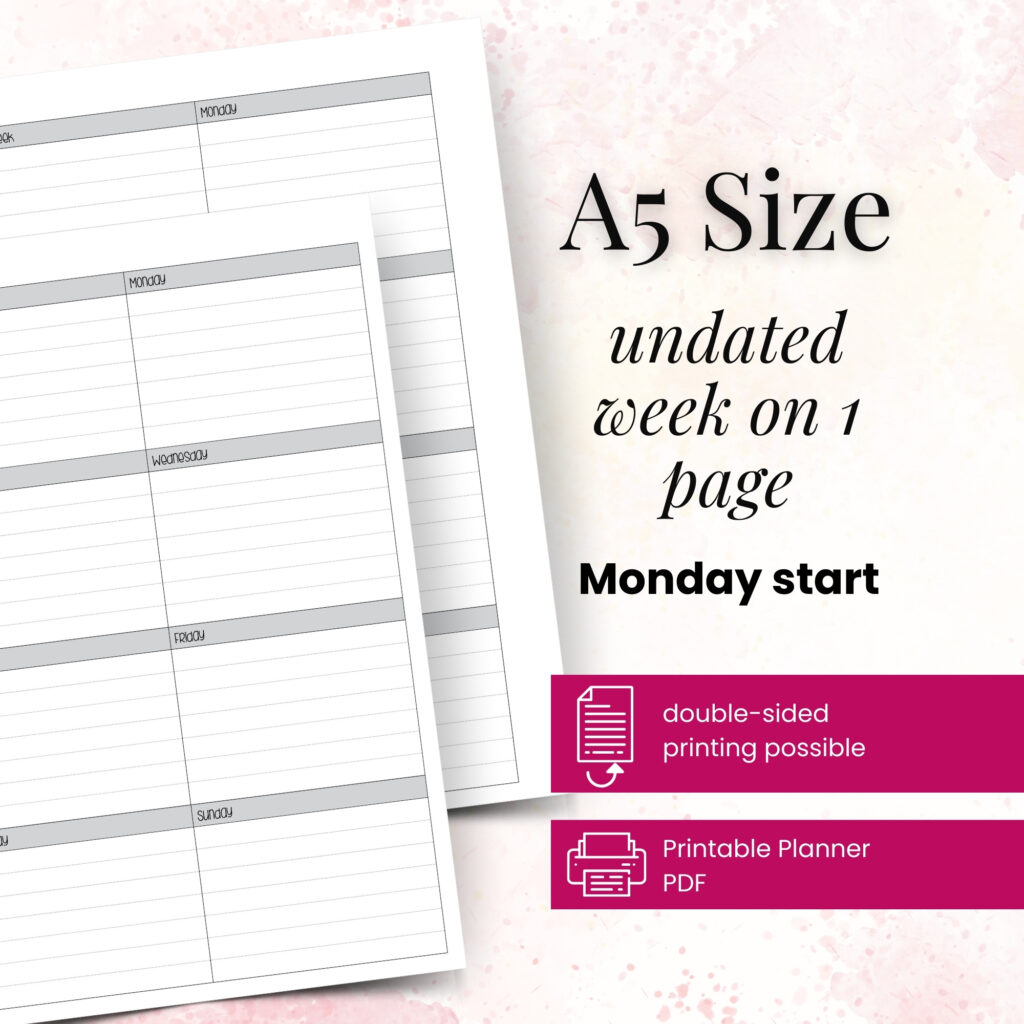
Lined pages work beautifully for meeting notes, journal-style reflections, and detailed plans. Use dot grid pages for brainstorms, sketches, mind maps, and flexible lists. Graph paper helps with measurements, room layouts, habit trackers, and budget calculations. A two-column notes page can separate action items from supporting details, which makes it especially useful for work projects and appointments.
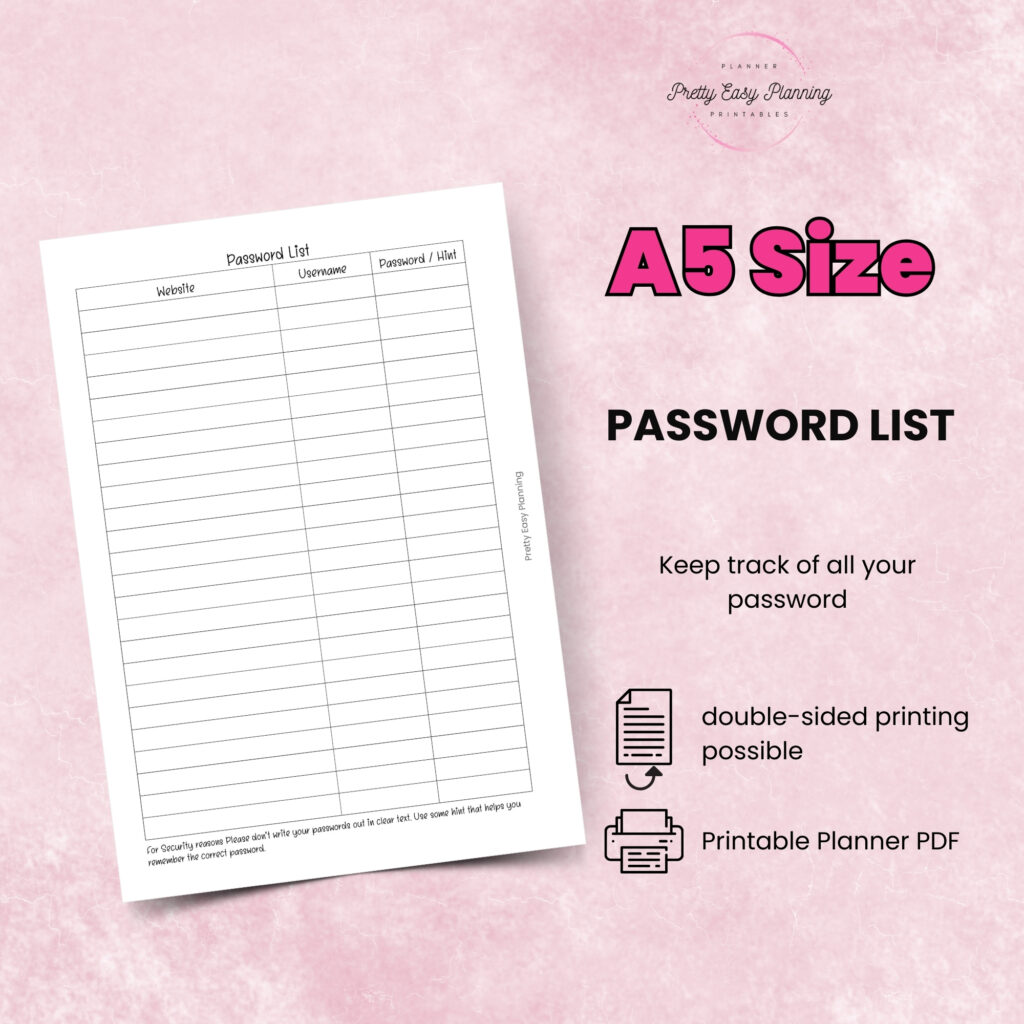
For repeating information, choose a dedicated layout instead of rewriting your own headings each time. A packing list page, project-planning page, password hint page, or reading log keeps the same details in the same place. You save time, and you can scan past entries much more easily.
Still, do not print every possible layout just because it looks useful. Print a small test batch first. If you never reach for the page after two weeks, swap it for something that better fits your routine. Your successful planning story begins with a single print, then improves with each small adjustment.
Add an Index Before You Need One
An index sounds formal, but it can be as simple as two pages at the front of your notes section. Number your notes pages as you add them, then record the topic and page number in the index. For example: “Summer travel ideas – 3,” “Kitchen paint measurements – 7,” or “Quarterly work goals – 12.”
This system shines when you keep long-term reference information. You will not need it for three pages of quick lists. You will appreciate it once your notes section reaches 15 or 20 pages and you cannot remember where you wrote something important.
If page numbering feels like too much upkeep, use a simpler visual code. Add a colored dot, a small sticker, or a handwritten symbol at the outer edge of pages. Use one color for home, one for work, and one for ideas. When you fan through your planner, those page edges become a quick visual directory.
Keep temporary notes separate from reference notes
Not every note deserves a permanent place. A list of errands for Saturday, a quick call log, or a rough brain dump may only matter for a few days. Keep these temporary notes on a removable page, a sticky note, or one designated “inbox” page.
Then process that page during your weekly planning session. Move useful information to its proper section, schedule any tasks that need action, and discard the rest. This prevents your reference pages from filling with expired reminders and half-finished thoughts.
Make Your Most-Used Pages Easy to Reach
A well-organized page does not help if you cannot find it during a busy moment. Place high-use pages where your hand naturally goes. If you check your grocery list every week, keep it close to your weekly spreads. If you track work projects daily, position those pages near your current month.
Tabs, page flags, and dashboard dividers help, but use them with intention. Too many tabs can make a planner harder to navigate and add bulk. Start with the two or three sections you use most. You can always add more later.
Planner size also affects access. An A6 planner benefits from fewer, multipurpose pages because every insert adds thickness. An A5 planner has room for more detailed sections and reference pages. Personal Wide gives you a bit more writing space without moving to a larger planner. Choose the planner size that supports how much you write, not simply the format that looks prettiest on a desk.
Build a Simple Notes Review Habit
Organizing notes is not a one-time project. It works best as a quiet part of your regular planner routine. During your weekly reset, flip through any recent notes. Ask yourself whether each page still helps you, needs an action, or can leave the planner.
At the end of a month or season, move completed project notes and outdated information into storage if you want to keep them. Reprint fresh copies of the pages you used most. You might discover that your meal-planning notes earned more space while your reading log only needs one page. That is not inconsistency. That is your planner responding to your real life.
Leave a little room for experimentation in your creative corner of planning possibilities. A notes section should feel useful enough to trust and flexible enough to change. When every page has a purpose, you will capture more of what matters and spend far less time searching for it later.