A6 vs Happy Planner: Which Fits Your Life?
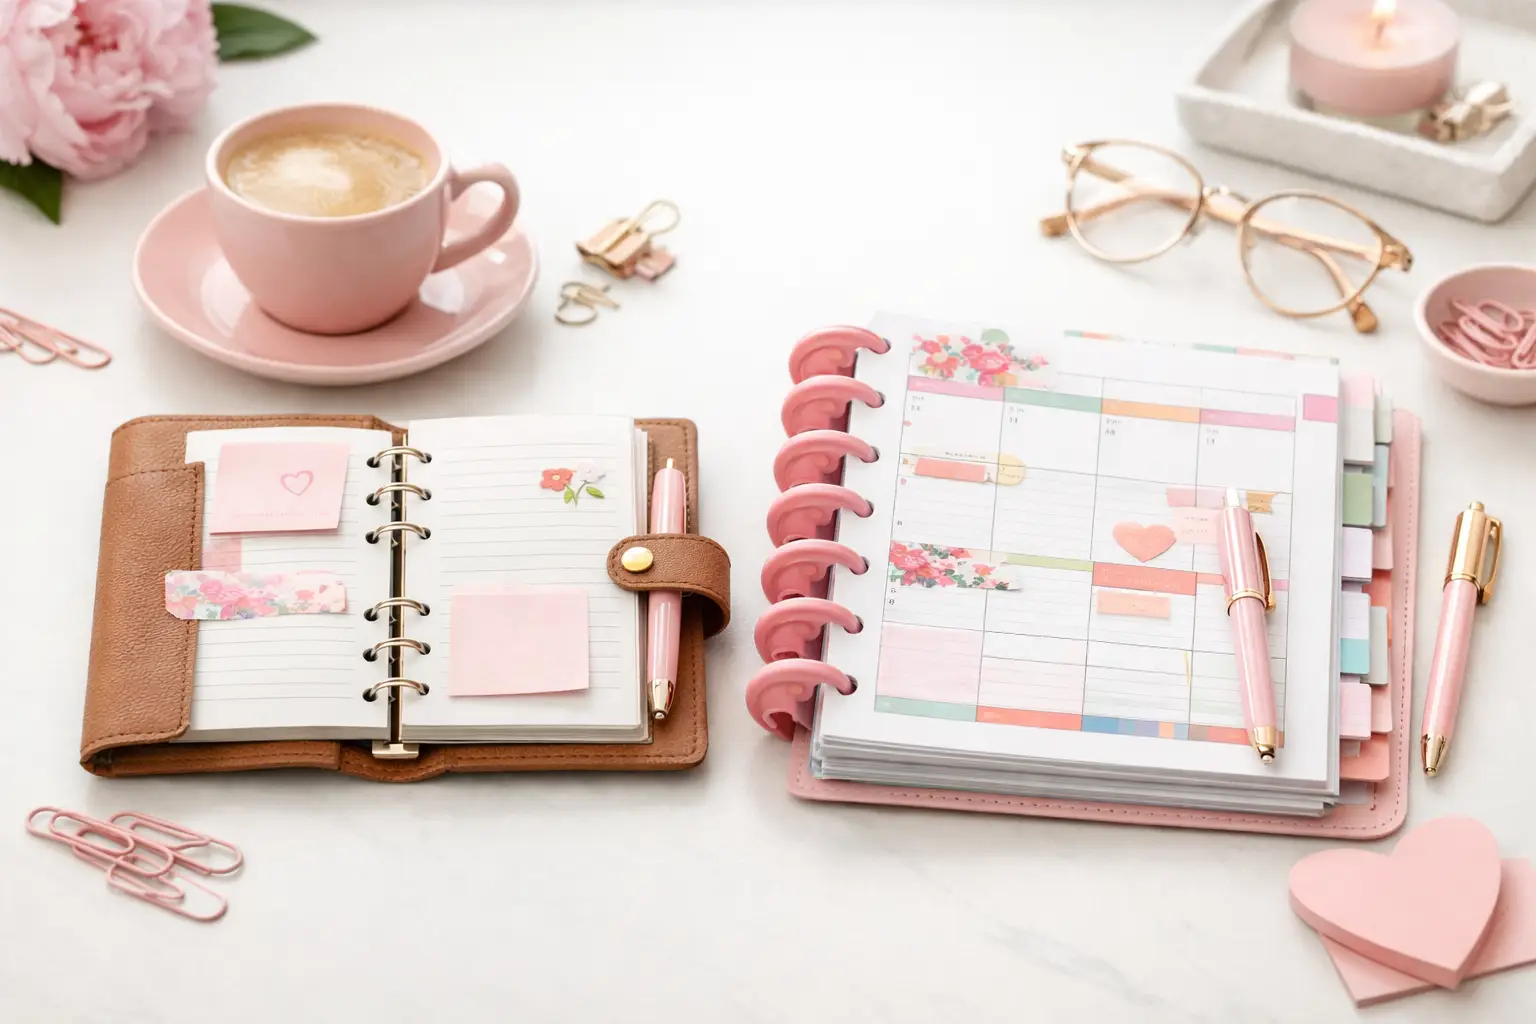
A6 vs happy planner: compare size, space, portability, and page options to choose printable inserts that make your everyday planning feel easier with purpose.
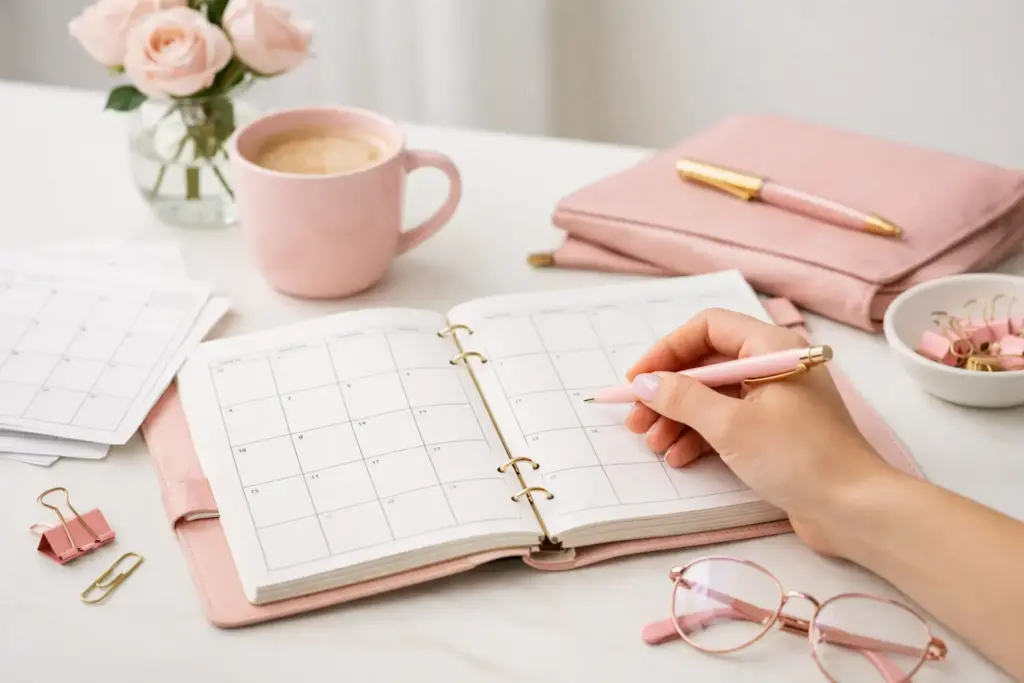
A monthly spread can look wonderfully open on the first day of the month, then turn into a tiny maze of appointments, school reminders, bills, and scribbled arrows by week three. The answer is not to write smaller or cram in every task. When you know how to use monthly planner inserts with intention, they become your calm, at-a-glance home base.
Monthly inserts work best when they hold the information you need to see early and often. Think dates, deadlines, celebrations, and time-sensitive plans. Let your weekly and daily pages carry the details. This simple division gives each part of your planner a clear job and makes your whole system easier to trust.
A monthly planner insert is not meant to hold your complete life. It is your month-at-a-glance view: the place where you can spot a busy week, prepare for an upcoming event, and notice that a deadline lands right after a holiday weekend.
Start by deciding what belongs there. Most planners benefit from including appointments, birthdays, travel, school dates, paydays, bill due dates, work deadlines, and recurring events. These are all items that happen on a certain date or need attention before a certain date.
Your general to-do list belongs somewhere else. For example, “order a birthday gift” does not need a spot on March 8 unless you must order it that day. Write the birthday on your monthly page, then add the gift task to your weekly list two weeks ahead. This keeps your calendar readable while still helping you plan ahead.
The trade-off depends on your schedule. If you manage a deadline-heavy job or a busy family calendar, you may want to include a few key preparation tasks on the monthly spread. If a full calendar makes you feel overwhelmed, reserve the boxes for appointments and major deadlines only.
Set up your monthly pages a few days before a new month starts. You do not need a long planning session. Fifteen focused minutes can give you a useful overview and prevent those frustrating last-minute surprises.
Begin with the commitments already set in place. Copy appointments from your phone calendar, add school closures, note birthdays and anniversaries, and mark recurring payments. Include travel dates, medical appointments, and any work events that shape your available time.
Use a consistent visual cue for each category if color helps you process information faster. You might use one pen color for family events, another for appointments, and a small symbol for bills. Keep the system simple enough that you will actually use it. A beautiful color key is only helpful when you remember what it means.
Next, add deadlines and work backward when needed. Say a project is due on the 28th. Write the due date in the monthly box, then place a small reminder on the 21st to review it and another on the 14th to finish the first draft. Your weekly pages can hold the specific actions, but your monthly view will show the pacing.
This approach also works beautifully for personal plans. If you host guests on the 20th, mark the event, then add small reminders for menu planning and cleaning during the prior weeks. You create breathing room instead of turning preparation into a stressful rush.
Not every square needs writing. Blank areas give your eyes a rest and leave room for plans that appear later. They also reveal something valuable: your actual capacity. When three evenings already contain appointments, you can avoid promising yourself a fourth major commitment.
The best planner routine is not the most elaborate one. It is the one you return to even during a hectic month. Pair your monthly insert with a planning moment you already enjoy, such as Sunday coffee, the first workday of the week, or an evening reset.
At the start of each week, look at the full month before you fill out your weekly pages. Ask yourself what is coming in the next seven to 14 days, which events need preparation, and whether any deadlines compete for the same time. Then move the next actions into your weekly spread.
For example, a glance at your April monthly insert may remind you that your child has a school event next Thursday, your car needs service the following Monday, and a friend’s birthday falls at the end of the month. Your weekly pages can now include buying a card, confirming the service appointment, and choosing a gift. The monthly page prompts the plan; the weekly page makes it actionable.
Check the monthly spread again when you complete your weekly reset. Add new appointments immediately, cross out canceled plans, and move changed events to the right day. Planner inserts should support real life, not become a record of a schedule that no longer exists.
A monthly page needs quick visual clarity. Write only enough detail to recognize the event. Instead of filling a box with “Dentist appointment at Oak Street office with Dr. Jensen,” try “Dentist, 2:30.” Put the address, confirmation number, or preparation notes on a notes page if you need them.
Small stickers, icons, and washi accents can make repeated categories easy to spot. A cake icon can flag birthdays, a dollar sign can identify bills, and a suitcase can mark travel. Decorative pieces add personality, too, but protect the writing space first. On a compact Personal or A6 layout, even one large decoration can crowd several important dates.
If your handwriting runs large, choose a monthly insert with roomy boxes or use concise abbreviations you understand. A5 and Happy Planner Classic formats often give you more writing room, while Personal and A6 pages reward a lighter touch. The right format is the one you can read quickly without squeezing every plan into tiny letters.
Once your main calendar feels dependable, your monthly pages can support goals and household rhythms without becoming cluttered. Many layouts include a notes column, dashboard area, or extra boxes that work well for a short monthly focus.
Try writing one guiding priority, such as “finish bedroom refresh” or “protect quiet evenings.” This is not another task list. It is a decision filter. When new requests appear, you can look at your monthly focus and decide whether they fit the time and energy you have available.
You can also track a few patterns that matter to you. Mark no-spend days, workout classes, reading progress, content deadlines, or a recurring home task. Limit yourself to one or two trackers on the monthly view. More categories may look satisfying at first, but they can pull attention away from the calendar’s main purpose.
Some planners prefer a clean functional calendar, while others feel more motivated when their pages reflect the season. Both approaches work. Add vellum-style decorative pieces, a favorite quote, or a small color palette only after you place the dates that matter. Your planner can be pretty and practical at the same time.
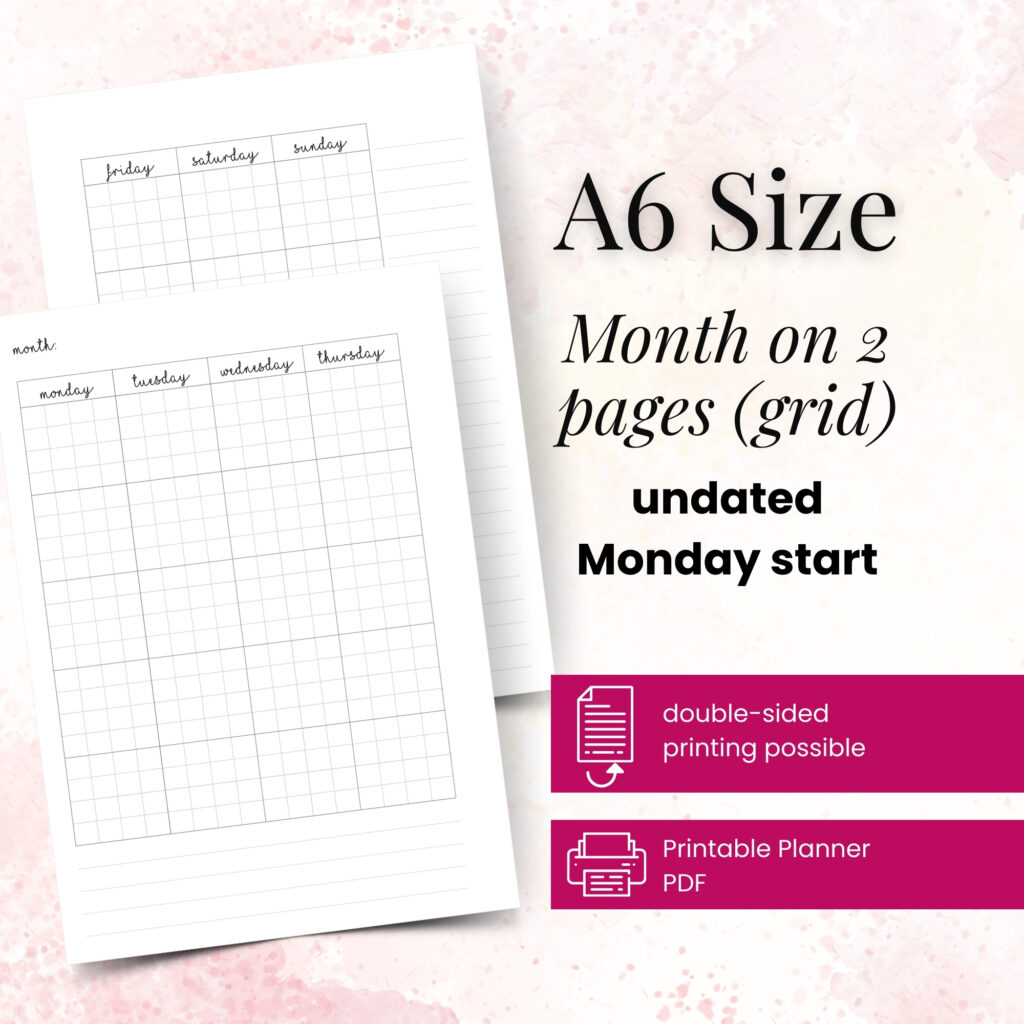
Printable monthly inserts give you a useful advantage: you can adjust as your life changes. Print a full year when you love consistency, or print a month at a time when your schedule shifts often. You can also reprint a page after a major change instead of feeling stuck with a messy layout.
Before printing, confirm your planner size and print settings. Select actual size or 100% scale unless the insert instructions say otherwise, print a test page on regular paper, and check the punch placement before using your preferred paper. A quick test protects your paper supply and saves you from discovering that the margins do not line up after printing a full set.
Paper choice changes the experience, too. Thicker paper feels lovely with gel pens and markers, but it adds bulk to a ring planner. Lighter paper keeps your planner slim and works well for everyday ballpoint pens. Pretty Easy Planning designs its inserts in specific planner formats, so you can build a monthly section that fits your binder and your preferred writing style.
When a month ends, take two minutes to look back before you turn the page. Notice which weeks felt overbooked, which deadlines caught you off guard, and which planning habits genuinely helped. Then let those observations shape the next month. Your successful planning story begins with a single print, a few honest priorities, and a calendar that leaves room for your real life.

€4,24
€4,24
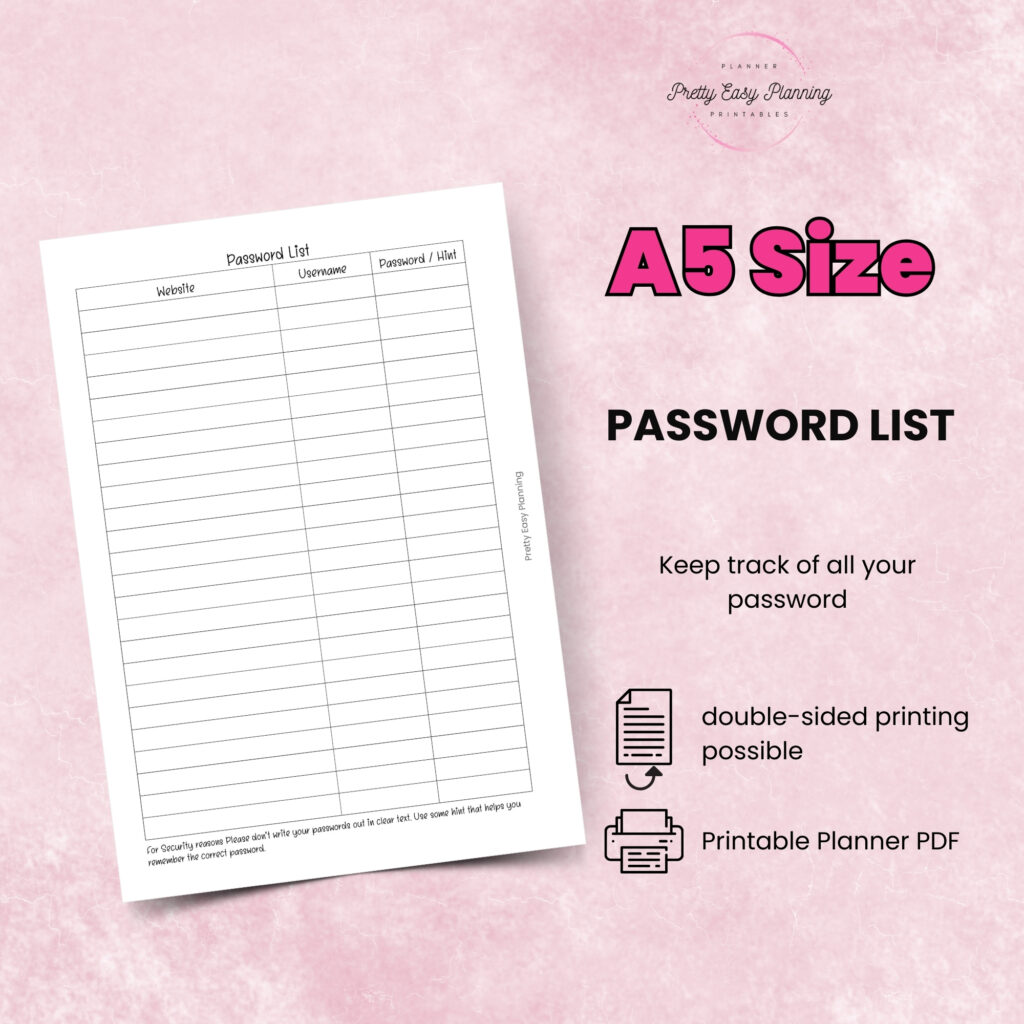
€4,24
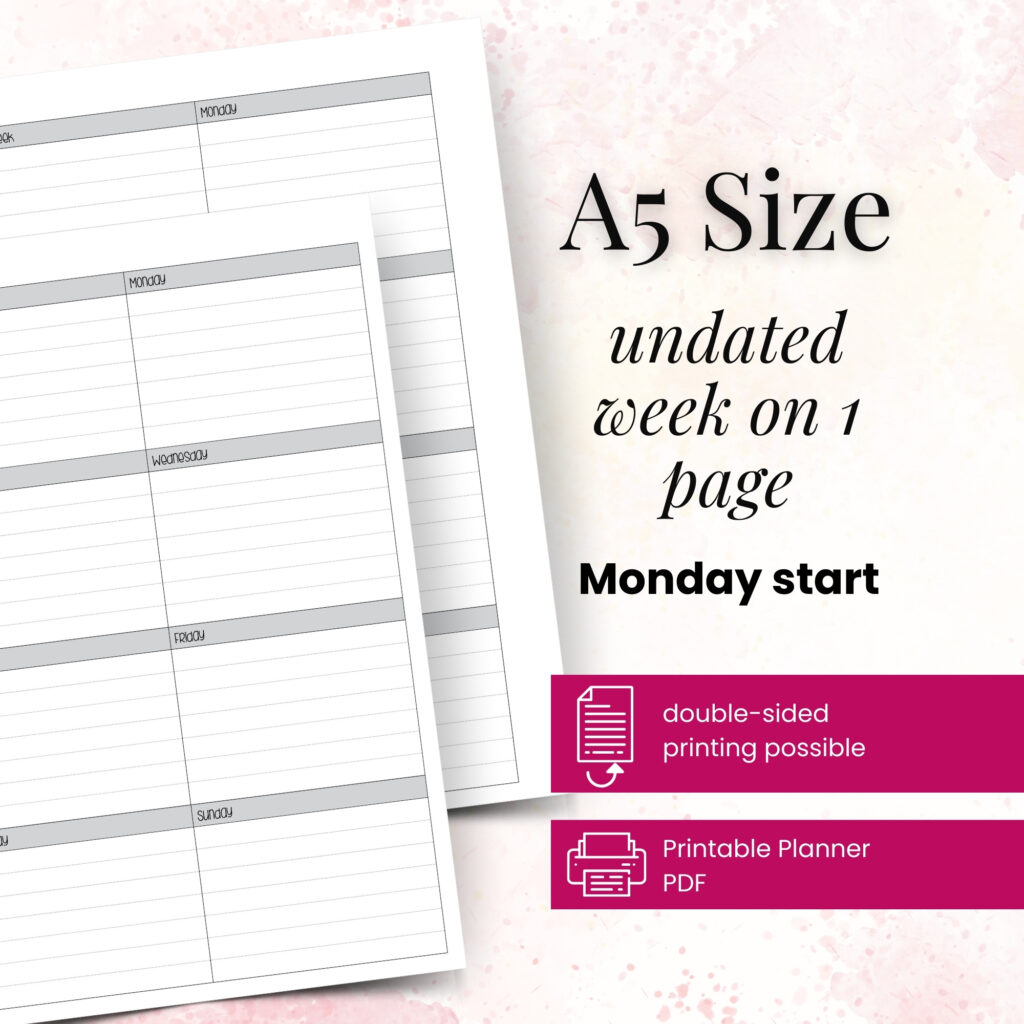
€4,24
A6 vs happy planner: compare size, space, portability, and page options to choose printable inserts that make your everyday planning feel easier with purpose.
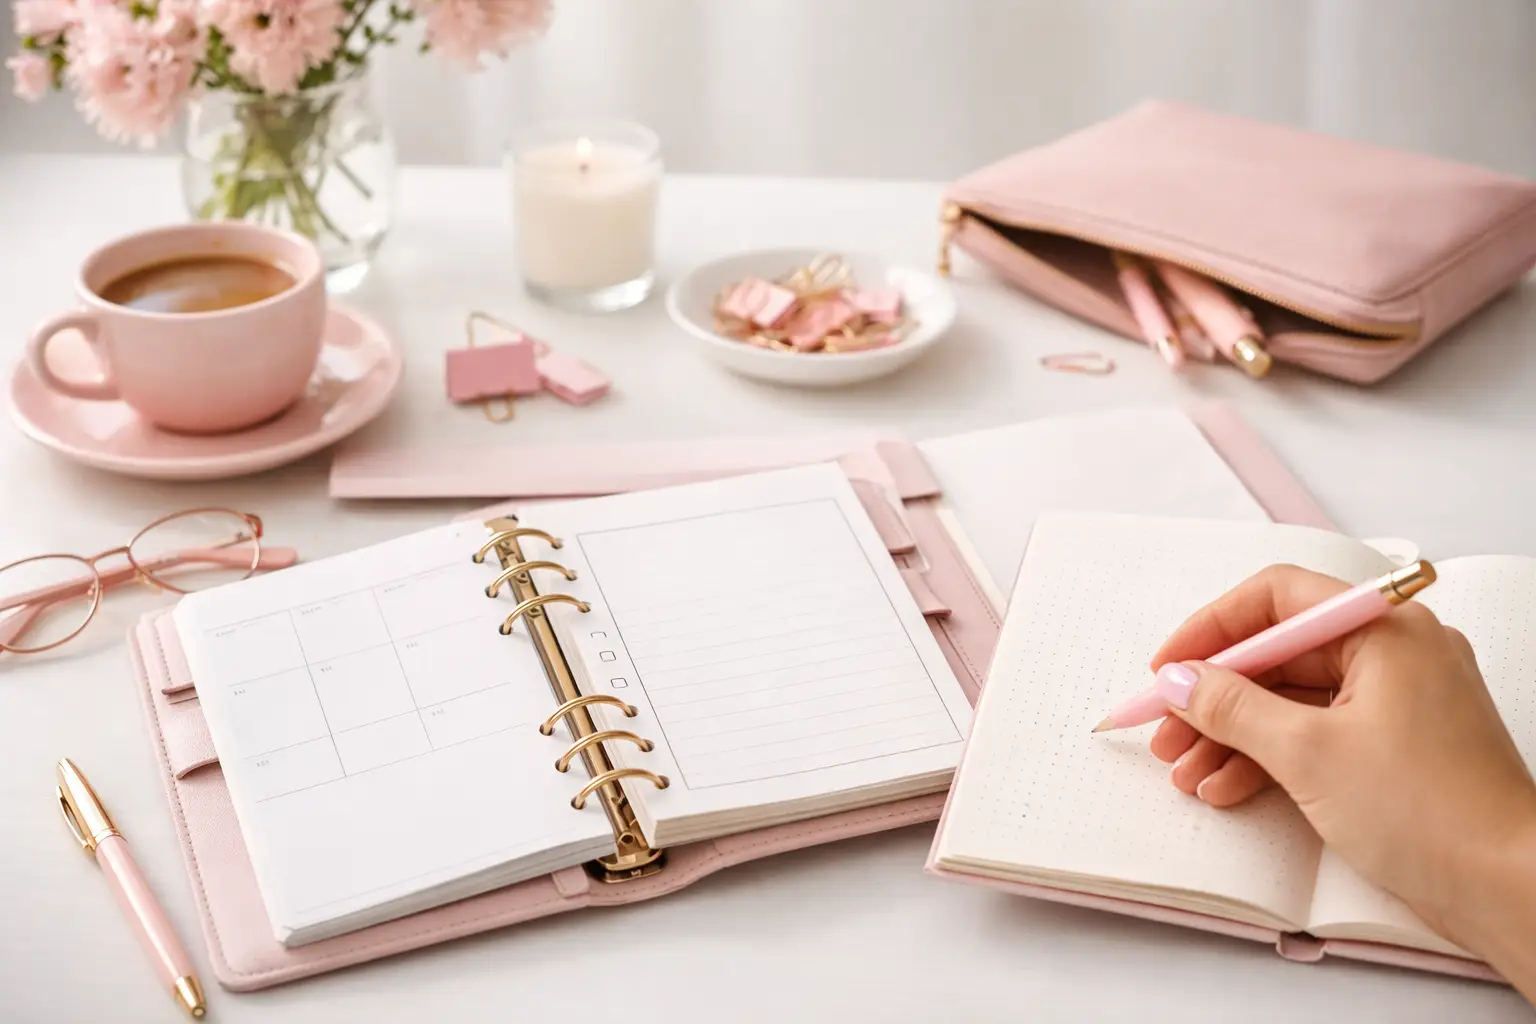
Wondering which planner pages do i need? Build a practical paper planner with only the inserts that support your real routines, goals, and plans daily.
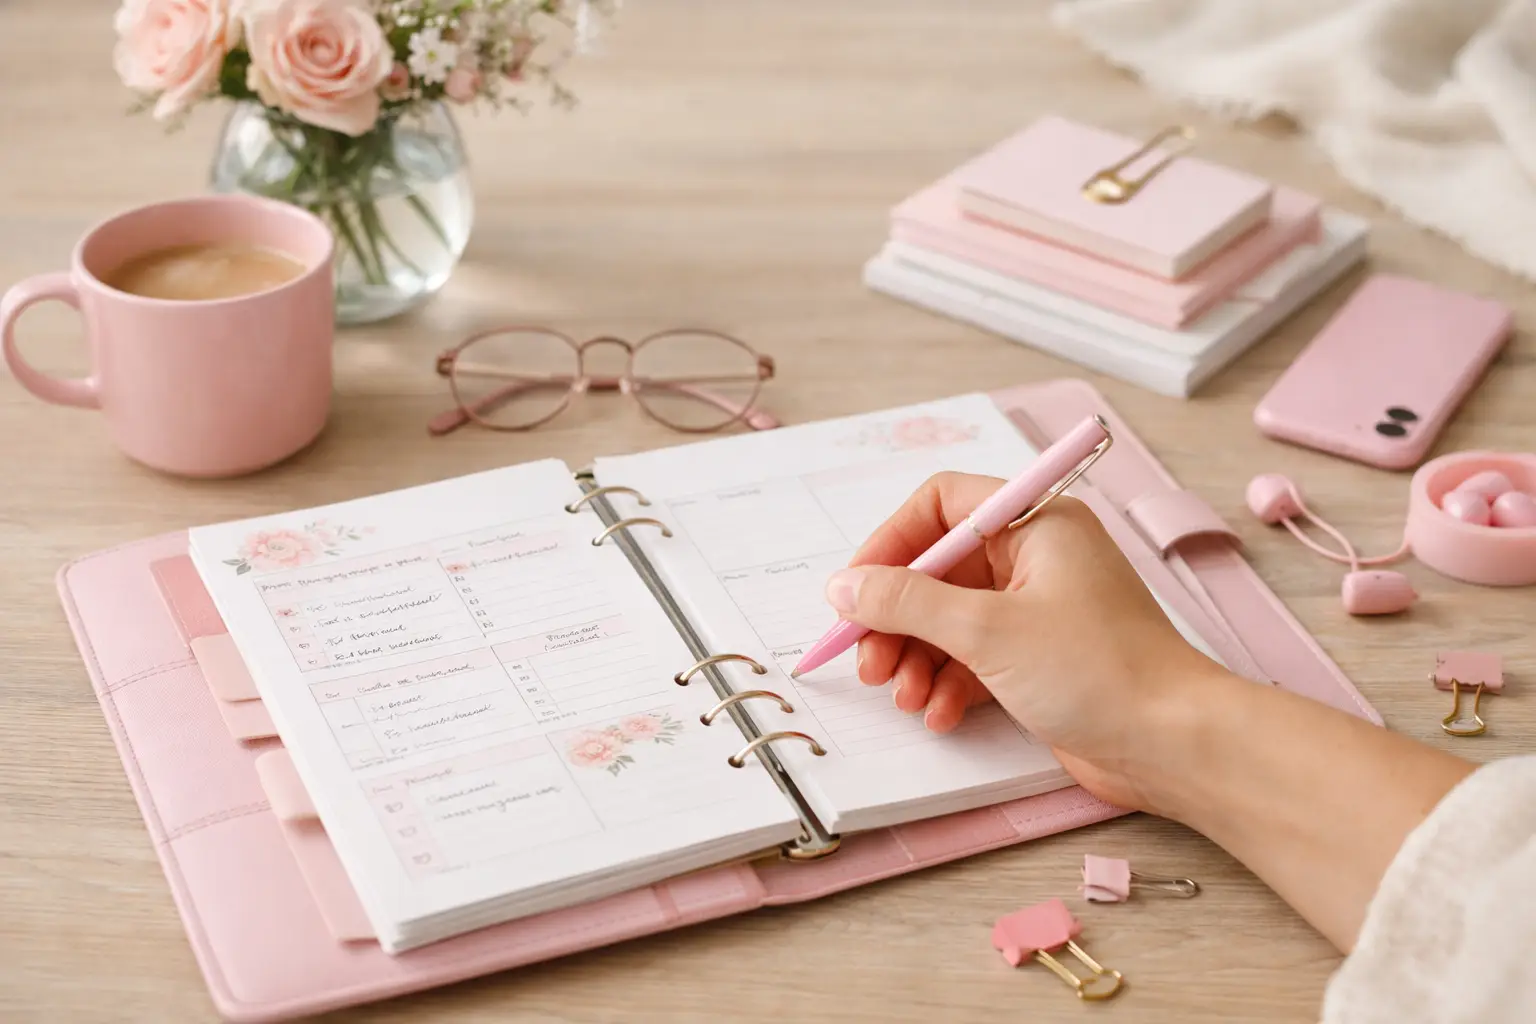
The future of printable planners favors flexible, beautiful systems: print what fits your week, refresh routines, and keep every page useful for life.