A6 vs Happy Planner: Which Fits Your Life?
A6 vs happy planner: compare size, space, portability, and page options to choose printable inserts that make your everyday planning feel easier with purpose.
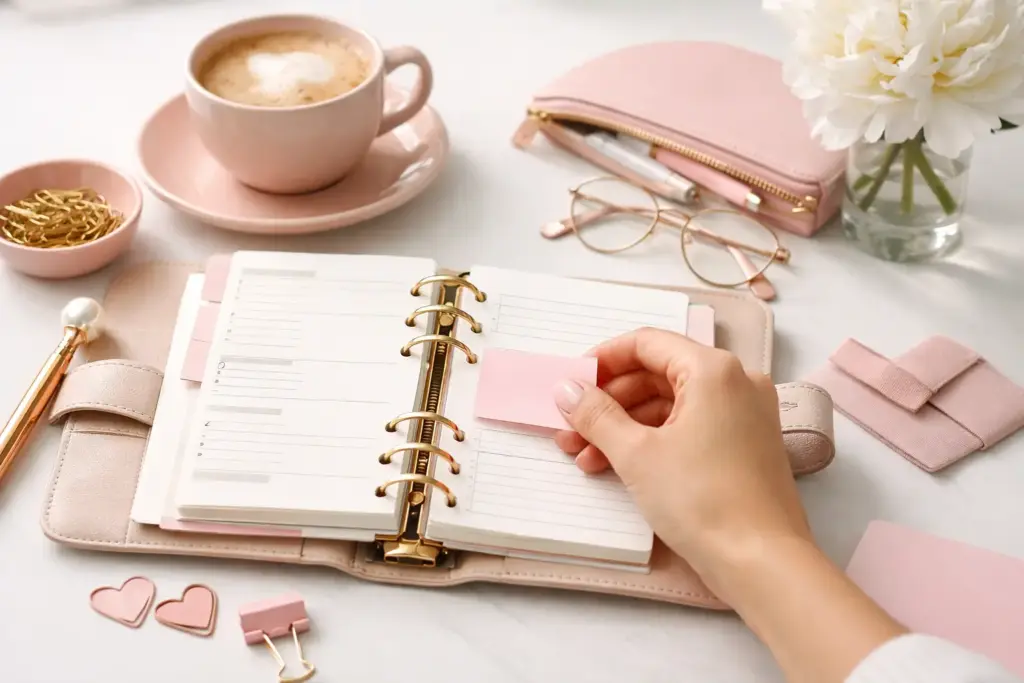
A ring planner usually looks most organized right before real life hits it. Then the pages pile up, the sections stop making sense, and somehow the notes you need always hide behind the wrong divider. A good ring bound planner setup guide fixes that fast. The goal is not to create a planner that looks perfect for one photo. The goal is to build one that supports your actual days.
Ring planners shine because you can change them as your routine changes. You can add pages, remove what no longer helps, and test layouts without committing to a full year of wasted paper. That flexibility is exactly why setup matters. When you start with a smart structure, your planner becomes easier to use and much more enjoyable to keep up with.
Before you print a single page or label a divider, pause and think about what this planner needs to do. Some people need one book for work, home, meal planning, appointments, and goals. Others want a planner that focuses only on daily scheduling with a few note pages tucked behind it. Both approaches work. The better choice depends on how much information you need to carry at once.
A common mistake is copying someone else’s setup exactly. That can look inspiring, but it often creates friction. If you rarely meal plan, a full food section will sit untouched. If you track projects for work, a tiny weekly spread may not give you enough room. Your setup should reflect your routines, not someone else’s highlight reel.
Think in terms of function first. Ask yourself where you need support. Maybe you need a monthly overview for family events, weeklies for task planning, and note pages for brain dumps. Maybe you need dashboards to keep goals visible and list inserts for errands and household admin. Once you know your pain points, the right structure gets much easier to build.
Most ring planners work better when they start simple. You do not need ten tabs to feel organized. In fact, too many sections can slow you down. A clean setup usually starts with five core areas.
Place a few note pages at the front. This becomes your quick capture zone for random thoughts, phone messages, shopping reminders, and ideas you need to park somewhere fast. It keeps loose information from getting scattered across your planner.
This area usually holds your yearly overview, monthly inserts, and any future planning pages. If you like seeing the big picture first, keep this section near the front. It helps you check dates quickly before moving into detailed planning.
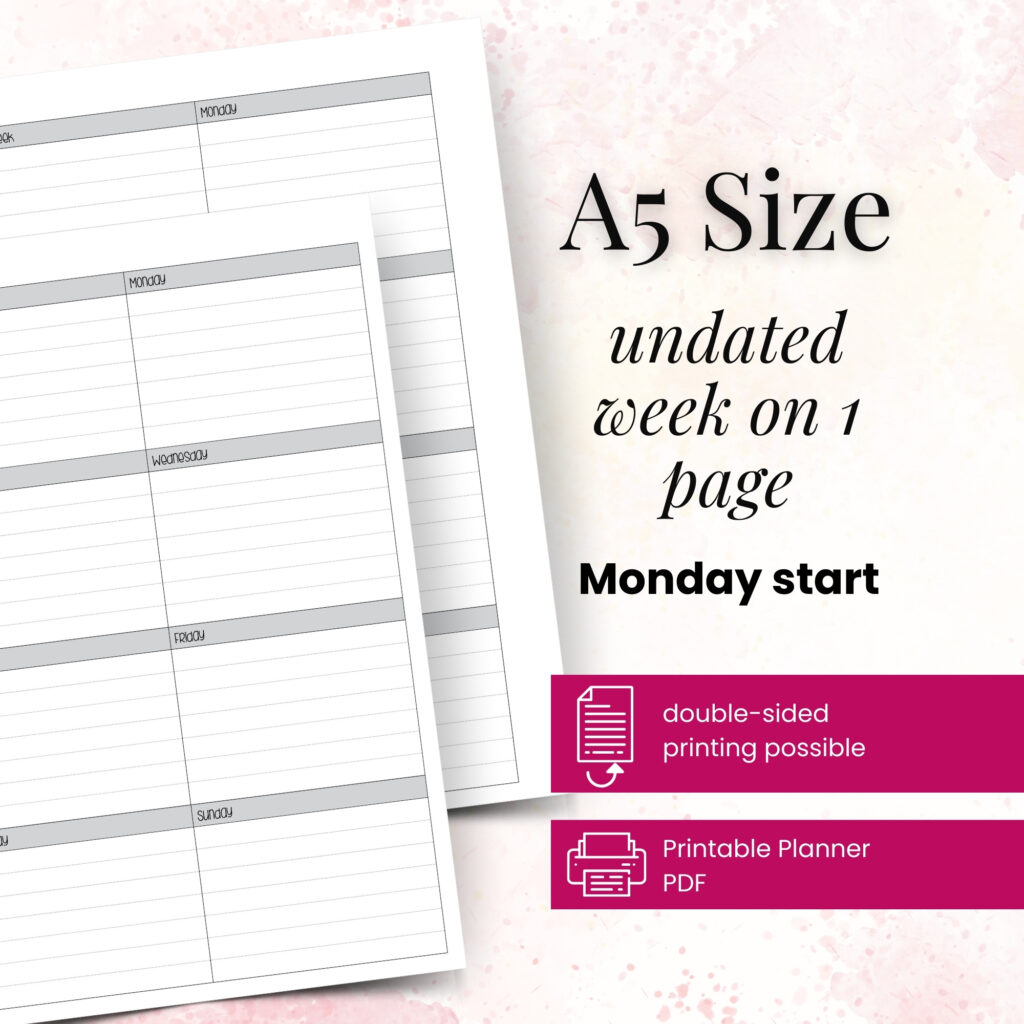
This is the engine of your planner. For some users, that means weekly inserts with enough room for appointments and task lists. For others, daily pages make more sense, especially during busy seasons. If your schedule changes a lot, you may want both monthlies and weeklies, then add dailies only when needed.
Use this section for project planning, routines, packing lists, wish lists, health notes, or anything else you reference often. Grouping these pages together makes your planner feel less chaotic.
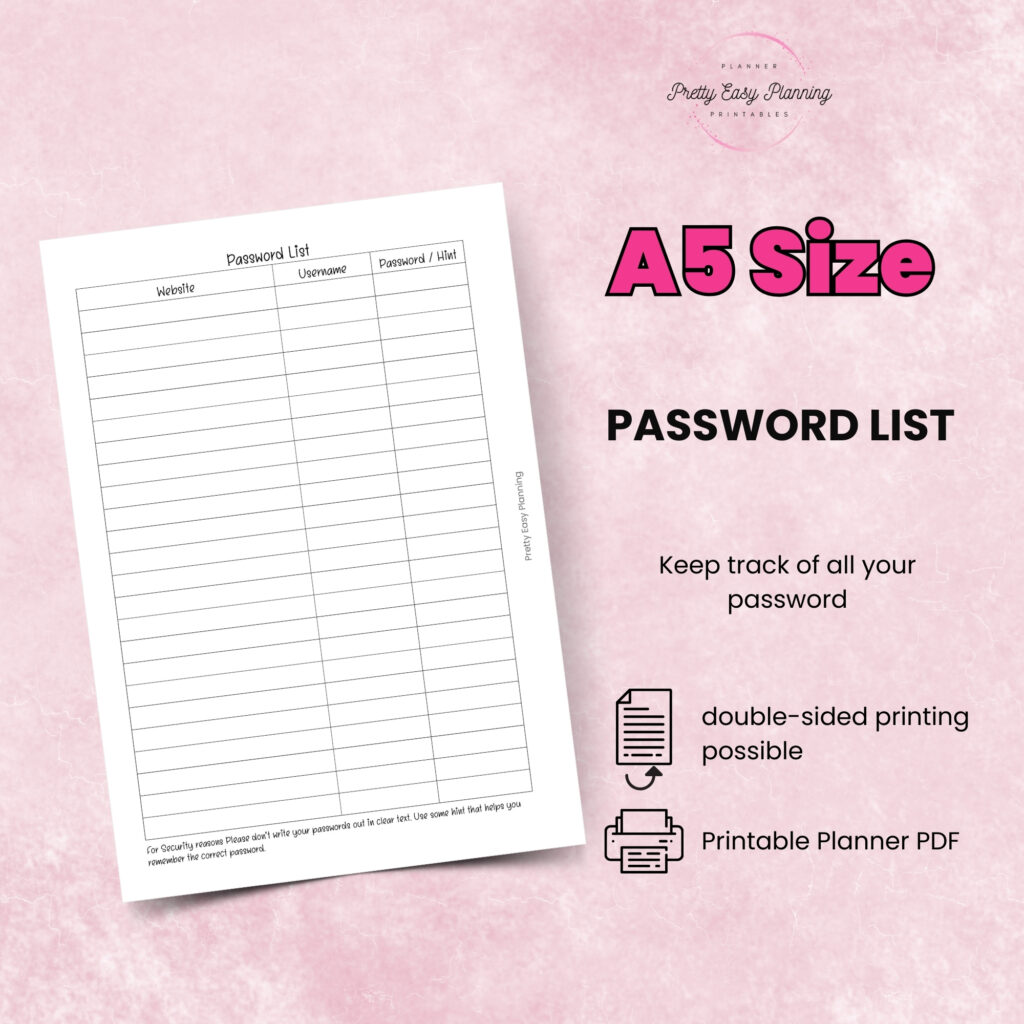
Keep information here that you need regularly but do not rewrite every week. Think contacts, important numbers, cleaning schedules, school information, or frequently used checklists. This section earns its place when it saves you time.
The right inserts make a ring planner feel easy. The wrong ones create resistance, even when they look beautiful. That is why format matters so much.
If you naturally think in broad strokes, start with monthly inserts and roomy weekly pages. If you break your day into detailed actions, daily pages may suit you better. People who manage multiple roles often like a layered system: monthlies for major dates, weeklies for planning, and note inserts for category-specific details.
Paper planners also work best when they respect your season of life. During a quieter month, you may use only weekly pages and lists. During back-to-school season, year-end planning, or a busy work cycle, you might add more dailies, project sheets, or dashboards. A flexible setup gives you that freedom without making you start over.
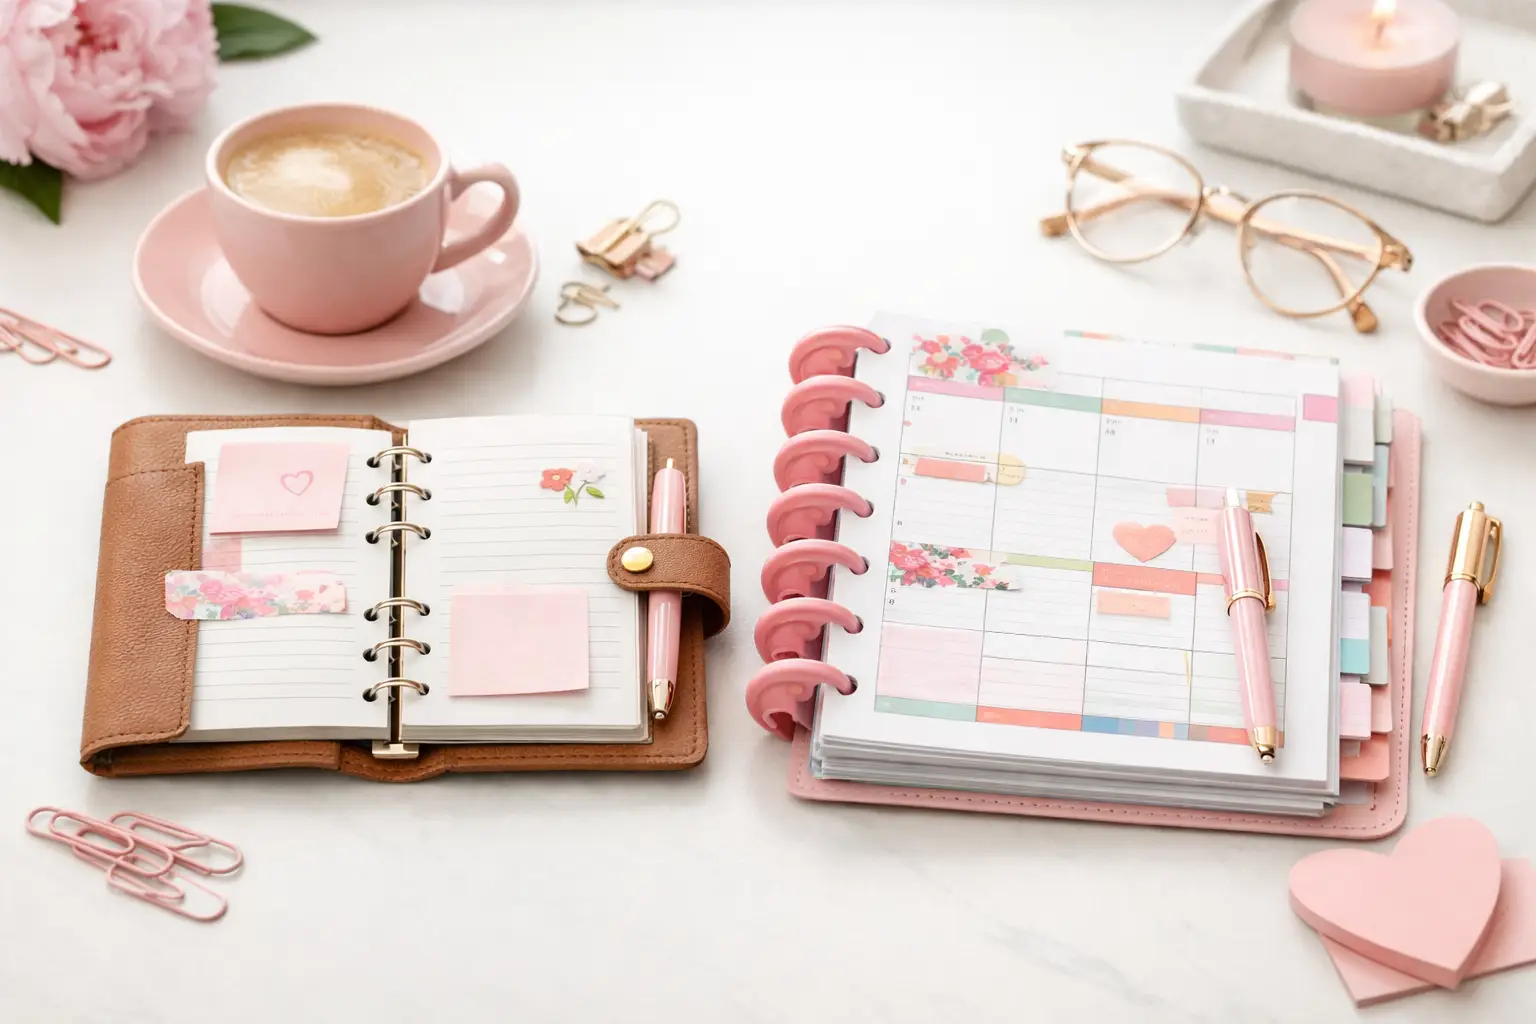
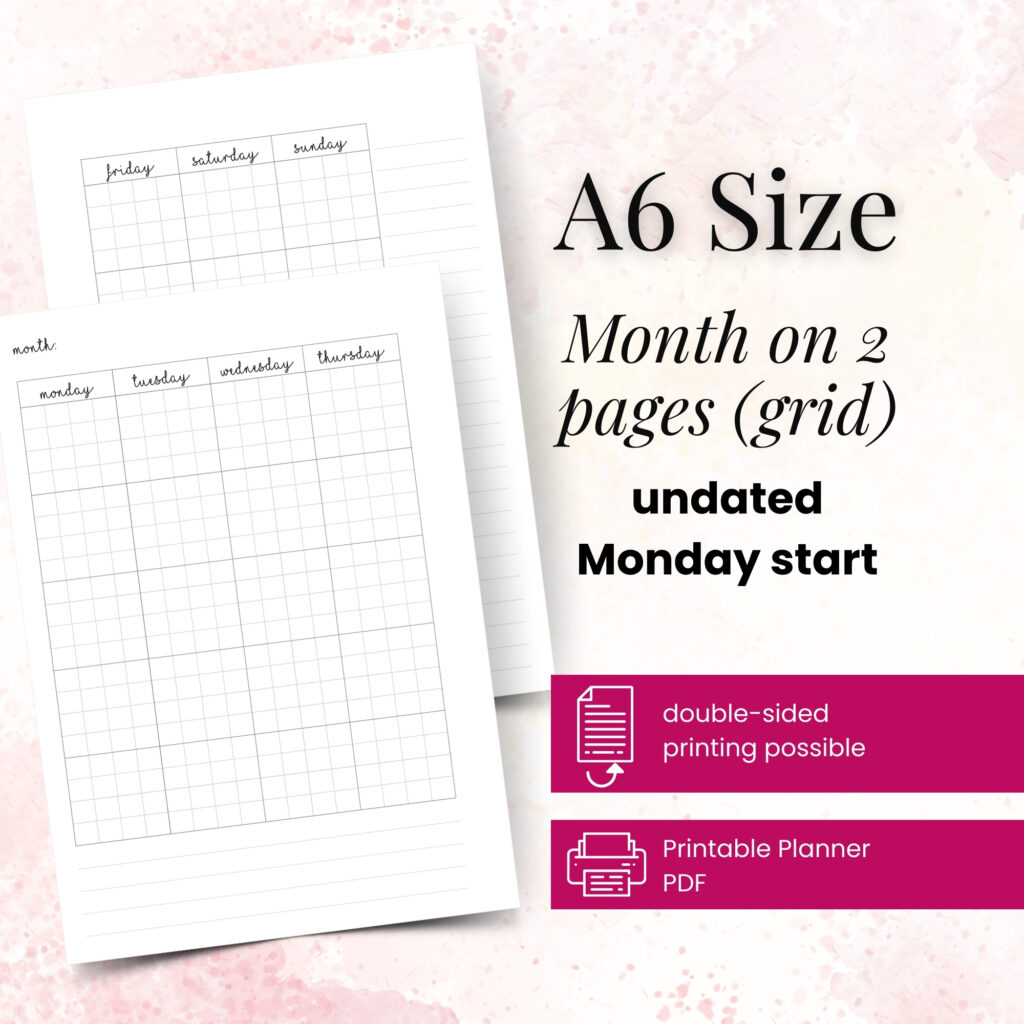
Size matters too. An A5 setup can handle fuller planning and larger handwriting. Personal and Personal Wide often feel more portable. A6 works well if you prefer an essentials-only planner. The best size is the one you will actually carry and open.
Once you have your inserts, resist the urge to load everything into your planner at once. Ring planners need breathing room. Overfilled rings turn page turning into a chore, and that small annoyance adds up fast.
Start with the current month, the next one or two months, your active weekly or daily pages, and only the notes you use often. Keep archived pages outside the planner. You still have them, but they do not need to live in your rings every day.
A good example looks like this: keep your yearly overview and current monthlies in the calendar section, four to six weeks of weekly pages in your planning section, a small stack of note inserts behind your list tab, and a few reference pages at the back. That setup feels useful without becoming bulky.
Dividers help, but only if they reduce friction. Use clear category labels you can understand at a glance. Fancy names may look cute, but simple labels like Calendar, Week, Notes, and Lists usually make the planner easier to use.
A strong setup does more than organize pages. It creates a sequence you can move through quickly. When you open your planner, your eyes should know where to go next.
Many planner users like this flow: calendar first, then current weekly or daily pages, then notes and lists, then reference pages. That order works because it mirrors how planning usually happens. You check dates first, then look at current tasks, then jot down supporting details.
You can make that flow even smoother with a few practical touches. Put a dashboard or vellum-style page at the front of your current section if you want a visual reset. Use page markers for your active week and current notes page. Add a top-loading pouch only if you truly need to store stickers, receipts, or sticky notes. If it bulks up your planner and you rarely use it, skip it.
This is the part many people miss. A planner setup always sounds good in theory. The real test comes when you use it on busy weekdays, not quiet setup days.
Give your system two solid weeks. Notice what feels easy and what feels annoying. If you keep flipping back and forth between sections, the order may need work. If your weekly inserts fill up too fast, you may need a different layout or extra note pages. If you never touch a section, remove it.
Treat those changes as normal, not as failure. Planning works best when it stays flexible. Your successful planning story begins with a single print, but it keeps improving through use. That is part of the creative corner of planning possibilities – you get to shape a system that actually supports you.
A few habits can make even a beautiful planner frustrating. One is setting up for your ideal life instead of your current one. Another is adding too many inserts because you might need them someday. That usually creates clutter, not clarity.
Another issue comes from mixing too many planning styles in one book. If your planner holds detailed dailies, heavy memory keeping, long-form journaling, and every household record you own, it may become too thick to function well. Sometimes the answer is not more pages. Sometimes it is tighter editing.
It also helps to watch for layout mismatch. If you consistently run out of room, your inserts may be too restrictive. If half the page stays blank every day, a simpler format might feel better. The best inserts support your planning habits instead of forcing new ones.
This is where the fun comes in, and yes, aesthetics matter. A planner you enjoy opening tends to get used more often. Coordinating inserts, dashboards, and decorative details can make your setup feel personal and motivating.
Still, beauty works best when function comes first. Build the structure, test the flow, and confirm the inserts suit your routine. Then add the visual layer that makes it feel like yours. That order keeps your planner from becoming all style and no support.
If you love changing things up by season, ring planners handle that beautifully. You can refresh colors, swap dashboards, or rotate decorative pages without disturbing your whole system. Pretty Easy Planning users often love this step because it combines customization with practical use, which is exactly where ring planners shine.
A ring planner does not need to be complicated to be effective. Start with the pages you know you need, give each section a clear job, and leave yourself room to adjust. The best setup is the one that makes you want to turn the page and plan tomorrow.

€4,24
€4,24
€4,24
€4,24
A6 vs happy planner: compare size, space, portability, and page options to choose printable inserts that make your everyday planning feel easier with purpose.
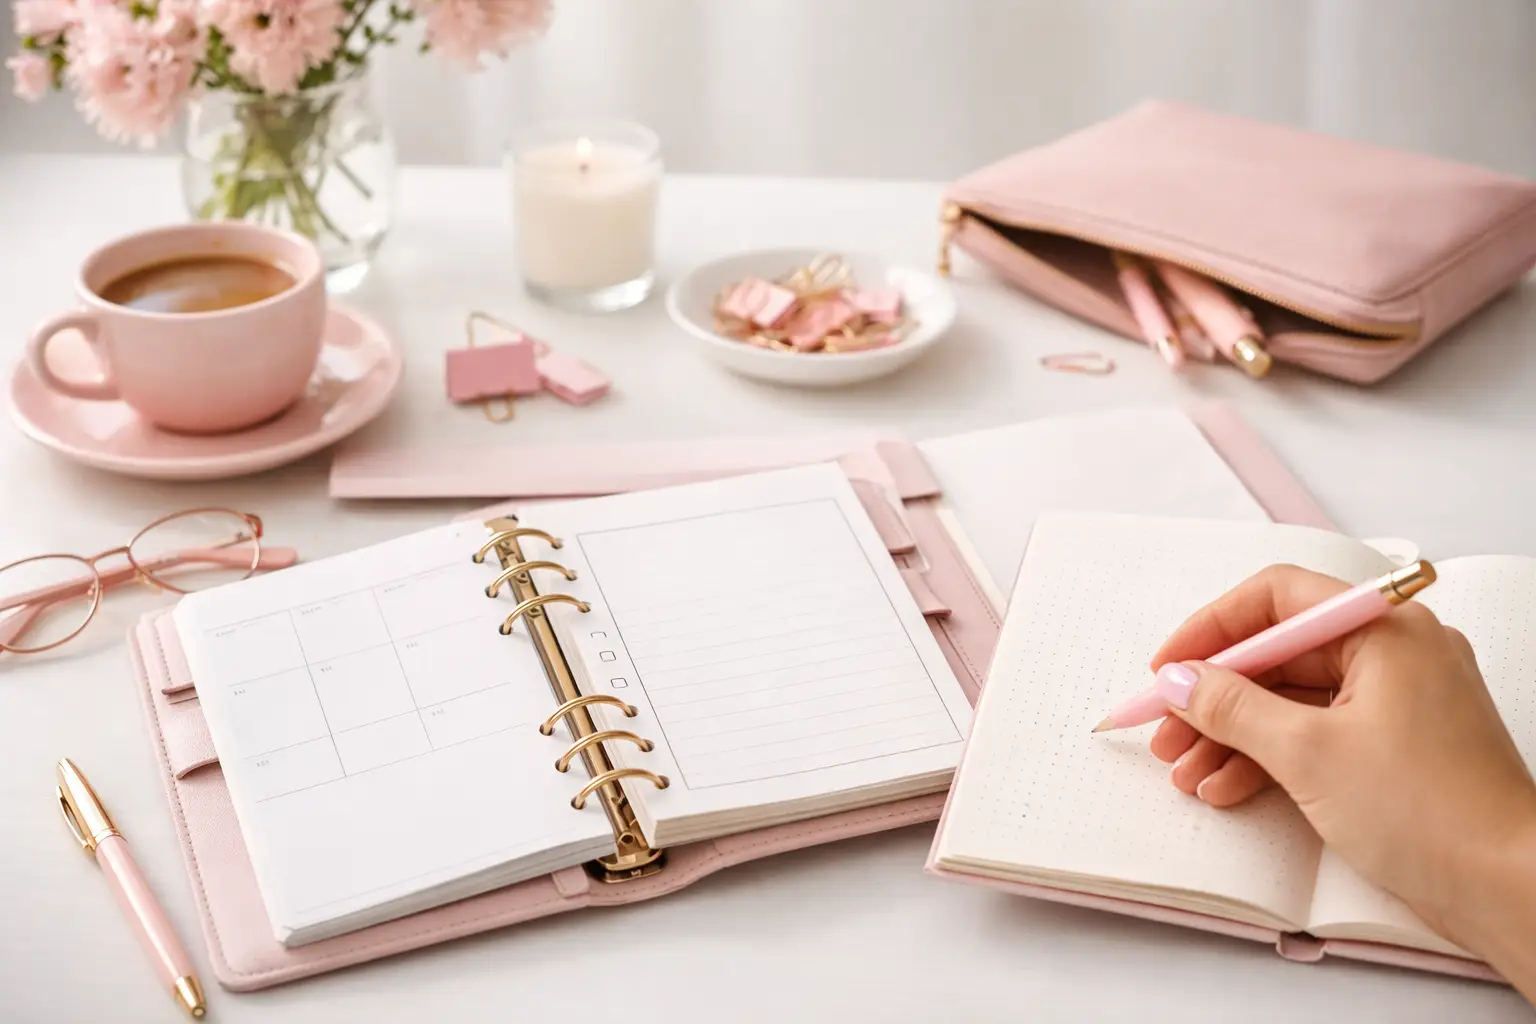
Wondering which planner pages do i need? Build a practical paper planner with only the inserts that support your real routines, goals, and plans daily.
The future of printable planners favors flexible, beautiful systems: print what fits your week, refresh routines, and keep every page useful for life.