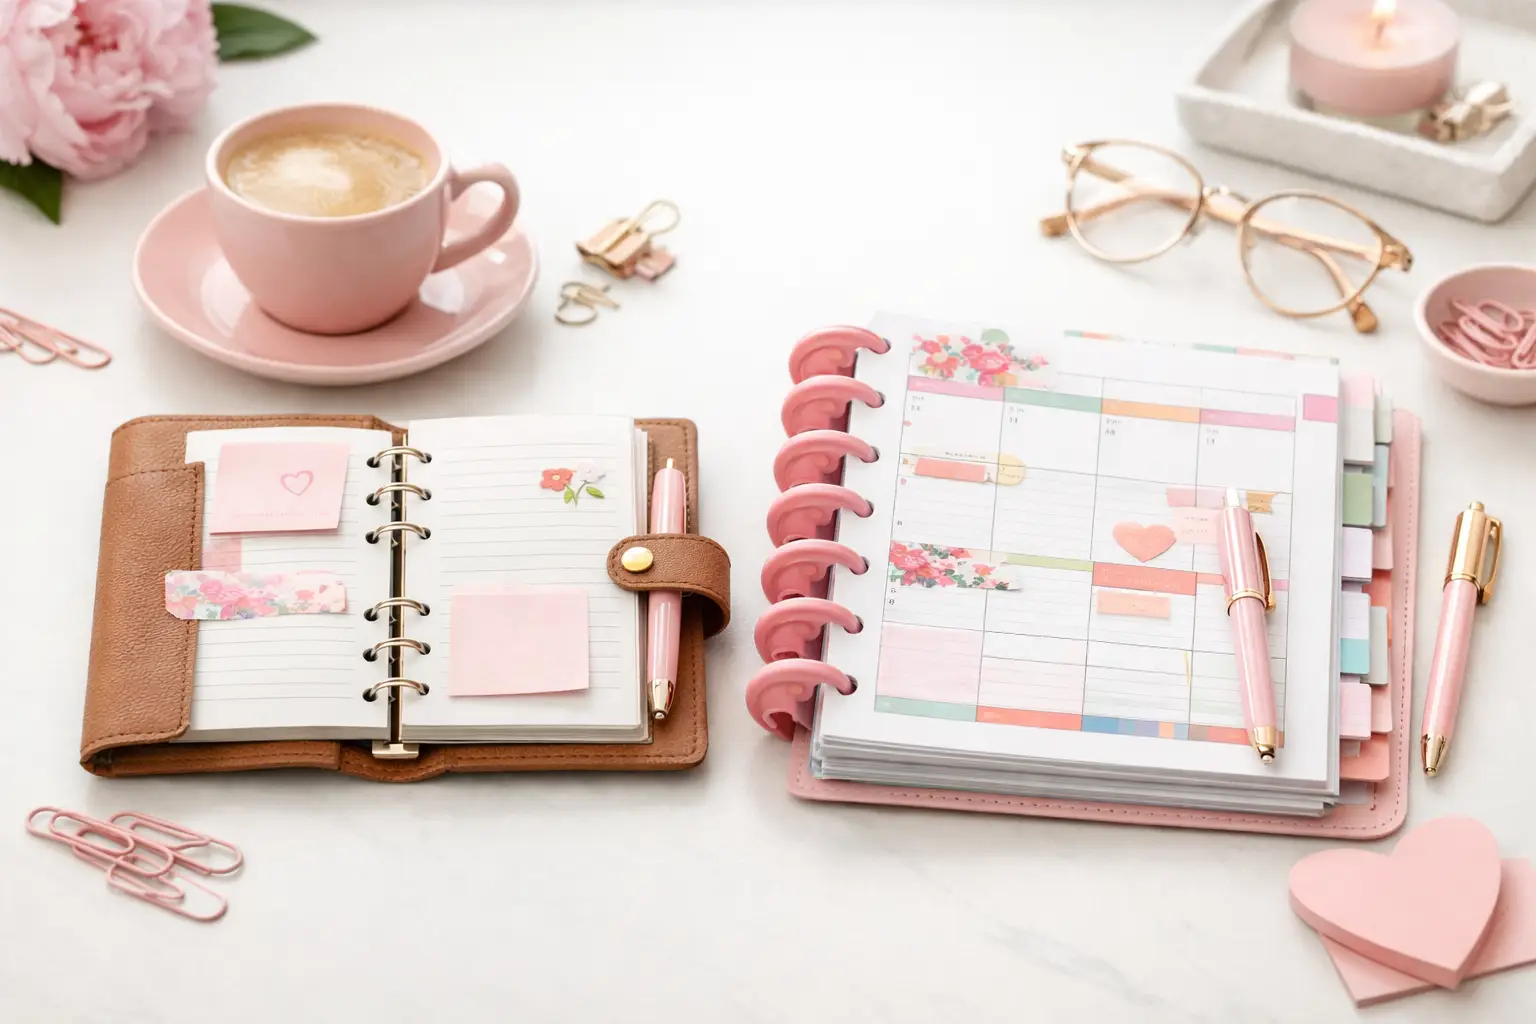
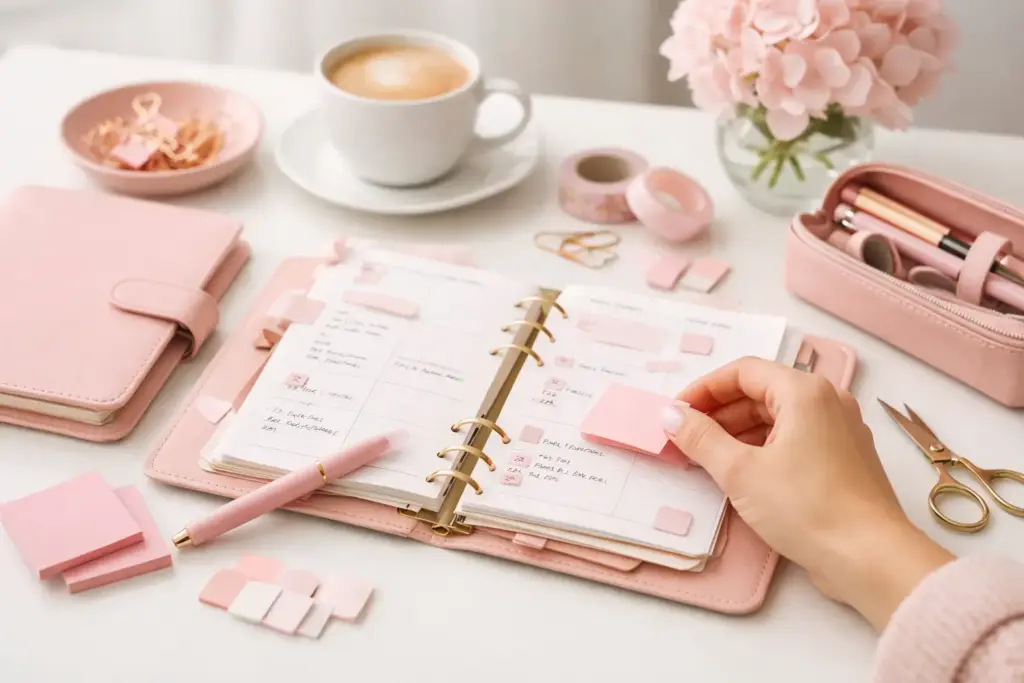
A planner can look beautifully organized on Sunday night and still become a paper pile by Wednesday. That usually does not mean you need more discipline. It means your sections, inserts, or routines ask too much of you. The best planner organization ideas support the way you already move through work, home life, appointments, and creative projects.
Instead of copying someone else’s perfectly styled setup, build a system that makes the next right thing easy to find. A well-organized paper planner should give your busy brain fewer places to look, not more pages to maintain. Start small, adjust often, and let each section earn its space.
Key Takeaways
-
Give every planner section one clear job so pages do not compete for your attention.
-
Keep your everyday pages close to the front and move reference material out of the way.
-
Print inserts in the quantities you truly use, then reorder them as your season changes.
-
Use dividers, dashboards, and page markers to create visual shortcuts you will reach for daily.
-
Review your planner weekly so small piles and loose notes never become a full reset.
Planner Organization Ideas for a System You’ll Use
1. Start with your planner’s real purpose
Before adding inserts, decide what your planner needs to hold. You may need one place for appointments, weekly priorities, meal planning, and household tasks. Someone else may need project deadlines, client notes, and a running list of ideas. Those are different jobs, so they deserve different page setups.
Write down the three things you reach for most often. Build your core planner around those first. If you rarely track habits, for example, do not let a habit tracker take center stage just because it looks pretty. Beautiful pages work best when they solve a real problem.
2. Create sections based on how often you use them
Organize sections by frequency, not by what sounds most official. Your daily or weekly pages deserve the easiest access because you use them constantly. Put them at the front of your planner or immediately behind the cover.
Place monthly calendars next, followed by active projects or routines. Keep reference pages, wish lists, seasonal plans, and notes toward the back. This order prevents you from flipping past ten pages of information before you reach today’s schedule.
3. Use dividers as visual road signs
Dividers do more than make a planner look finished. They reduce friction. Choose labels that make sense to you at a glance, such as Calendar, Home, Work, Lists, and Notes. If your planner serves one major area of life, simpler labels may work even better: This Week, Projects, and Reference.
Avoid creating tiny categories for every possible task. Too many dividers can make an A6 or Personal planner feel bulky and crowded. In a larger A5 or Happy Planner Classic setup, you have more room for separate areas, but even then, keep the categories clear and practical.
4. Give your weekly spread a single command center
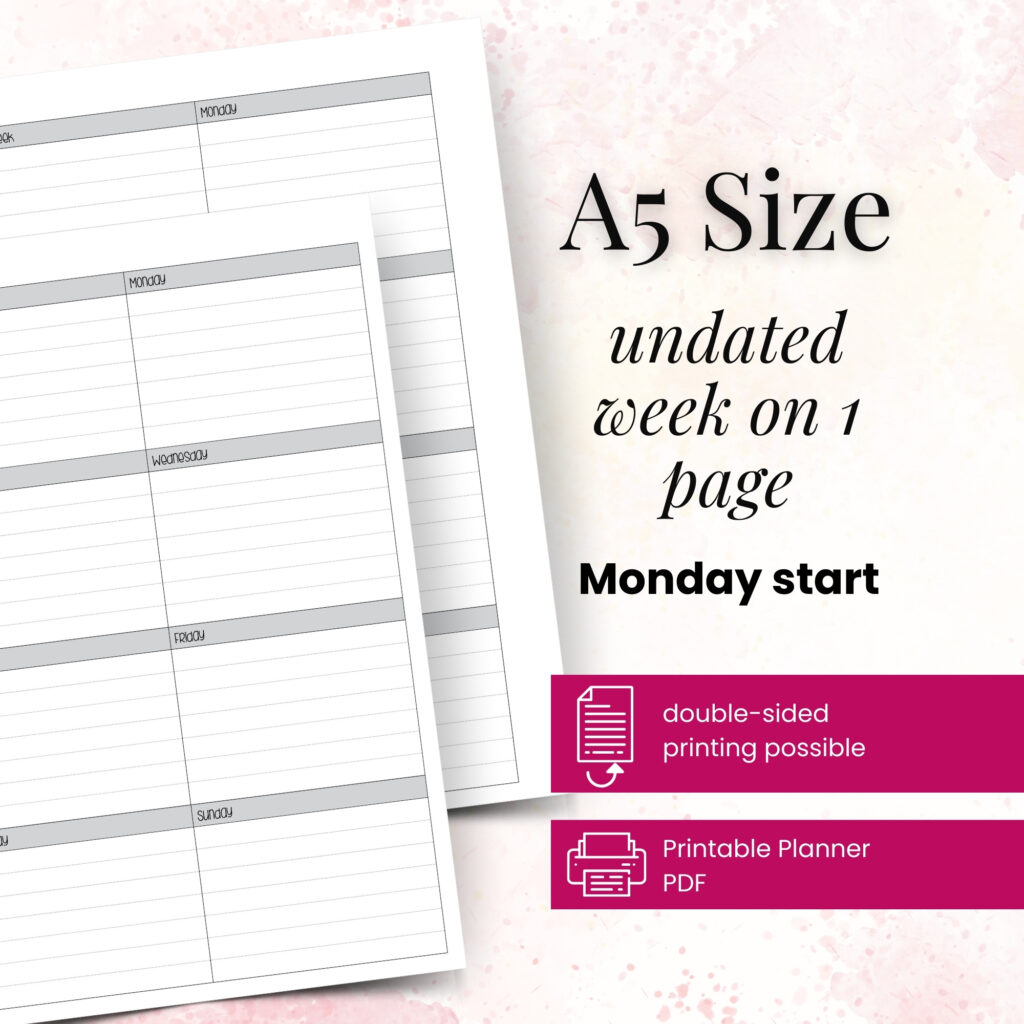
Your weekly pages should answer one question quickly: What needs my attention today? Use your weekly spread for scheduled commitments, top priorities, and a short task list. Then write detailed project steps elsewhere so your calendar does not turn into a wall of handwriting.
A simple approach works well: mark fixed appointments in one color, personal priorities in another, and use a symbol for tasks that must move forward this week. You do not need a complicated code. You need marks you can understand when you are tired and in a hurry.
5. Keep project pages together, not scattered by date
Dated pages show when something needs to happen. Project pages show what needs to happen. Keep both, but give active projects their own home behind a Projects divider or in a dedicated notebook insert.
For each project, use a project planner page with a goal, deadline, next actions, notes, and any waiting-on items. When a task has a specific date, copy only that action into your weekly spread. This keeps your schedule clean while preserving the full picture in one place.
6. Build a reliable inbox for loose thoughts
Random thoughts will appear while you are cooking, waiting in the car, or halfway through a meeting. Give them one landing place. A running notes page, an inbox insert, or a few sticky notes near the front all work well.
The key is not capturing every thought perfectly. The key is knowing where to put it. During your weekly check-in, sort each note into your calendar, project pages, list section, or trash. That small habit keeps loose paper from becoming planner clutter.
7. Use dashboards to hold what changes often
Dashboards work especially well for information you need nearby but do not want to rewrite on every page. Think current routines, a short list of focus goals, phone numbers, a quick cleaning schedule, or a personal reminder you need this month.
You can layer a vellum-style dashboard over a divider for a soft decorative touch while still keeping the section easy to spot. Just make sure decoration supports navigation. If a dashboard hides the tabs or makes pages hard to turn, choose a lighter design or move it to a less active section.
8. Separate lists by action, not by theme alone
A long list titled “Life” may hold everything, but it will not help you decide what to do next. Create list pages that lead to action. For example, keep an ongoing grocery list, a someday list, a home maintenance list, and a running errands list.
You can combine related lists when your planner is small. A Personal-size planner might use one “Home” list section with clear headers, while an A5 planner can comfortably hold separate inserts. Choose the level of detail that helps you find information without adding extra page maintenance.
9. Let page markers do the daily work
You do not need to open your rings and move pages every morning. A page marker, ruler, or thin dashboard can hold your spot in the current week. Add a second marker for your active project section if you switch between the two often.
This tiny setup change makes a surprising difference. When your current pages open quickly, you are more likely to use the planner for a two-minute check rather than leaving it closed on your desk.
10. Print in short batches
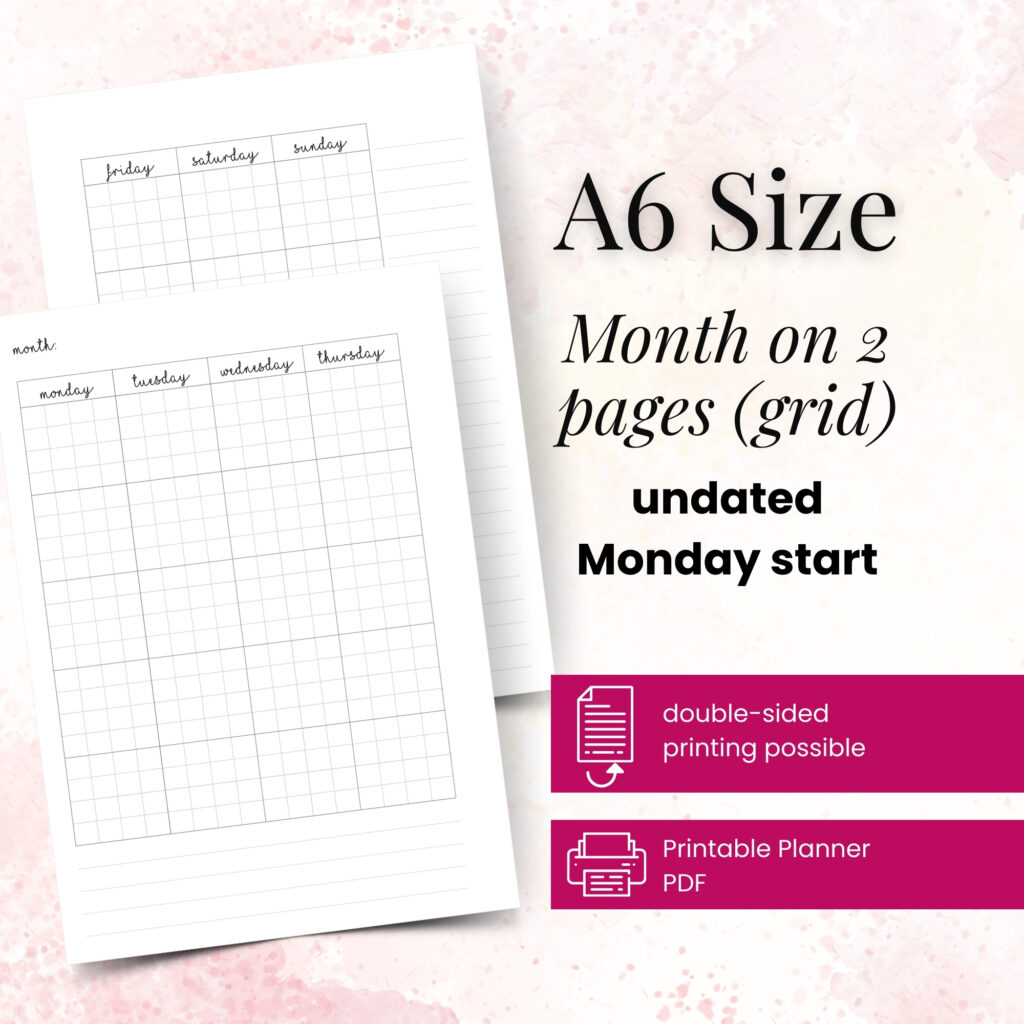
One of the most useful benefits of printable inserts is that you can avoid committing to an entire year of pages before you know what works. Print four to eight weeks of daily or weekly pages, then notice what you actually fill in. You may find that a weekly layout handles a busy season better than daily pages, or the opposite.
Short batches also keep your planner slimmer. Print more when you need more, and switch layouts when your schedule changes. Your planner should adapt to a new job, school term, travel season, or family routine without making you waste pages that no longer fit.
11. Make your weekly reset short and specific
A planner stays organized through a small repeated routine, not a once-a-month marathon. Pick a consistent time each week and spend 15 to 20 minutes checking the next seven days. Add appointments, review project deadlines, move unfinished tasks, and clear your inbox notes.
Then remove anything that no longer deserves space. Toss outdated sticky notes, archive finished project pages, and cross off lists that have run their course. This reset gives your planner a fresh start without requiring you to rebuild the whole system.
12. Keep a simple archive for finished pages
Finished pages still hold useful information, but they do not need to live in your everyday planner. Move completed months, old meeting notes, and finished project plans into a labeled storage binder, box, or envelope. Date the archive clearly so you can find it later.
Some planners prefer to keep only the current month plus the next month in their rings. Others like a full quarter. It depends on how often you need to look back. Keep enough history for your real life, but protect your daily planner from becoming too heavy to enjoy.
Let Your Planner Change with You
Your planner does not need to look the same in every season. A packed work month may call for detailed daily pages, while a quieter stretch may only need a weekly overview and a few lists. Try one change at a time so you can tell what truly helps.
Your successful planning story begins with a single print, a clear section, and a page you want to open tomorrow. Build from there, and let your planner become a creative corner of planning possibilities that feels useful on your busiest days.