A beautiful Personal Wide insert is only useful when it sits neatly in your planner, turns easily around the rings, and gives you enough room to write. Learning how to print personal wide inserts takes a little setup at first, but once you find the settings that work with your printer and paper, reprinting your favorite pages becomes wonderfully simple.
The key is to treat the PDF, paper, printer settings, trimming, and punching as one small system. A test page can save a whole stack of paper, and a few careful choices will give your planner that polished, made-for-you feeling.
Key Takeaways
-
Check the finished insert size listed with your PDF before you print, because Personal Wide dimensions can vary by planner brand.
-
Print at 100% or Actual Size unless the file instructions say otherwise. Avoid Fit to Page.
-
Use a test page on regular paper to confirm the scale, margins, duplex direction, and ring clearance.
-
Choose paper that feels good for your pens, then trim first and punch second.
-
Save your successful printer settings so future reprints take only a few minutes.
Start With Your Personal Wide Insert Size
Personal Wide is wider than a standard Personal page, but not every Personal Wide binder uses exactly the same measurements. That small difference matters. An insert that looks perfect on screen can feel crowded at the ring edge or stick out of the cover if you print the wrong final size.
Before opening your print dialog, check the product description or instruction page that came with your purchase. Look for the finished page dimensions, the recommended paper size, and whether the file includes crop marks. Many printable inserts come arranged on US Letter or A4 paper, ready to trim into individual pages. Others use a single-page format intended for a specific paper size.
Measure your current inserts if you feel unsure. Place one on a ruler, measure the width and height, and compare it with the PDF’s stated size. Also check the distance between the holes and the page edge. Your planner rings need breathing room, especially if you use thick paper or write-heavy pages.
Choose Paper for the Way You Plan
Paper changes the whole planning experience. Thin paper keeps your planner light and lets it hold more pages. Heavier paper feels more substantial, handles marker better, and gives dashboards or special pages a premium finish. Neither choice is automatically better. Your best option depends on your favorite pens and how full you like your rings.
For everyday Personal Wide inserts, many paper planners enjoy 24 to 32 lb paper, often labeled 90 to 120 gsm. This range gives you a nice writing surface without making your planner bulky too quickly. If you use fountain pens, juicy gel pens, or mildliners, test a few sheets before printing an entire month.
Use plain white paper for crisp, high-contrast layouts, or try a soft ivory shade if you prefer a warmer planner look. For decorative dividers, vellum-style pieces, or dashboards, choose specialty paper only after confirming that your printer can handle its weight and finish. Printer manuals usually list a maximum paper weight, and respecting that limit helps prevent jams.
How to print Personal Wide inserts at the correct scale
Open your PDF in a dedicated PDF reader rather than printing from a browser whenever possible. A PDF reader usually gives you clearer control over scaling, orientation, and duplex printing.
In the print window, start by choosing your paper size. US customers will often select US Letter, while many international printers use A4. Choose the size that matches the file instructions and the paper loaded in your tray. A file designed for Letter paper may still print on A4, but margins and crop marks can shift. When you can, print on the recommended paper size.
Next, find the scaling setting. Select Actual Size, 100%, or a similar option. Do not choose Fit, Shrink Oversized Pages, or Scale to Fit unless the product instructions specifically tell you to. Those settings can make an insert just a few millimeters smaller or larger, which is enough to affect your trim lines and ring clearance.
If your PDF shows two insert pages on one sheet, print it as shown. Do not select Multiple Pages per Sheet, because the file already contains its own layout. If it shows one insert page per sheet, follow the PDF instructions rather than trying to force two pages onto a sheet. The layout designer has already accounted for margins, writing space, and the intended final size.
Print one test sheet on inexpensive paper. Trim it, place it in your binder, and turn the pages. Check three things: the page fits inside the cover, the punched edge does not cover any text, and the writing area sits where you expect it. This quick test is the most useful step in the entire process.
A note about borderless printing
Avoid borderless mode unless your insert instructions recommend it. Some printers slightly enlarge borderless prints so the design reaches the edge of the sheet. That enlargement can throw off crop marks and make your Personal Wide inserts too large. Standard printing with the correct scale produces more reliable results.
Set Up Double-Sided pages without the guesswork
Double-sided printing saves paper and keeps weekly and monthly sections tidy. It also creates the most common printing mistake: a back page that prints upside down.
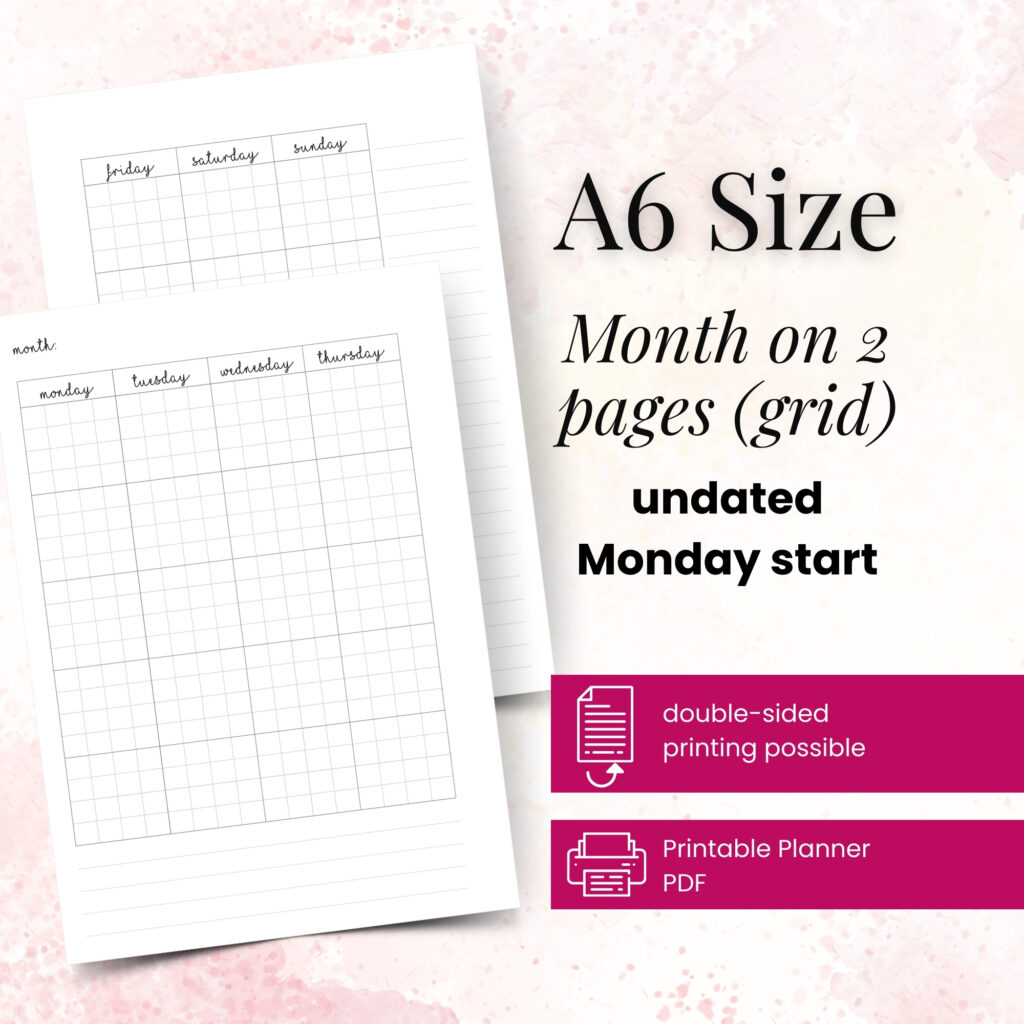
For portrait-oriented Personal Wide pages, choose Print on Both Sides and select Flip on Short Edge in most cases. The short edge sits at the top and bottom of a portrait page, so this setting keeps both sides upright when you turn the insert like a book.
Still, printers vary. Test with a two-page section before you print a full set. Write “TOP” at the top of a blank test sheet, send it through your printer, and notice how the paper returns. Then print two sample PDF pages. If the reverse side lands upside down, switch the flip setting and test again.
Some home printers do not print both sides automatically. In that case, print the odd-numbered pages first, reload the stack according to your printer’s paper path, and print the even-numbered pages. Start with just two sheets. Manual duplex printing takes a little patience, but it works beautifully once you learn how your printer feeds paper.
Trim Cleanly, Then Punch Carefully
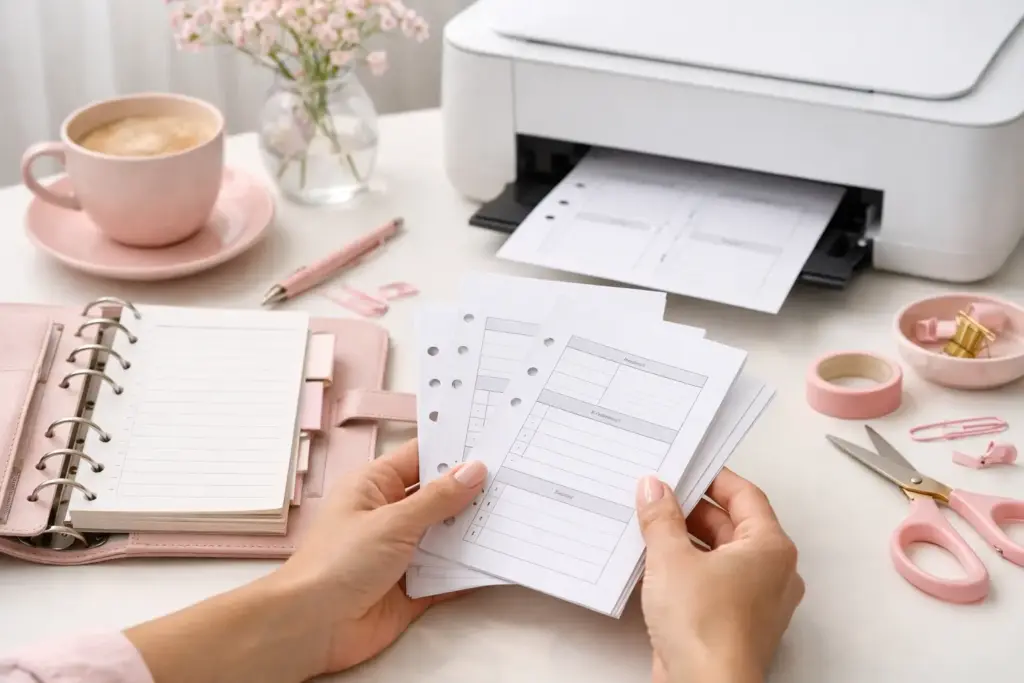
A paper trimmer gives Personal Wide inserts cleaner, straighter edges than scissors. Align the crop marks, hold the page firmly, and cut one edge at a time. A rotary trimmer works well for a small stack, while a guillotine-style trimmer can speed up larger monthly or yearly sections.
Trim every page before you punch holes. This order matters because the final trimmed edge tells you exactly where the insert will sit in your planner. If you punch first and trim later, you can accidentally remove too much of the inner margin.
Use a Personal Wide-compatible punch, or adjust your punch carefully if it supports several planner sizes. Before punching a complete stack, test one trimmed page. Put it in your rings and check that the holes align with your existing inserts. Make sure no part of the design disappears under the rings.
If your pages feel tight after punching, move the hole pattern slightly closer to the edge only if the insert has enough inner margin. Never sacrifice your writing space for a tighter fit. A well-designed insert leaves room for the rings, but every planner mechanism has its own personality.
Build a Repeatable Printing Routine
Once you have a successful test page, write down your setup. Keep a small note in your planner or a note on your computer with the paper brand and weight, printer tray, scale setting, duplex option, and punch position. Future-you will appreciate not having to rediscover the same details before every reprint.
You can also print in small batches. Print a month of daily pages, a quarter of weekly pages, or just the notes pages you use most. This approach keeps your planner lighter and lets your system change with your season of life. A busy work month may call for more task lists, while a quieter season may leave room for journaling pages, meal planning, or creative notes.
Pretty Easy Planning inserts work best when you make them part of your real routine, not a stack of pages you feel pressured to use perfectly. Print the pages that support your current priorities, leave out the ones you do not need, and refresh your planner whenever your plans shift.
Your successful planning story begins with a single print. Start with one test sheet, make the small adjustments that suit your binder, and enjoy creating a Personal Wide planner that feels unmistakably yours.