A good work planner insert example does more than hold a to-do list. It gives your workday a home: priorities, meetings, follow-ups, notes, and the small details that can disappear between one task and the next. When your pages match the way you actually work, your planner becomes a helpful partner instead of another thing to maintain.
The best part of using printable inserts is that you do not need to settle for a layout that almost works. You can test a page for a week, notice what feels crowded or empty, and print a better fit for the next one. That kind of flexibility makes paper planning feel personal, practical, and much more enjoyable.
Key Takeaways
-
Start with your real work habits, not the busiest layout you can find.
-
Give your top priorities, appointments, and follow-ups dedicated space.
-
Use notes sections with intention so random details do not take over the page.
-
Print a small batch first, then adjust the layout before committing to a full month.
What a useful work planner page needs
A work insert should make your next action obvious. That sounds simple, but many pages bury the important work under too many boxes, trackers, and decorative sections. A beautiful page still needs to help you decide what to do at 9:00 a.m. on a busy Tuesday.
For most work routines, three areas matter most:
- your priorities,
- your schedule,
- and your follow-up list.
Priorities tell you what deserves focus. A schedule protects time for meetings, deep work, and deadlines. Follow-ups capture the emails, calls, approvals, and questions that keep projects moving.
Everything else depends on your role. A manager may need room for team check-ins and delegation. A student might need assignment deadlines and study blocks. Someone running a small business may need a place for client orders, content tasks, and invoices. The right insert does not try to do every job. It supports yours.
A practical work planner insert example
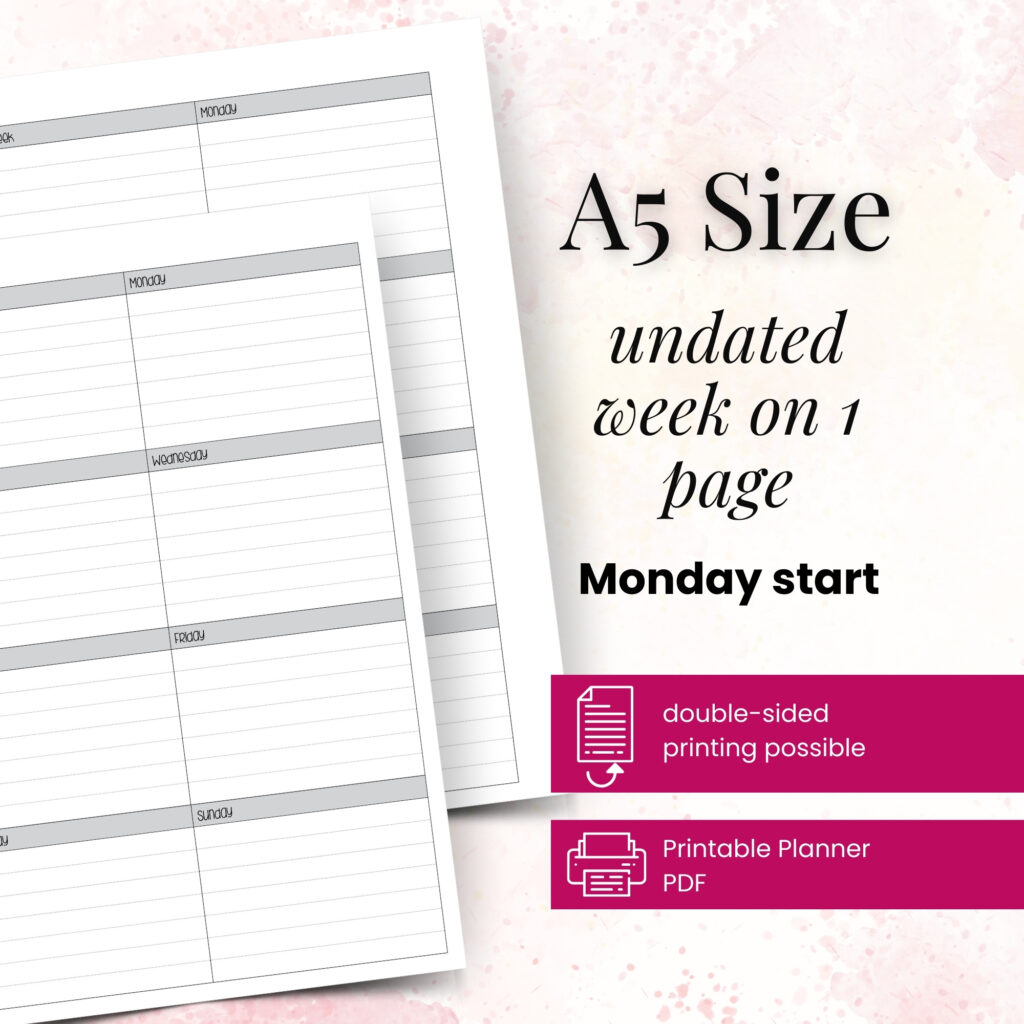
Picture an A5 weekly work insert with one page for each weekday. The top of the page holds the date, a short focus prompt, and space for three priorities. Below that, an hourly column runs from 8:00 a.m. to 6:00 p.m. The remaining half of the page divides into a task list, a follow-up section, and a notes box.
Here is how that page could look in real use on a Wednesday:
Top three priorities: Finish the client proposal, review the team calendar, and send the revised budget.
Schedule: A 9:30 a.m. team meeting, a protected 11:00 a.m. to 12:30 p.m. proposal-writing block, and a 3:00 p.m. client call.
Task list: Update proposal figures, request final logo files, prepare call notes, and file two receipts.
Follow-ups: Email Jordan after the team meeting, confirm the client call agenda, and check whether the budget received approval.
Notes: The client wants a shorter launch timeline. Ask whether the new date affects the photography schedule.
This layout works because each piece of information has a clear destination. You do not need to rewrite every appointment as a task, and you do not need to hunt through a messy notes page to remember who needs a reply. The page keeps planning decisions visible without making the day feel overstuffed.
Why the top-three section matters
A long task list can create the illusion of a plan, but it rarely tells you what comes first. Three priorities create a gentle boundary. They help you separate meaningful work from quick, easy tasks that feel productive but do not move the week forward.
Choose priorities that match your available time. If you have back-to-back meetings, “finish a 20-page report” may not belong on the list. Instead, choose “outline report sections” or “write the first two pages.” A planner should help you make an honest plan, not pressure you into an impossible one.
Why follow-ups deserve their own space
Follow-ups often become the hidden workload of professional life. You remember a conversation, a promised file, or an approval request, then lose track of it among ordinary tasks. A dedicated follow-up area keeps these open loops visible.
Use action words when you write them. “Jordan” does not tell you what to do. “Email Jordan for final numbers” does. That tiny shift makes it easier to act when you scan the page later.
Build the layout around your work style
Before choosing a printable page, look at one recent workweek. Notice where your information naturally collects. Do you write down meeting notes constantly? Do deadlines drive your days? Do interruptions make time blocking more helpful than a traditional task list?
If your schedule changes hour by hour, choose a vertical daily layout with clear time slots. If you manage several projects at once, a weekly overview with project columns may serve you better. If you work in shorter bursts between household responsibilities or appointments, try a compact daily page with generous task space and a smaller schedule section.
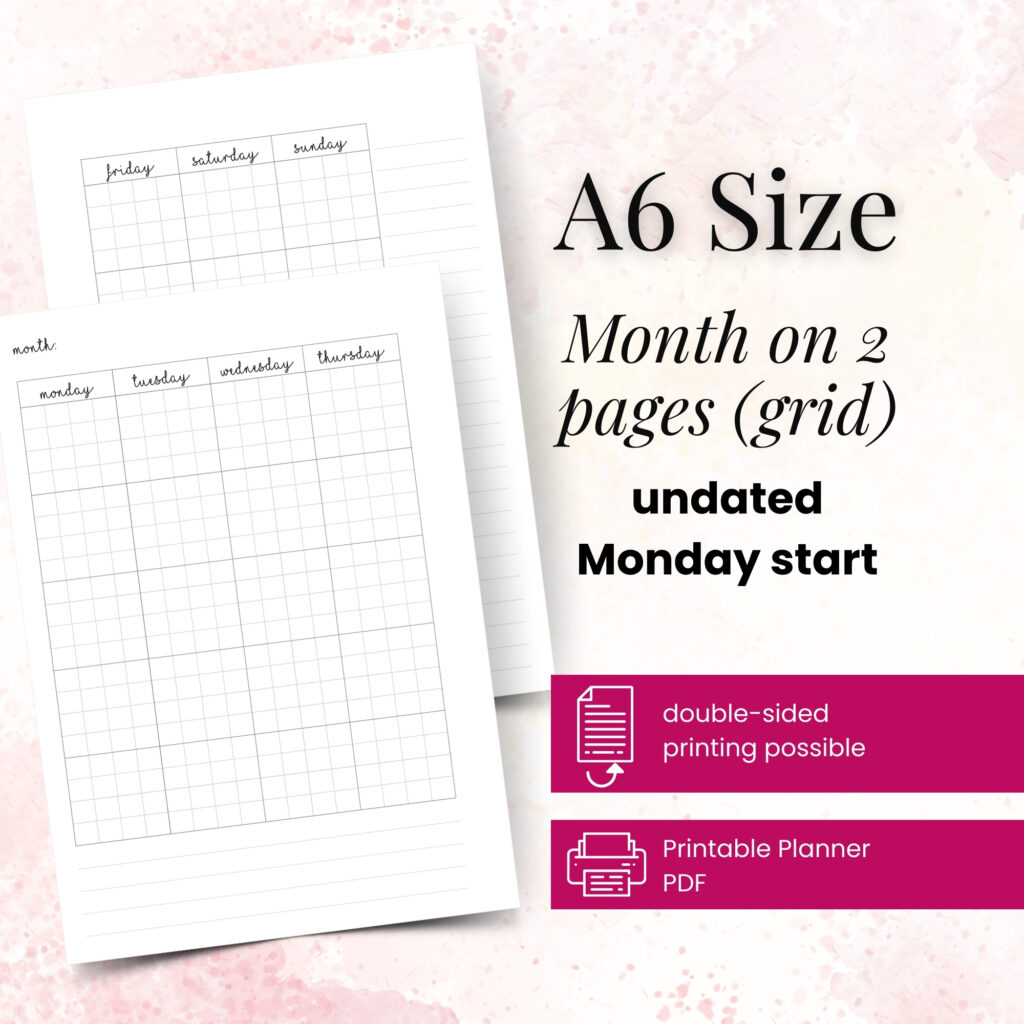
Planner size also changes the experience. An A6 or Personal insert travels easily and encourages concise planning, but it gives you less room for detailed notes. A5 offers more writing space for fuller workdays. Personal Wide can feel like a sweet spot when you want portability without squeezing every task into tiny lines. Happy Planner Classic pages offer a roomy format for people who enjoy seeing a broad view of their week.
There is no universally perfect choice. Your ideal setup depends on how much you write, where you carry your planner, and whether your work and personal life share one system.
Print a test week before you commit
A printable insert gives you permission to experiment without wasting a stack of pages. Print one week and use it during a normal workload, not a calm week when every layout seems perfect.
Pay attention to the friction. Did you run out of space for calls? Did the hourly schedule sit mostly empty? Did you keep writing notes on a separate sheet? Those details tell you exactly what to change.
Try this simple process:
- Print five daily pages or one weekly spread in your planner size.
- Use the insert as you normally would for one full workweek.
- Circle sections you used every day and cross out sections you ignored.
- Adjust your next print with more space for what earned it and less space for what did not.
You might discover that you need a larger notes box on meeting-heavy days, while your colleague may need extra project checklists. Both are valid. A planner system should reflect your routine, not someone else’s perfectly styled desk.
Keep work pages functional and personal
Function comes first, but that does not mean your work pages need to feel plain. Choose paper you enjoy writing on, add a vellum divider between projects, or use a dashboard for your current goals. Small details can make you more likely to open your planner, and consistency matters more than perfection.
Just protect the writing space you need. If stickers, labels, or decorative elements cover your priorities, they work against the page. Save larger creative touches for dashboards, monthly openers, or sections where they will not compete with your plan.
Pretty Easy Planning designs printable inserts with this balance in mind: enough structure to guide your day, plus enough flexibility to make the page feel like yours. Print only the pages you need, in the format that fits your binder and your routine.
A thoughtful work planner insert does not need to hold every thought you have at work. It only needs to hold the information that helps you take the next right step. Start with one test page, let your real week teach you what belongs on it, and build from there.