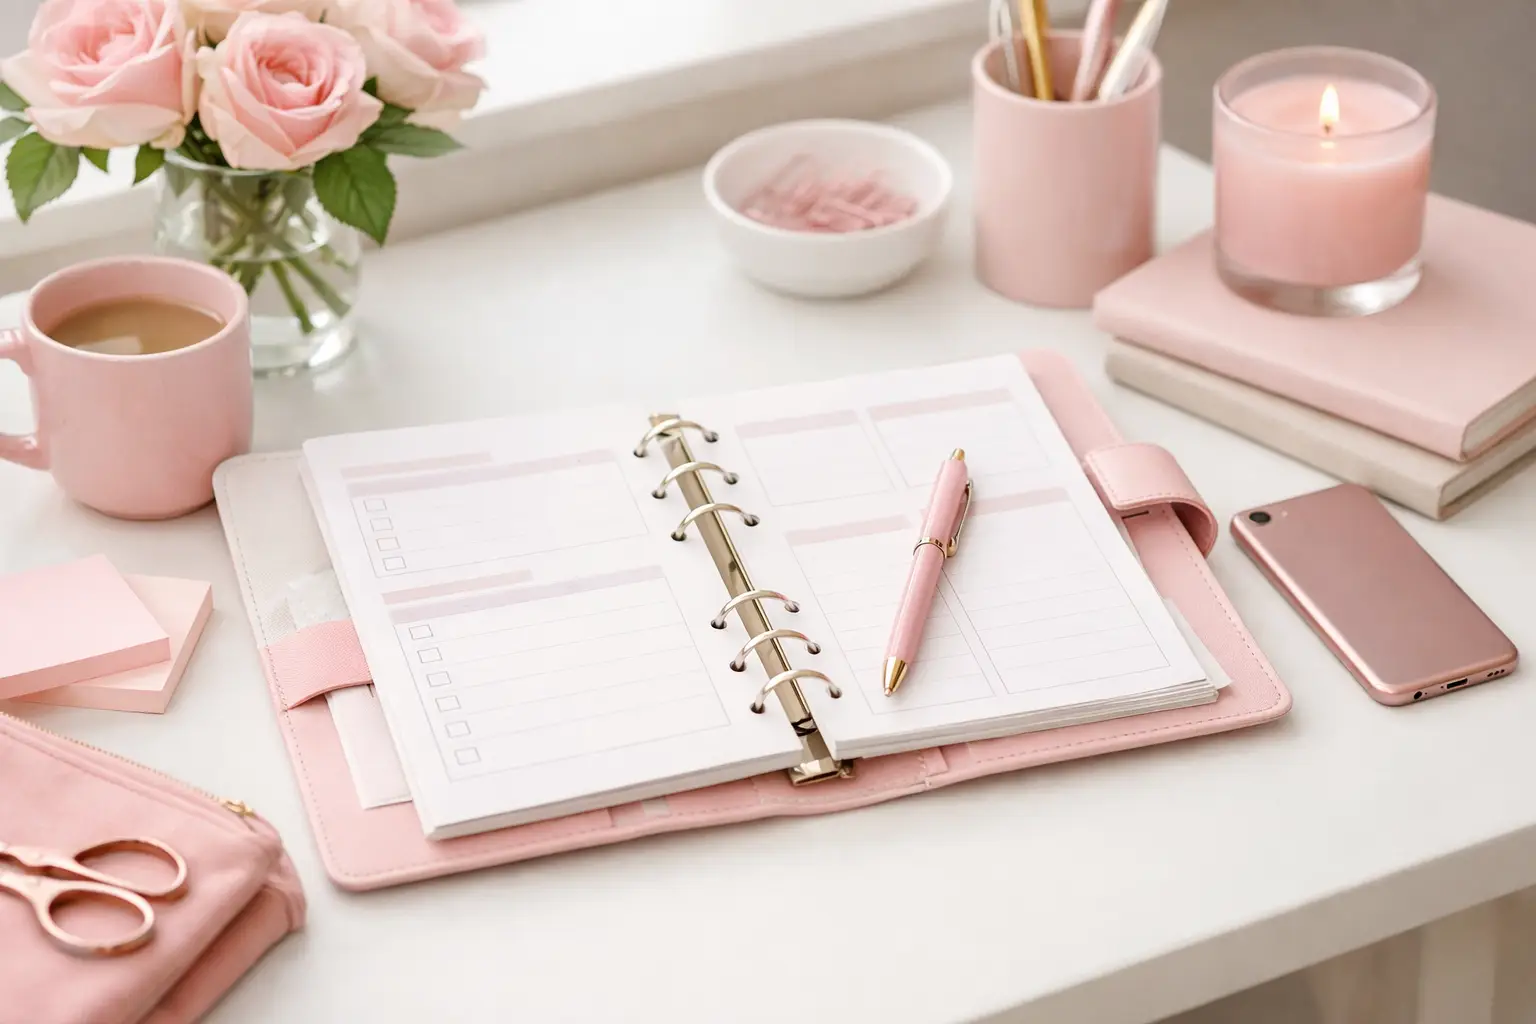
Missed a week in your planner? You should not have to stare at wasted dated pages or wait for a new setup to arrive. That is exactly why undated planner inserts printable options have become a favorite for paper planners who want more freedom, less waste, and layouts that actually match real life.
If you have ever switched routines mid-month, needed extra daily pages during a busy season, or wanted to test a new format before committing, printable inserts make that easy. You print what you need, in the size you use, on the paper you love. Your planner stops feeling fixed and starts feeling personal.
Key Takeaways
-
Undated planner inserts printable pages give you flexibility without wasting unused dates.
-
You can print only the pages you need for busy weeks, quiet months, or changing routines.
-
They work especially well for planner users who want control over layout, paper, and size.
-
The best results come from choosing inserts by planning style, not just by what looks pretty.
-
A simple print, trim, and punch routine makes setup quick and repeatable.
Why undated planner inserts printable pages make sense
Dated planners can feel satisfying at first. Everything is ready to go, and the setup looks polished. But real life rarely follows a neat, uninterrupted schedule. Some weeks are packed with appointments and deadlines, while others barely need more than a short to-do list.
That is where undated inserts shine. You fill in the dates only when you need them. If you skip a week because of travel, illness, or a shift in routine, nothing goes to waste. If you need five daily pages in one week and none the next, you can print exactly that.
This flexibility matters even more when you already know your planning needs change. Maybe your work season gets intense at the end of each quarter. Maybe summer looks different from the school year. Maybe you want one layout for household planning and another for personal goals. Undated pages let you adjust without rebuilding your whole system.
There is also a practical money-saving side to it. Instead of reordering the same inserts again and again, you keep a format you love and reprint as needed. For many planner users, that repeat-use value is part of what makes printable inserts feel so smart.
How to choose the right undated planner inserts printable set
The best insert is not always the most decorative one. It is the one that supports the way you actually plan on a Tuesday afternoon when life is busy and your brain is full.
Start with your planning rhythm
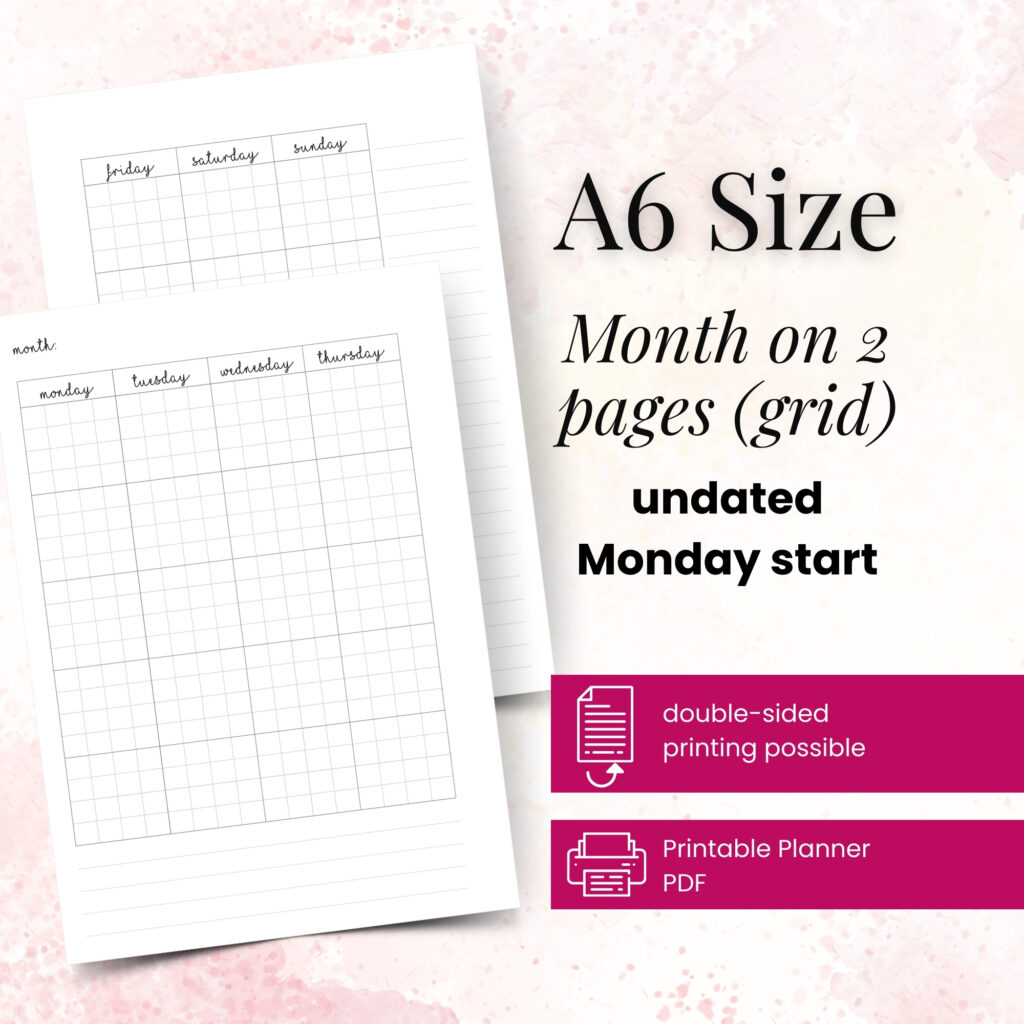
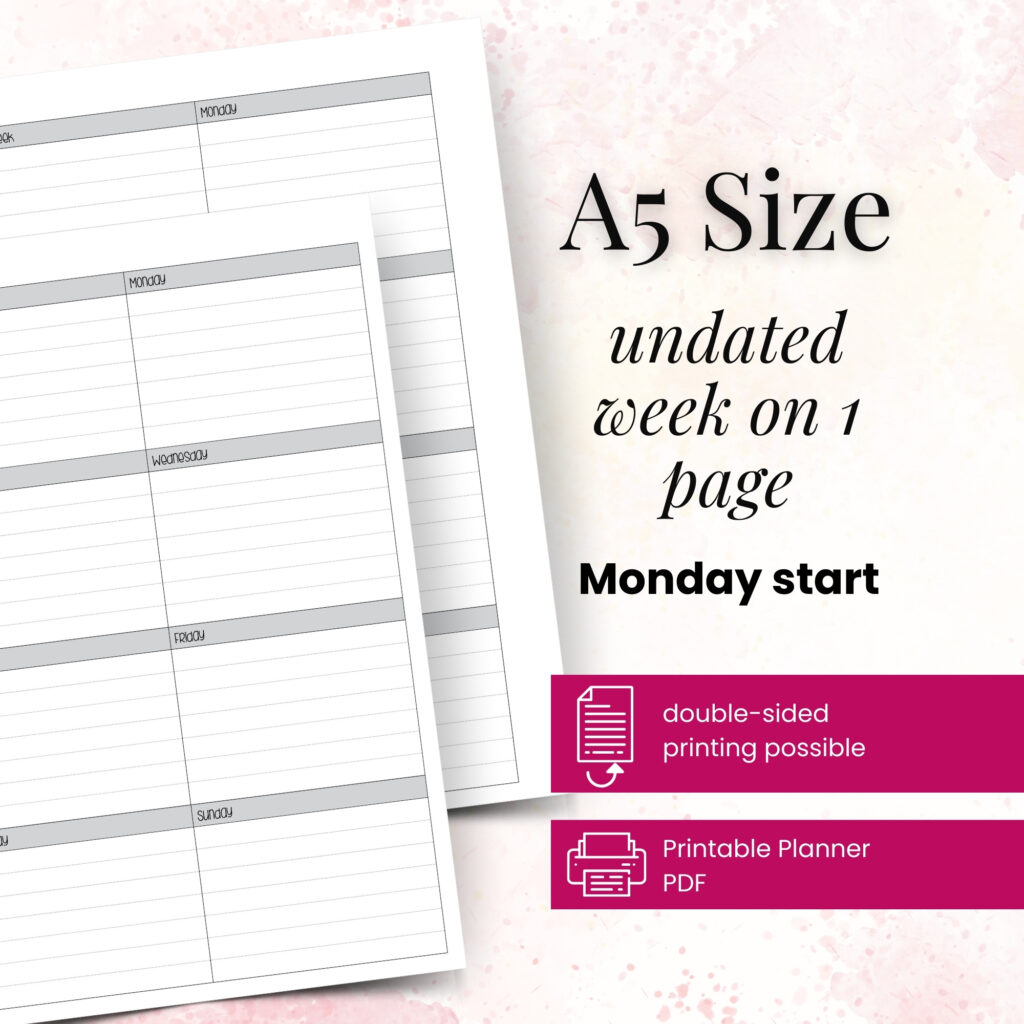
If you think in broad strokes, monthly and weekly pages may be enough. If you manage appointments, tasks, meal plans, or family logistics hour by hour, you will probably want daily pages too. A lot of people do best with a mix: monthly pages for visibility, weekly pages for flow, and a few daily pages for high-pressure days.
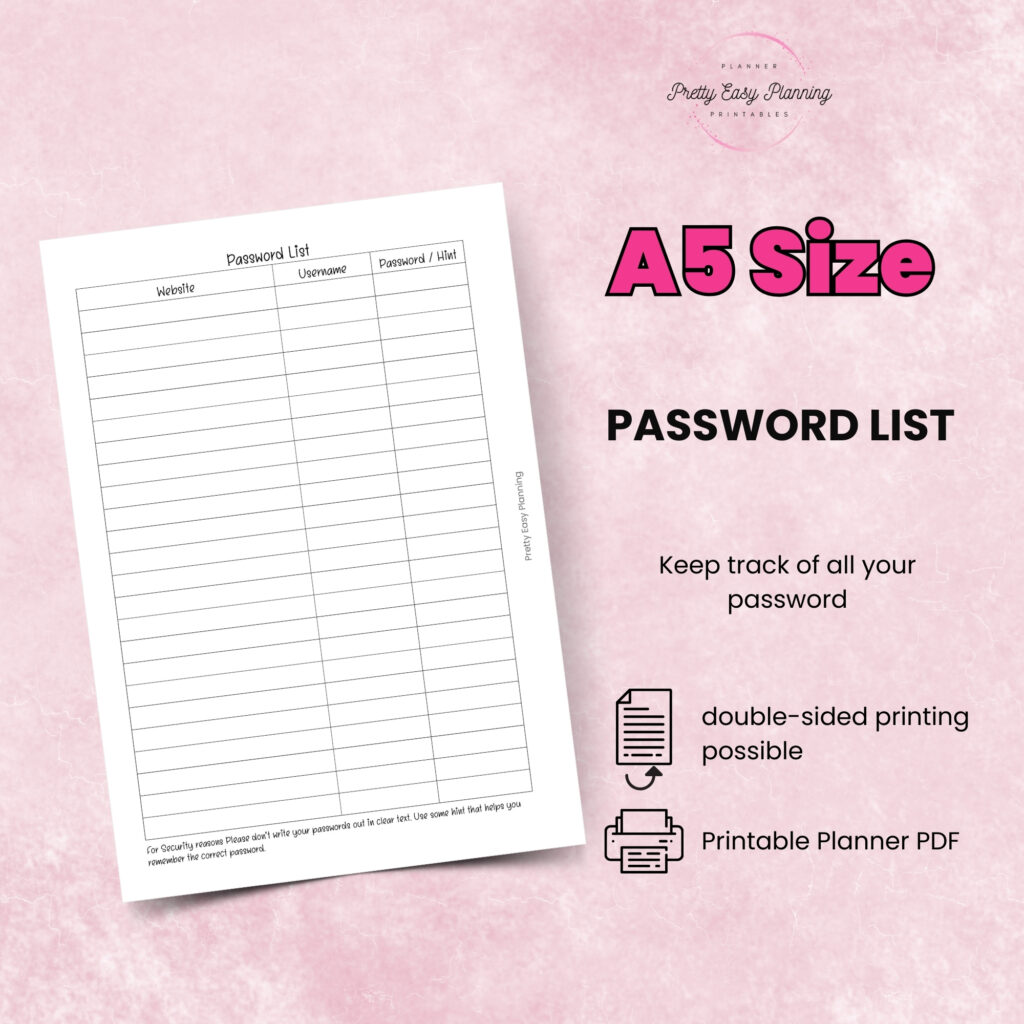
Picture two planner users. One uses her A5 planner mostly for work and project tracking, so a clean weekly spread with room for priorities works beautifully. Another uses a Personal Wide planner to manage home routines, errands, and appointments, so she may need dashboard pages, lists, and extra notes sections. Both are planning well, but they need different page types.
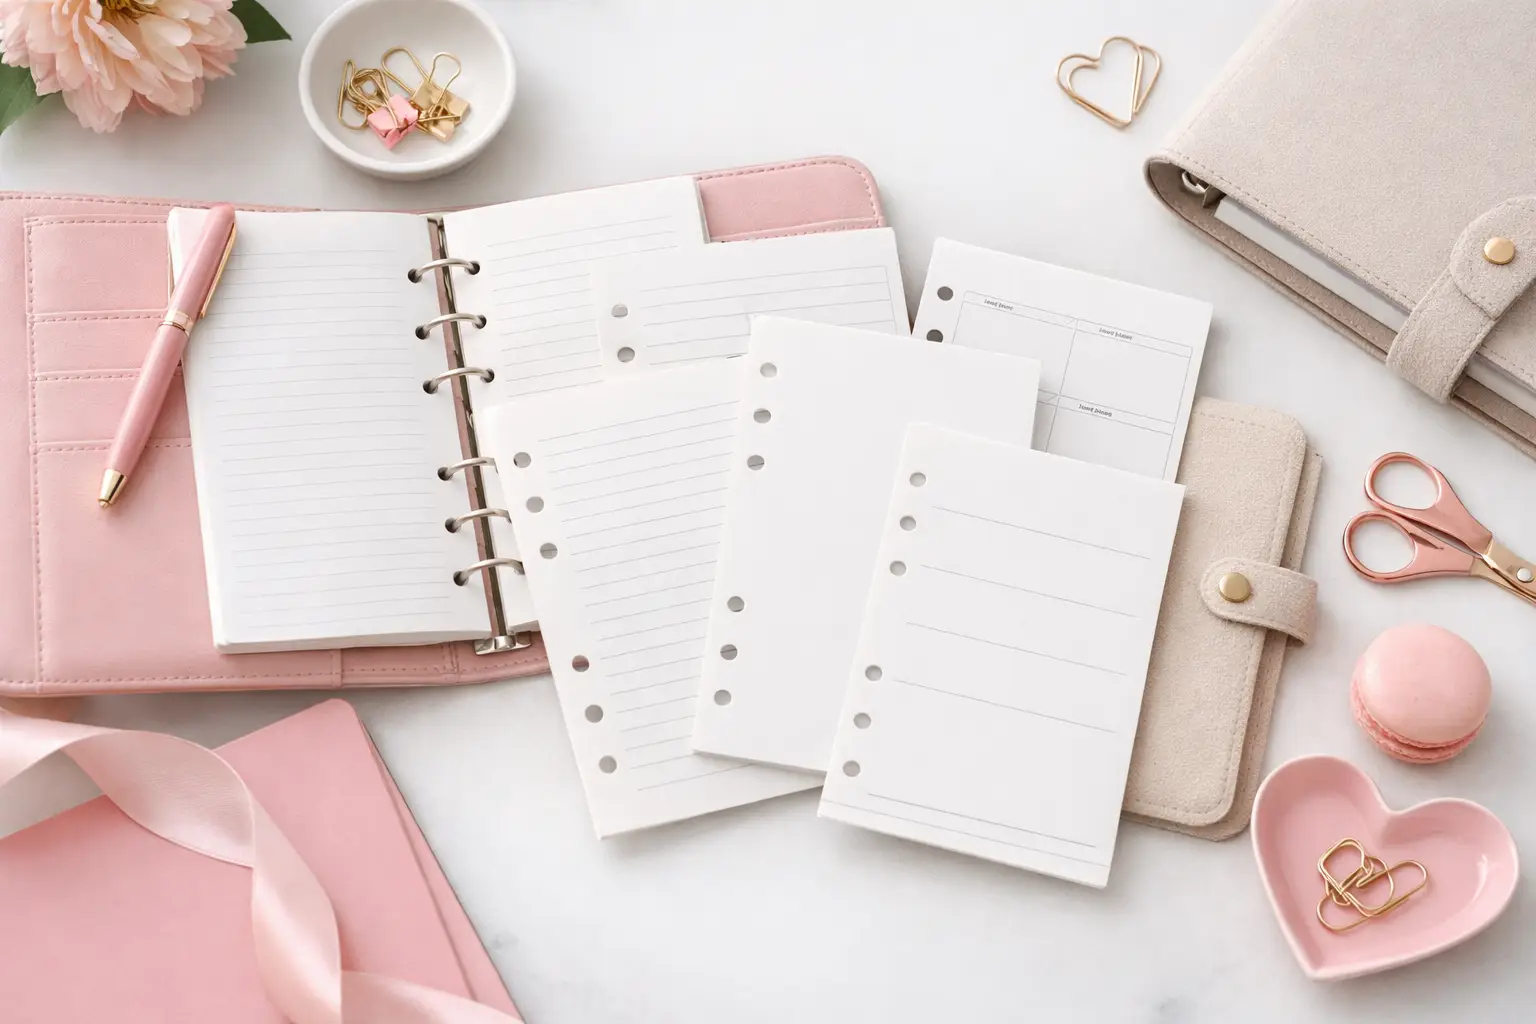
Match the insert to your binder size
This sounds obvious, but it is where frustration often starts. A layout can be beautiful and still feel wrong if it is cramped in the wrong size. A6 is compact and portable, while A5 gives you more writing space. Personal and Personal Wide offer different balances between slim setup and usable room. Happy Planner Classic has its own page proportions, so sizing matters there too.
When your page size fits your writing style, planning feels easier. If you write large or love detailed sections, go roomier. If you prefer a compact everyday carry, a smaller format may suit you better.
Think about paper and pen preferences
One of the nicest things about printable inserts is control. You choose your paper weight, finish, and print quality. If you love fountain pens or juicy gel pens, paper choice can make a big difference. If you prefer a lightweight planner, you may want a thinner sheet that still handles everyday writing well.
This is one of those small choices that can completely change how your planner feels in daily use.
A simple way to set up your inserts without overthinking it
You do not need a complicated routine to get great results. A clean setup usually comes down to a few repeatable steps.
Step 1: Decide what you need for the next 30 days
Do not print a whole year just because you can. Start with one month of the pages you know you will use. That might mean one monthly dashboard, four weekly spreads, and six daily pages for your busiest days.
This keeps your planner light and helps you test the layout before printing more.
Step 2: Print a sample page first
Before printing a full batch, print one test page. Check the scale, margins, and orientation. Make sure the boxes feel comfortable to write in and that the layout leaves enough room once punched.
This step saves paper and frustration, especially if you use multiple planner sizes.
Step 3: Trim and punch with your actual setup in mind
After printing, trim carefully if your insert format requires it. Then punch the pages for your binder or disc system. Keep one finished sample page nearby as a reference for future batches. That makes reprinting much faster next time.
Step 4: Use your pages for two weeks, then adjust
This is the part people skip, but it matters. Use the inserts in real life before declaring them perfect. You may realize your weekly boxes need more task space, or that you want an extra notes page between weeks. That is the beauty of printables. You can refine your setup instead of settling.
When undated inserts work better than dated ones
Undated pages are especially helpful in seasons of change. If you are starting a new job, managing shifting family schedules, tracking a goal, or rebuilding your planner after a break, undated inserts remove pressure. You can begin any day, not just on January 1 or the first of the month.
They also work beautifully if you like to rotate layouts. Some planner users want a minimal weekly layout during calm months and more structured daily pages during busy ones. A dated planner usually locks you into one format. A printable undated system lets you switch as needed.
That said, dated inserts still have their place. If you never want to write dates in by hand and you use the same format every single week, dated pages can feel faster. The better option depends on whether convenience or flexibility matters more to you.
Common mistakes to avoid
The first mistake is printing too much too soon. It is tempting to build an entire planner in one sitting, but that often leads to wasted pages if your needs change.
The second is choosing inserts only for looks. A pretty page is lovely, but function has to come first. If the task boxes are too small or the layout interrupts your routine, you will stop using it.
The third is ignoring how the insert works with your tools. Pens, paper, binder bulk, and writing space all affect the final experience. A layout that looks perfect on screen may need a different paper or size to really shine.
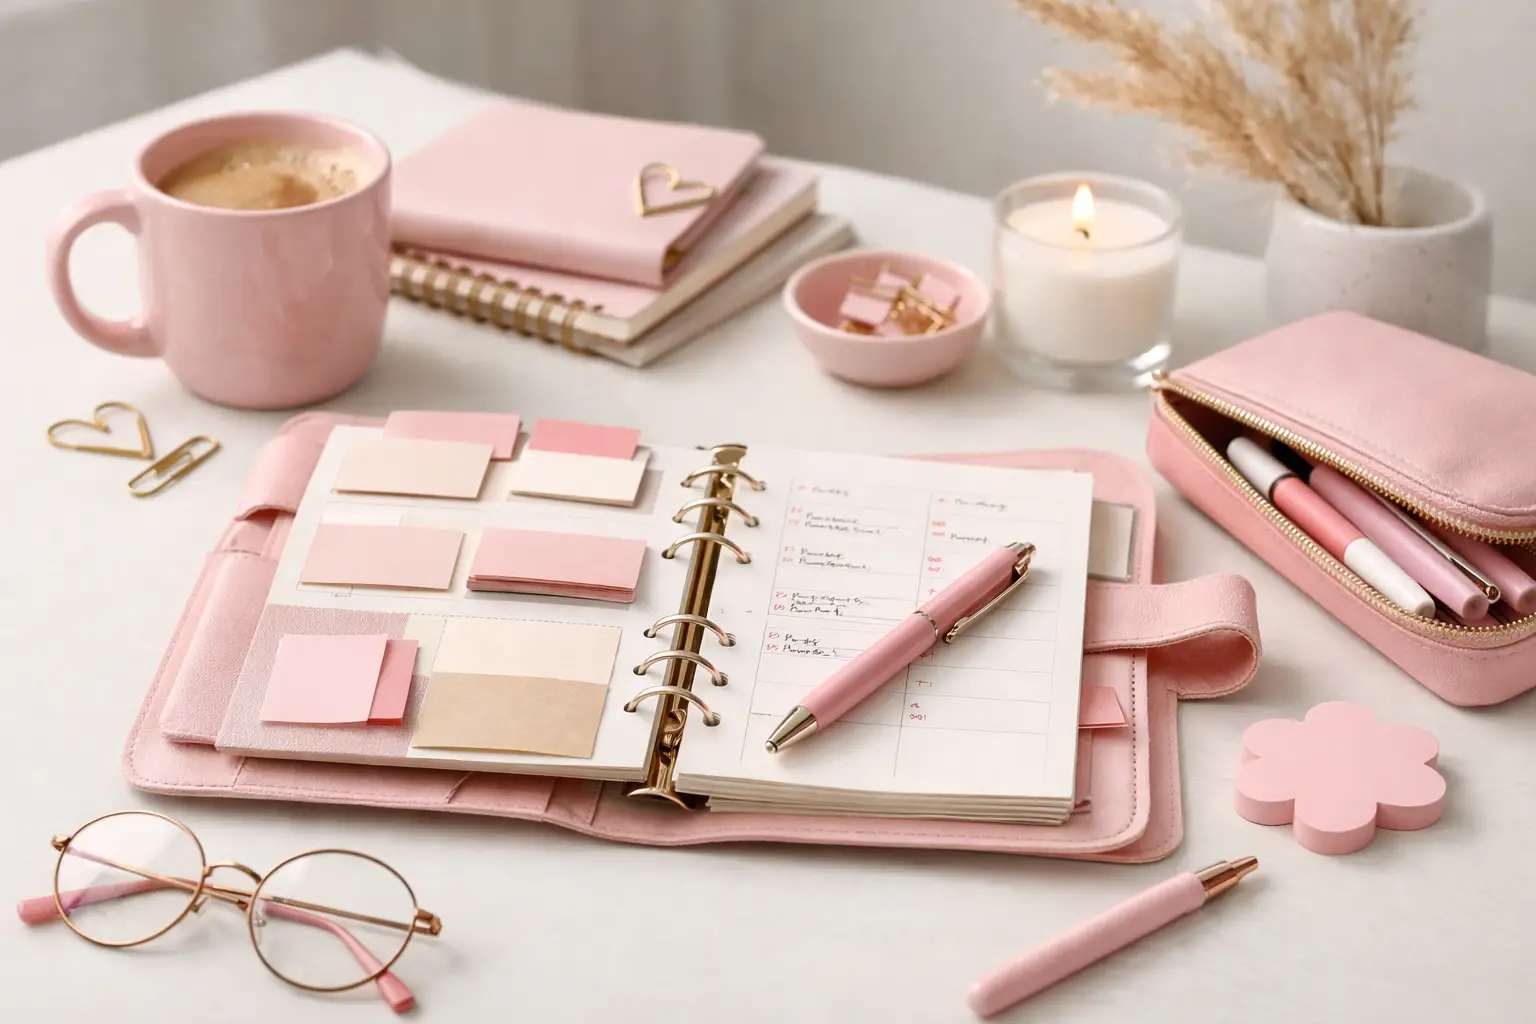
Building a planner that feels like yours
This is where printable planning gets exciting. You are not stuck with a one-size-fits-all book. You can combine daily pages with project lists, add note inserts where your brain needs them most, and print fresh copies of favorite layouts whenever life gets busy again.
For many paper planners, that freedom is the whole point. Your planner should support your routine, your goals, and your style. It should feel functional on hard days and still beautiful enough to enjoy using. In this creative corner of planning possibilities, the best setup is usually the one you build gradually.
Pretty Easy Planning understands that balance well: layouts need to look good, but they also need to earn their place on the page.
What to look for before you commit to a layout
Look for clean spacing, strong structure, and enough writing room for the way you plan. Ask yourself whether the insert helps you see what matters quickly. Consider whether it will still work during a stressful week, not just a calm one.
It also helps to think in layers. Your monthly pages give context. Your weekly pages guide momentum. Your daily pages catch the details. When those layers work together, your planner starts to feel less like a pile of paper and more like a system you can trust.
Your successful planning story begins with a single print, but the real magic happens when that page fits so well that you want to use it again tomorrow.